Exploring the mysteries of quantum mechanics surely seems like an endeavor that requires room-sized equipment and racks of electronics, along with large buckets of grant money, to accomplish. And while that’s generally true, there’s quite a lot that can be accomplished on a considerably more modest budget, as this as-simple-as-it-gets nuclear magnetic resonance spectroscope amply demonstrates.
First things first: Does the “magnetic resonance” part of “NMR” bear any relationship to magnetic resonance imaging? Indeed it does, as the technique of lining up nuclei in a magnetic field, perturbing them with an electromagnetic field, and receiving the resultant RF signals as the nuclei snap back to their original spin state lies at the heart of both. And while MRI scanners and the large NMR spectrometers used in analytical chemistry labs both use extremely powerful magnetic fields, [Andy Nicol] shows us that even the Earth’s magnetic field can be used for NMR.
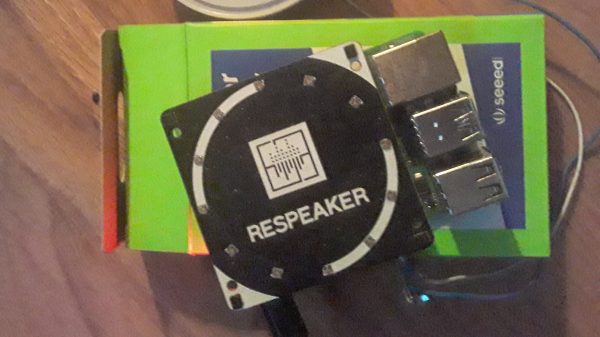
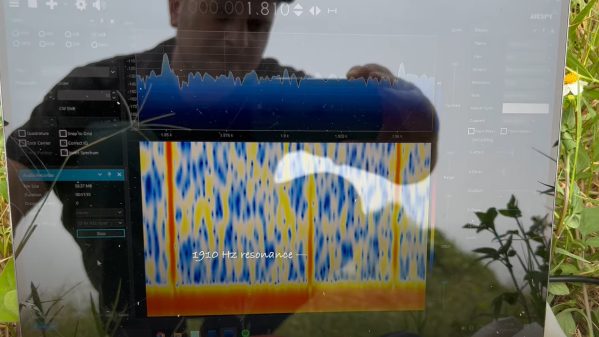
[Andy]’s NMR setup couldn’t be simpler. It consists of a coil of enameled copper wire wound on a 40 mm PVC tube and a simple control box with nothing more than a switch and a couple of capacitors. The only fancy bit is a USB audio interface, which is used to amplify and digitize the 2-kHz-ish signal generated by hydrogen atoms when they precess in Earth’s extremely weak magnetic field. A tripod stripped of all ferrous metal parts is also handy, as this setup needs to be outdoors where interfering magnetic fields can be minimized. In use, the coil is charged with a LiPo battery for about 10 seconds before being rapidly switched to the input of the USB amp. The resulting resonance signal is visualized using the waterfall display on SDR#.
[Andy] includes a lot of helpful tips in his excellent write-up, like tuning the coil with capacitors, minimizing noise, and estimating the exact resonance frequency expected based on the strength of the local magnetic field. It’s a great project and a good explanation of how NMR works. And it’s nowhere near as loud as an MRI scanner.