Everyone likes a good light show, but probably the children of the 60s and 70s appreciate them a bit more. That’s the era when some stereos came with built-in audio oscilloscopes, the search for which led [Tech Moan] to restore an audio monitor oscilloscope and use it to display oscilloscope music.
If the topic of oscilloscope music seems familiar, it may be because we covered [Jerobeam Fenderson]’s scope-driving compositions a while back. The technique will work on any oscilloscope that can handle X- and Y-axis inputs, but analog scopes make for the best display. The Tektronix 760A that [Tech Moan] scrounged off eBay is even better in that it was purpose-built to live in an audio engineer’s console for visualizing stereo audio signals. The vintage of the discontinued instrument isn’t clear, but from the DIPs and discrete components inside, we’ll hazard a guess of early to mid-1980s. The eBay score was a bargain, but only because it was in less that perfect condition, and [Tech Moan] wisely purchased another burned out Tek scope with the same chassis to use for spares.
The restored 760A does a great job playing [Jerobeam]’s simultaneously haunting and annoying compositions; it’s hard to watch animated images playing across the scope’s screen and not marvel at the work put into composing the right signals to make it all happen. Hats off to [Tech Moan] for bringing the instrument back to life, and to [Jerobeam] for music fit for a scope.
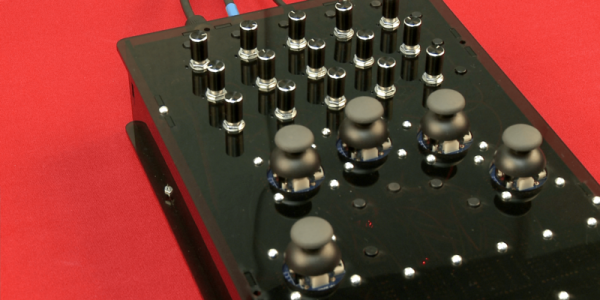
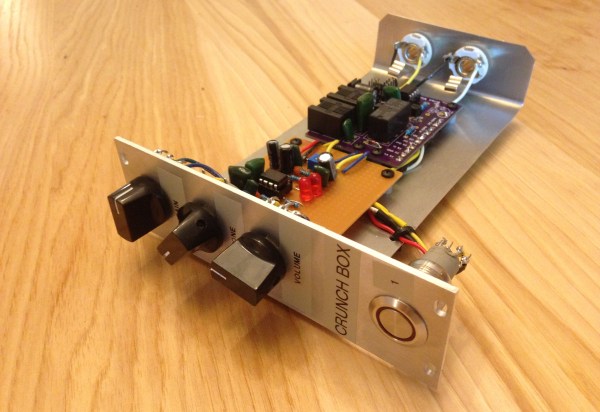
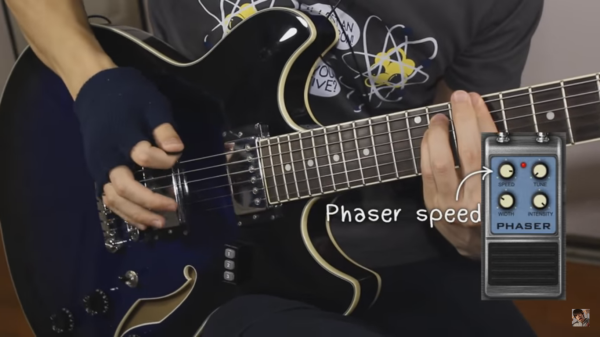
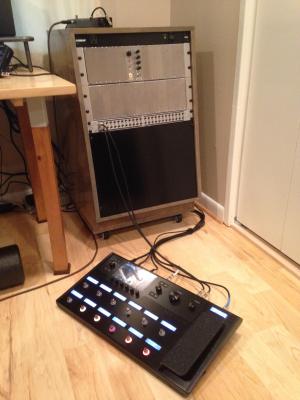 Taking inspiration from modular synthesizers, [Brian] built a rack out of wood to house the pedal modules. The rack uses 16U rack rails as a standard, with 3U Eurorack brackets. It looks like there’s space for 16 custom-built effects pedals to fit into the rack, and [Brian] can switch them out at will with a foot switch. Everything is tied together with MIDI and is programmed in Helix. The end result looks very polished, and helped [Brian] eliminate his rat’s nest of cables that was lying around before he built his effects rack.