[Josh] wrote in to tell us about an experimental instrument he’s been working on for a couple of months. We’re glad he did, because it’s a really cool project. It’s an organ that uses the principle of back-drive—applying torque to the output shaft of a motor—to create sounds. [Josh] is back-driving four octaves worth of stepper motors with spinning wooden disks, and this generates alternating current. At the right speeds, the resulting sinusoidal waveform falls within the range of human hearing and can be amplified for maximum musical enjoyment.
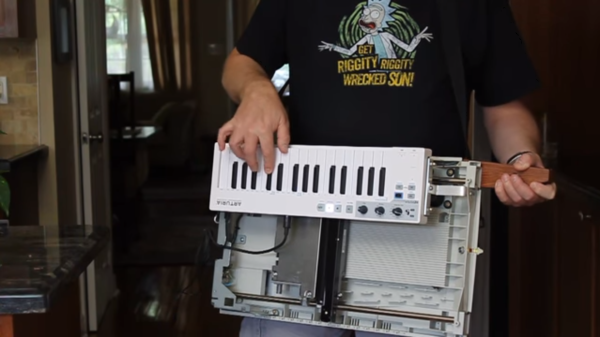
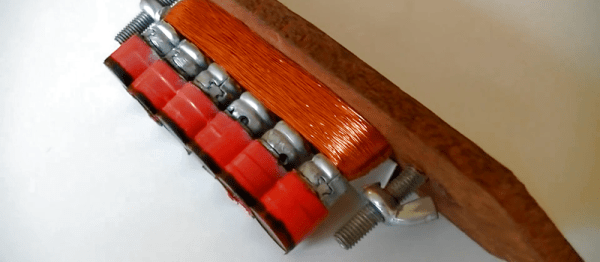
[Josh] built this organ from the ground up, including the keys which are made from oak and walnut. Each of the forty-nine stepper motors has a corresponding wooden disk. The larger the wooden disk in the stack, the higher the resulting pitch. [Josh] says that if he built it for a full 88 keys, the highest note’s disk would be sixteen feet in diameter.
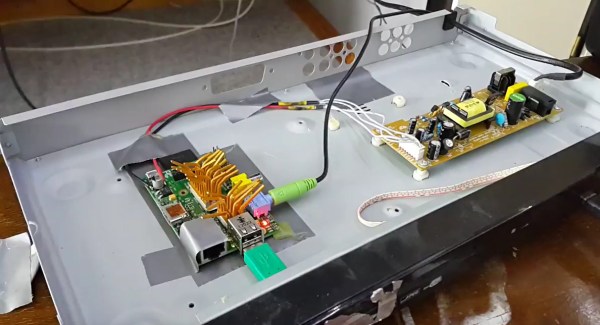
This stack of disks is driven independently by a separate DC motor, and the speed determines the key it will play in. When [Josh] plays a note, that note’s lever is actuated and its stepper motor makes contact with its disk in the stack. When they meet, the motor is back-driven by the spinning disk. In other words, they work in concert to produce some cool, eerie sounds.
Here’s a somewhat similar sort of build made from lasers and fans, if you consider that both instruments create music from objects that weren’t built to do so. Watch [Josh] play his stepper organ after the break. He has several build videos on his YT channel, and we’ve also embedded the one that covers the motor, power, and electronics part of the build.
Continue reading “An Organ Made From Back-Driven Steppers” →