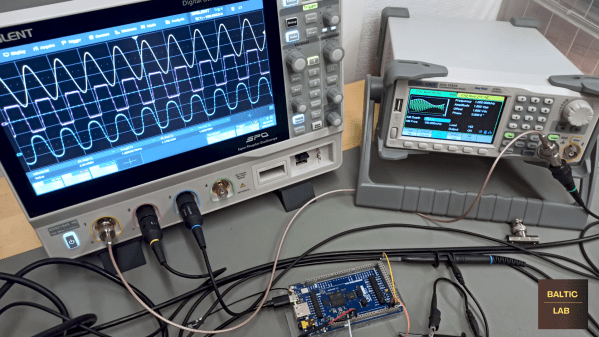
Usually, an oscilloscope lets you visualize what a signal looks like. [Mitxela]’s reverse oscilloscope lets you set what you want an audio waveform to look like, and it will produce it. You can see the box in the video below.
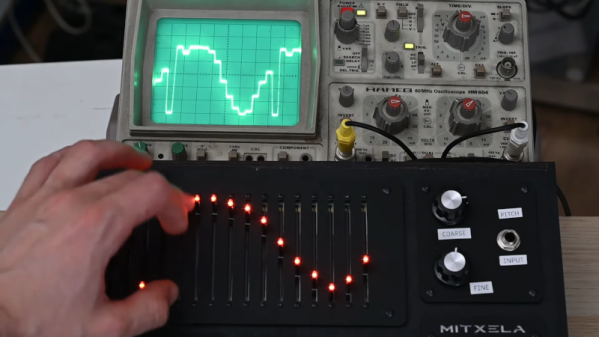
According to [Mitxela] part of the difficulty in building something like this is making the controls manageable for mere mortals. We really like the slider approach, which seems pretty obvious, but some other controls are a bit more subtle. For example, the interpolation control can create a squarish wave or a smooth waveform, or anything in between.
This is sort of an artistic take on an arbitrary waveform generator but with a discrete-panel user interface. The device contains a Teensy, a Raspberry PI Pico, a 16-bit ADC, and an external DAC. The Pico is little more than an I/O controller, reading the user interface and transmitting it on a serial port.
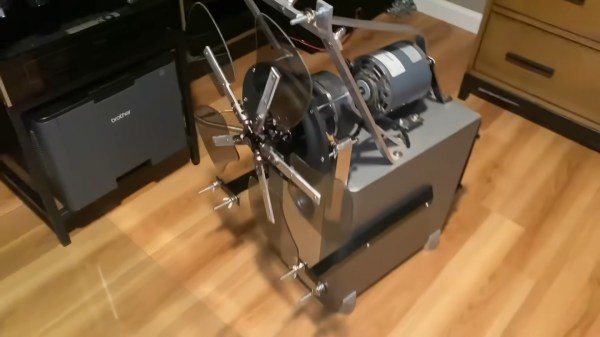
The outside construction looks excellent (we assume the tape is temporary). The inside is a bit messier, but still nicely done. There are many photos of the construction and details of problems along the way with 12-bit ADCs and power supply experiments.
Of course, if you don’t need the user interface, you can go crazy with waveform generation. We did our own similar project, but you could draw your waveforms on the PC instead of sliders.