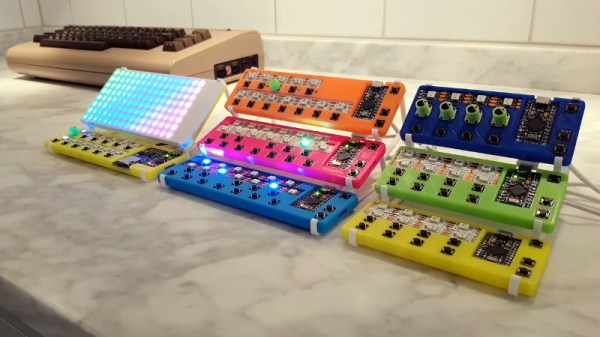
Have you ever wanted to experiment with MIDI, but didn’t know where to start? Or perhaps you didn’t think you could afford to properly outfit your digital beat laboratory, especially given the average hacker’s penchant for blinkenlights? Well worry no more, as [Johan von Konow] has unveiled a collection of DIY MIDI devices that anyone with a 3D printer can build on the cheap.
The LEET modular synthesizer is made up of a keyboard, drum pad, chord keyboard, arpeggiator and a step sequencer that plug into your computer and interface with industry standard digital audio workstation (DAW) programs. The down side is that they don’t do anything on their own, but this simplification allowed [Johan] to really streamline the design and bring the cost of the build down to the bare minimum.
You don’t need to build all the components either, especially if you’re just testing the waters. The keyboard is a great starting point, and even if you have to buy all the components new from eBay, [Johan] says it shouldn’t cost you more than $10 USD to build. You just need an Arduino Pro Micro, some tact switches, and a section of WS2812 RGB LED strip. There’s an excellent chance you’ve already got some of that in the parts bin, which will make it even cheaper.
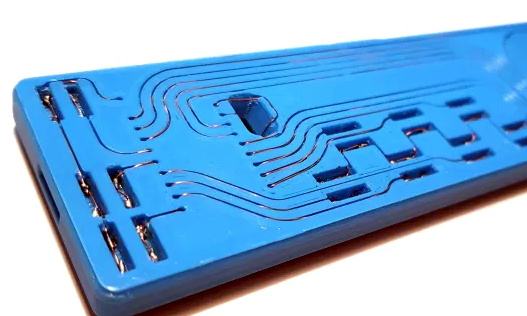
There is one missing element though: the PCB. But not because you have to source it yourself. Like his clever Arduboy clone we covered earlier in the year, the 3D printed bodies for all of the LEET devices have integrated wiring channels that serve as a stand-in for a traditional circuit board. Simply place all your components, push some stiff 0.3 mm diameter wire down into the channels, and solder the ends. It’s a very neat approach, and something we could see becoming more popular as desktop 3D printers become an increasingly common sight in the home workshop.
Continue reading “3D Print Your Way To A Modular MIDI Playset”
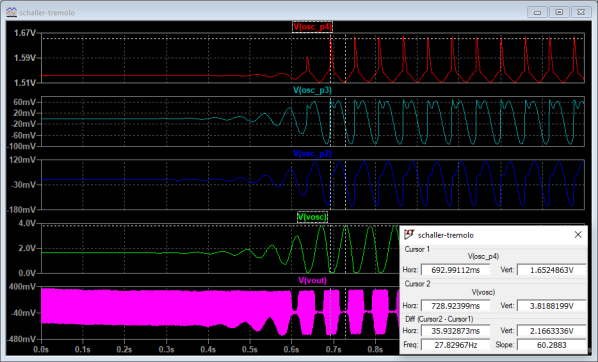
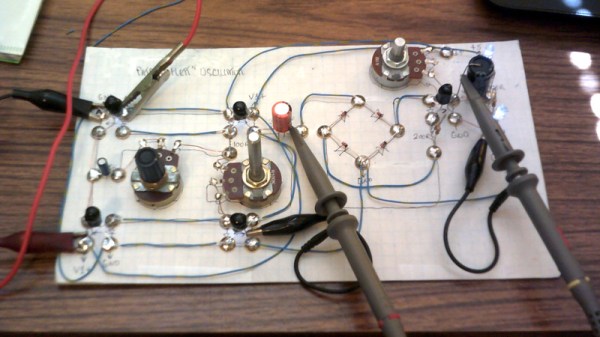
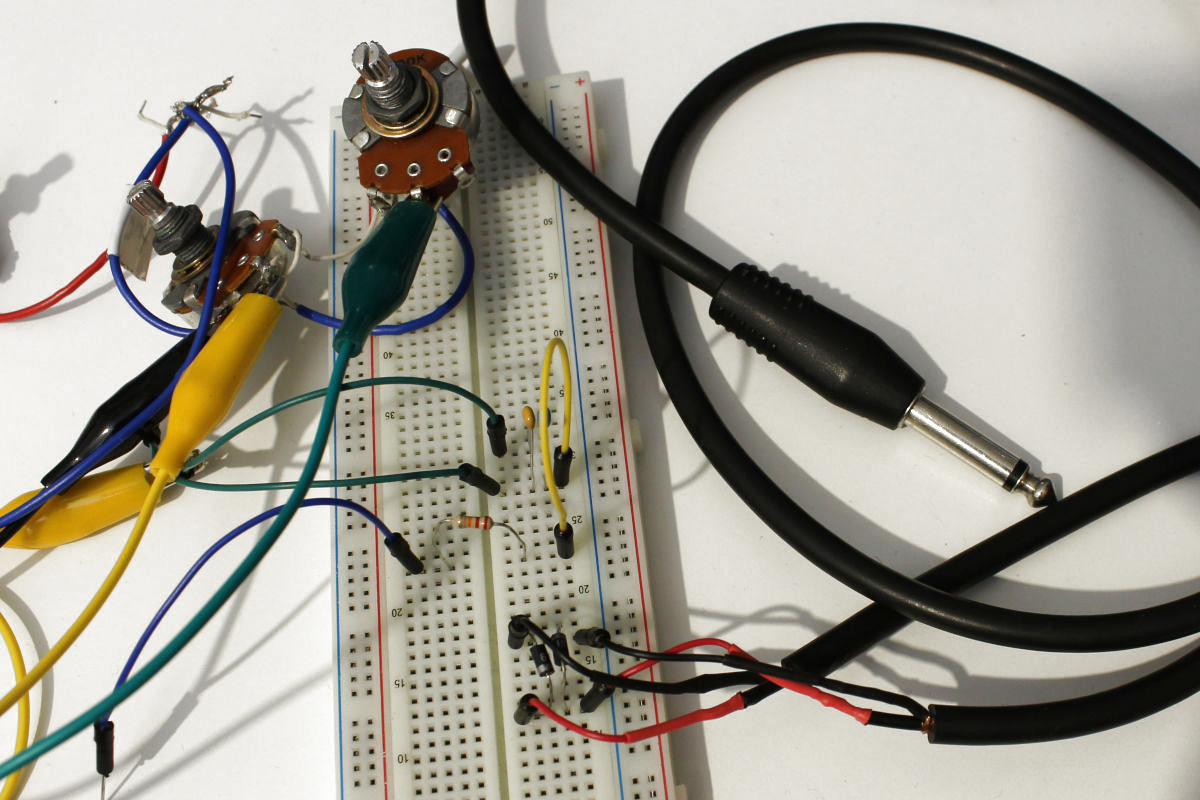
 components and attenuating the low-frequency components. Of course, it’s fun to look at signals this way as well, especially when you can correlate shifts in sound quality to changes in the waveform and, ideally, the circuit that produces it.