If you want to protect a system from being hacked, a great way to do that is with an airgap. This term specifically refers to keeping a system off any sort of network or external connection — there is literally air in between it and other systems. Of course, this can be limiting if you want to monitor or export logs from such systems. [Nelop Systems] decided to whip up a simple workaround for this issue, creating a bespoke one-way data extraction method.
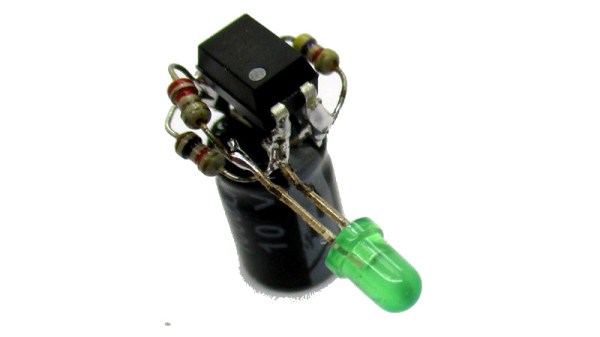
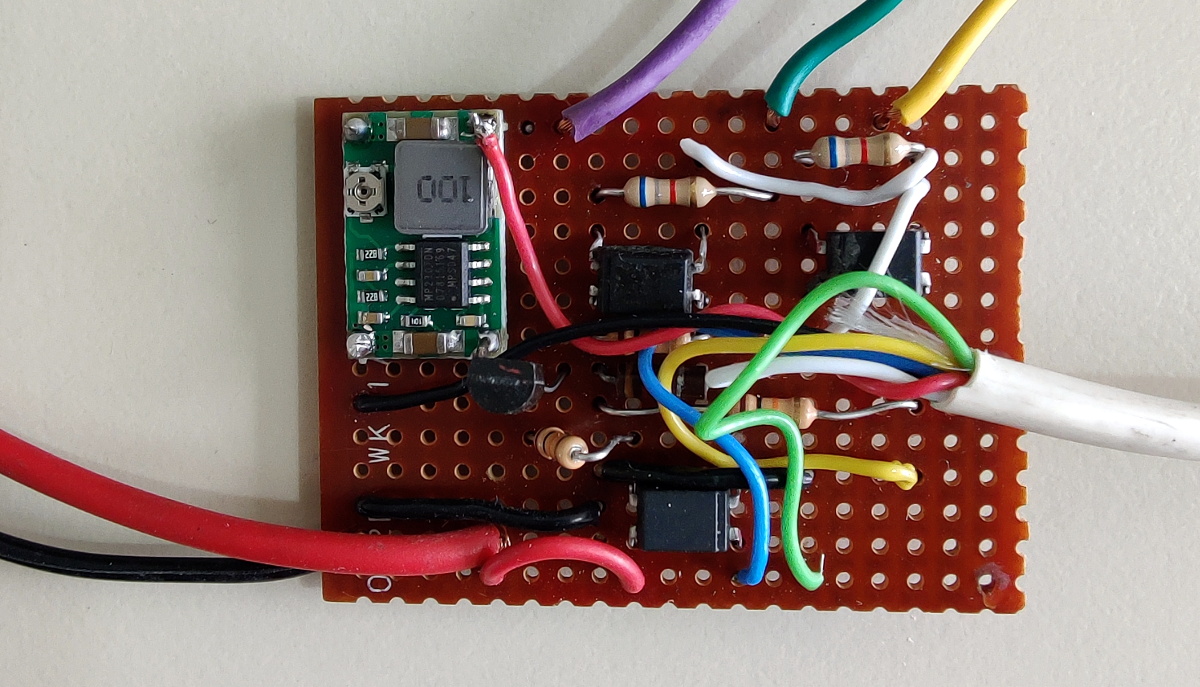
The concept is demonstrated with a pair of Raspberry Pi computers. One is hooked up to critical industrial control systems, and is airgapped to protect it against outside intruders. It’s fitted with an optocoupler, with a UART hooked up to the LED side of the device. The other side of the optocoupler is hooked up to another Raspberry Pi, which is itself on a network and handles monitoring and logging duties.
This method creates a reliable one-way transmission method from the airgapped machine to the outside world, without allowing data to flow in the other direction. Indeed, there is no direct electrical connection at all, since the data is passing through the optocoupler, which provides isolation between the two computers. Security aficionados will argue that the machine is no longer really airgapped because there is some connection between it and the outside world. Regardless, it would be hard to gain any sort of access through the one-way optocoupler connection. If you can conceive of a way that would work, drop it down in the comments.
Optocouplers are very useful things; we’ve seen them used and abused for all sorts of different applications. If you’ve found some nifty use for these simple parts, be sure to drop us a line!