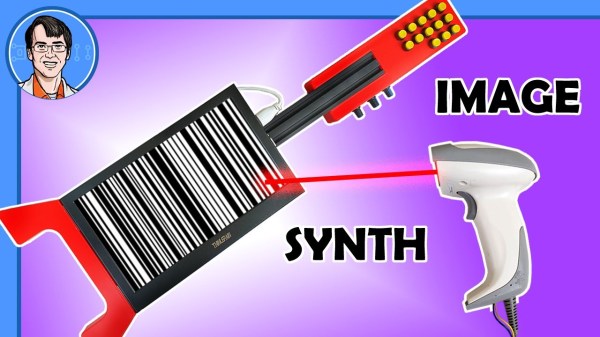
We are no stranger to peculiar and wonderful musical instruments here at Hackaday. [James Bruton] has long been fascinated with barcode scanners as an input source for music and now has a procedural barcode-powered synth to add to his growing collection of handmade instruments. We’ve previously covered his barcode guitar, which converts a string of numbers from the PS/2 output to pitches. This meant having a large number of barcodes printed as each pitch required a separate barcode. As you can imagine, this makes for a rather unwieldy and large instrument.
Rather than looking at the textual output of the reader, [James] cracked it open and put it to the oscilloscope. Once inside, he found a good source that outputs a square wave corresponding to the black and white lines that the barcode sees. Since the barcodes [James] is using don’t have the proper start and stop codes, the barcode reader continuously scans. Normally it would stop the laser to send the text over the USB or PS/2 connection. A simple 5v to 3.3v level shifter feeds that square wave into a Teensy board, which outputs the audio.
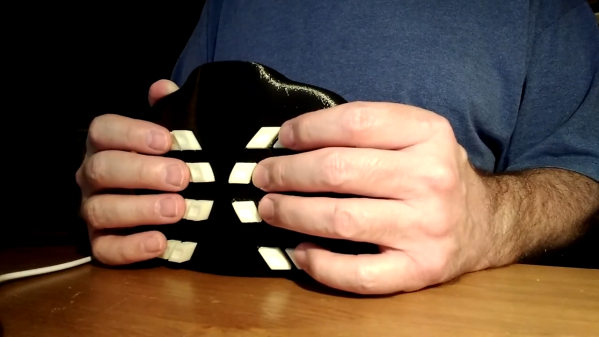
A video showcasing a similar technique inspired [James] with this project. The creators of that video have a huge wall of different patterns of black and white lines. [James’s] next stroke of brilliance was to have a small HDMI display to generate the barcodes on the fly. A Raspberry Pi 4 reads in various buttons via GPIO and displays the resulting barcode on the screen. A quick 3d printed shell rounds out the build nicely, keeping things small and compact. All the code and CAD files are up on GitHub.
Continue reading “Procedural Barcode Synth Is As Simple As Black And White”