
[Folaefolc] was craving a new keyboard build a few weeks ago and got inspired by the humble 3.5″ floppy disk. So much so that he decided to make a split keyboard with each half having the exact footprint of a floppy — 90 mm x 94 mm. And you know the PCBs have floppy details silkscreened on the back. Just check out the gallery.
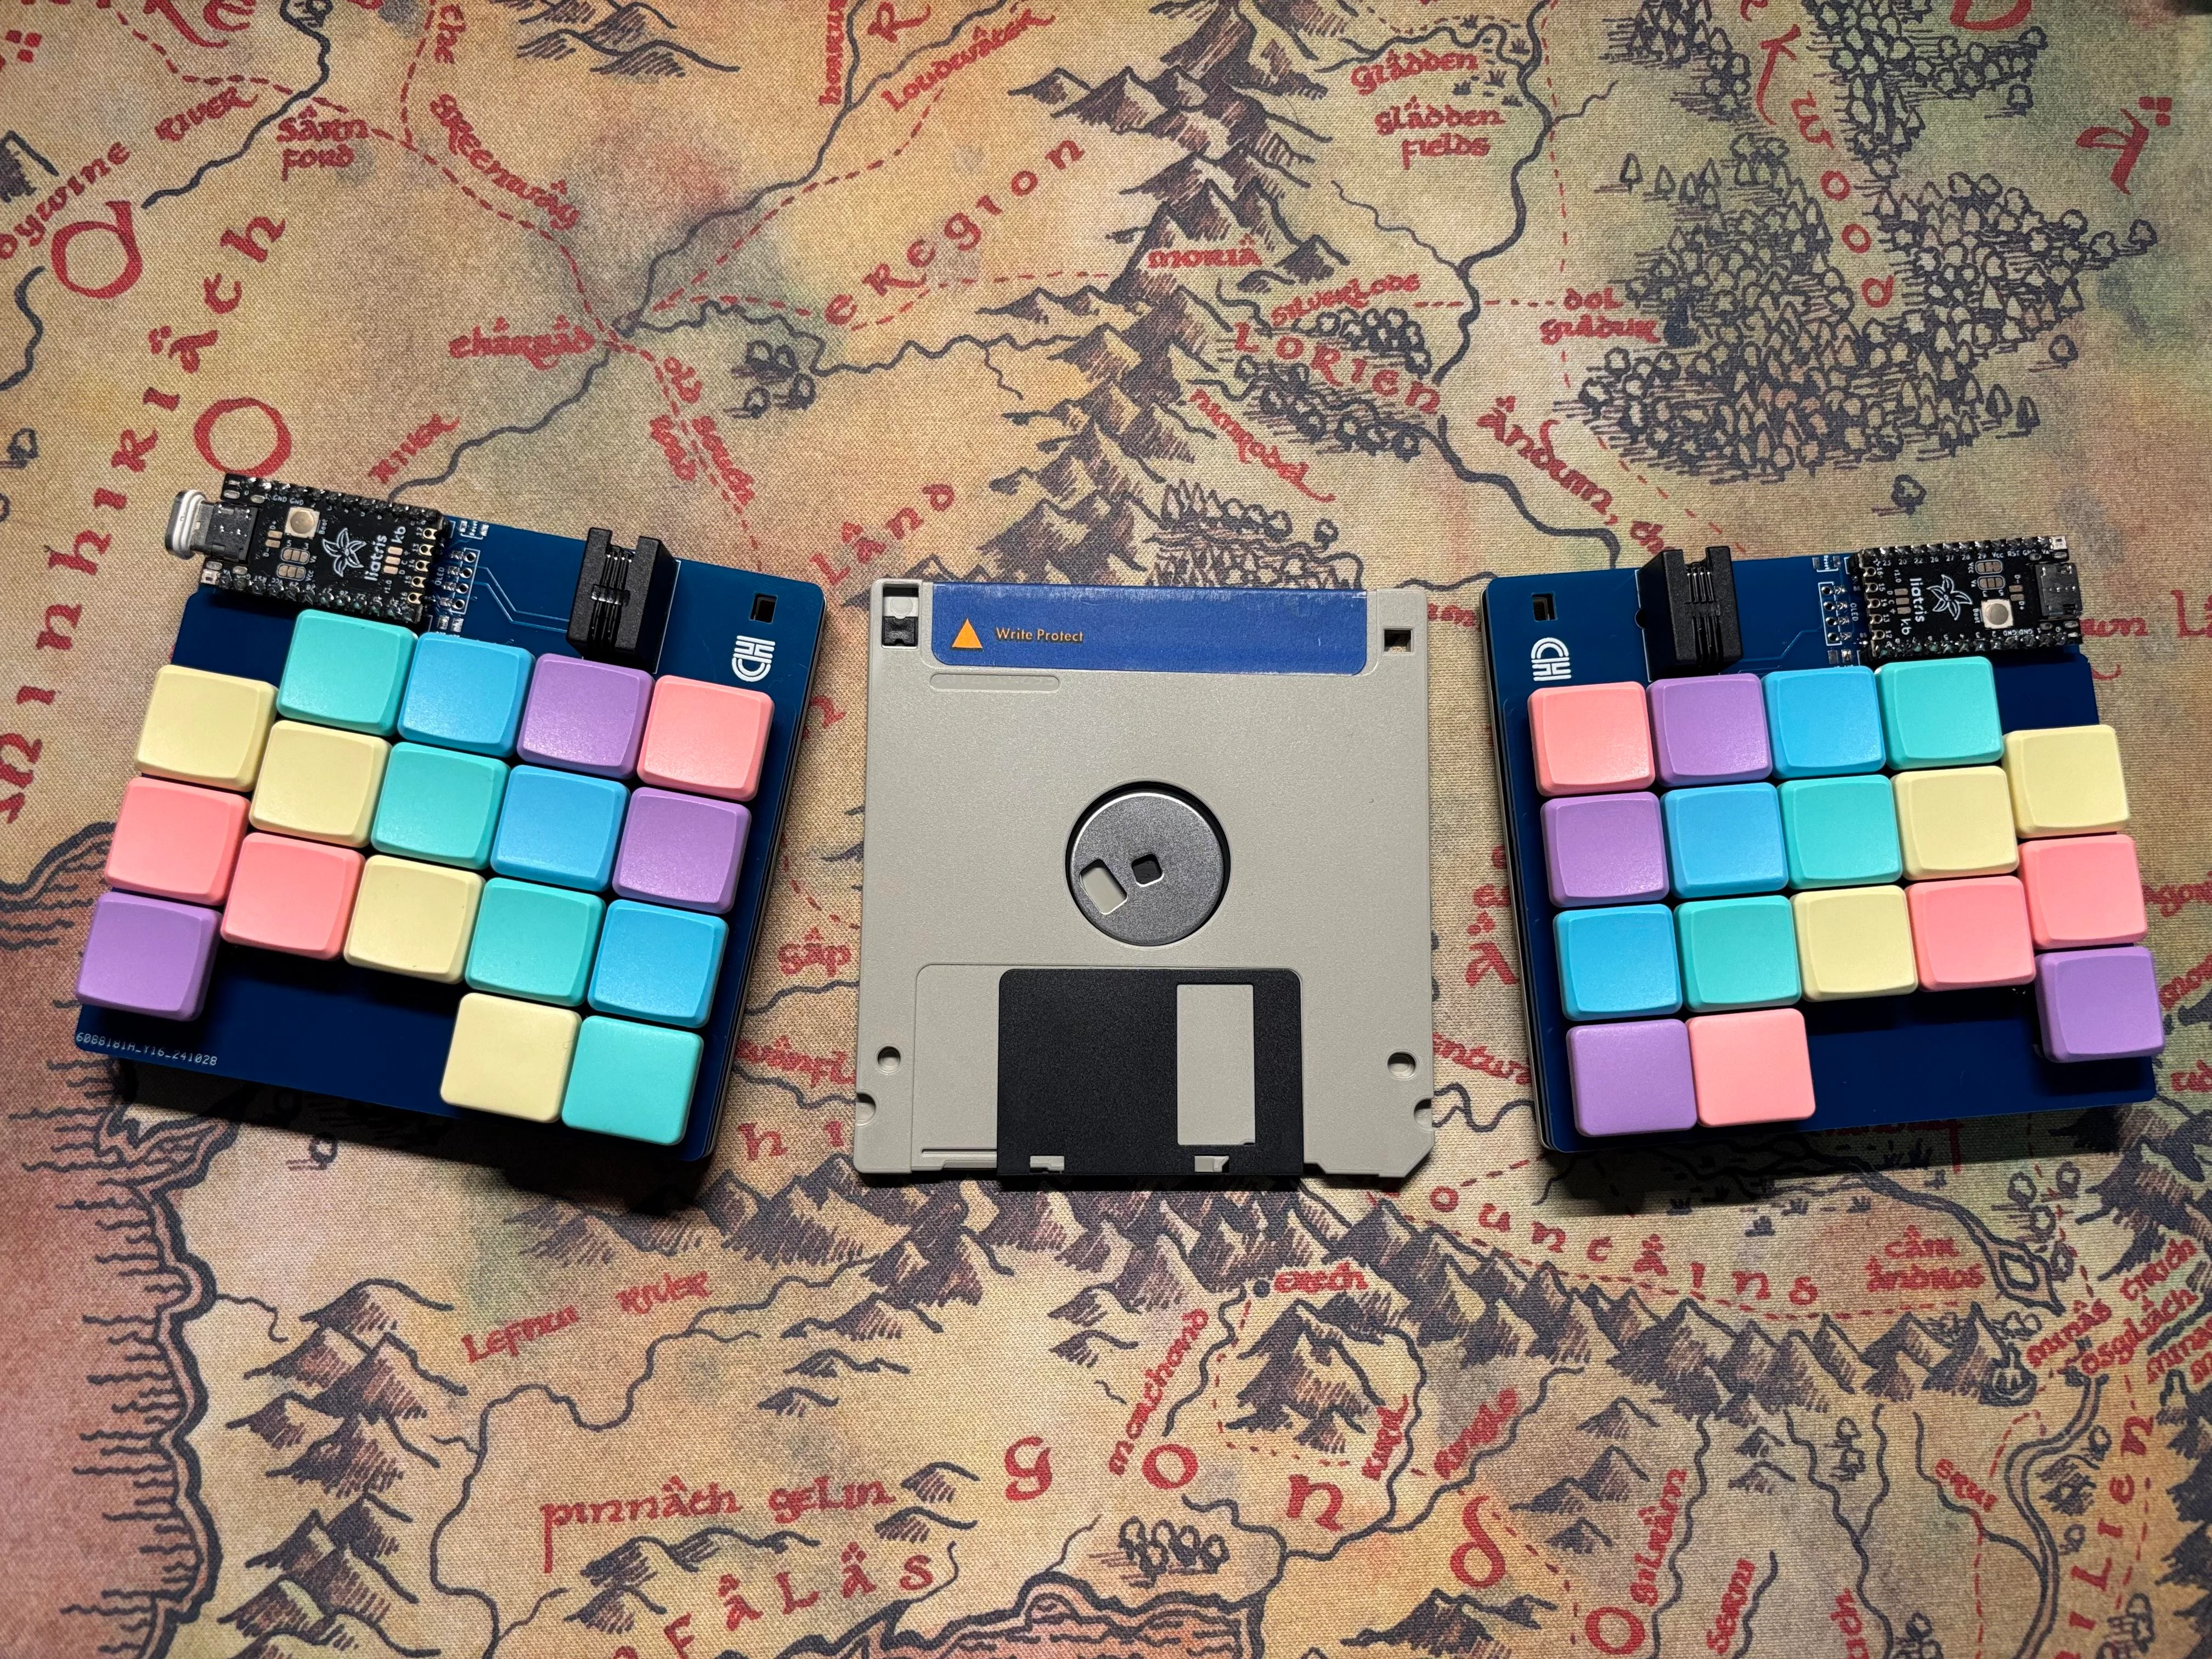
The other fun part of this build is that [Folaefolc] used RJ9 connectors to join the halves instead of something like TRRS.
Beneath those candy keycaps are 34 Kailh choc v1 switches shoved into hot swap sockets in case [Folaefolc] changes his mind. Gerbers are available if you want to build one of these cuties!
Via reddit
Continue reading “Keebin’ With Kristina: The One With The TRON Keyboard”


![[rasteri] holding his HIDMan USB dongle](https://hackaday.com/wp-content/uploads/2024/11/retro-usb-1200.jpg?w=600&h=450)


