
The Raspberry Pi Compute Module form factor is a tantalizing core for a potential laptop, with a CM5 module containing a fairly beefy SoC and RAM, with depending on the exact module also eMMC storage and WiFi. To turn this into a laptop you need a PCB to put the CM5 module on and slide it into a laptop shell. This is in effect what [Argon40] did with their crowdfunded ONE UP laptop, which [Jeff Geerling] has been tinkering with for a few weeks now, with some thoughts on how practical the concept of a CM5-based laptop is.
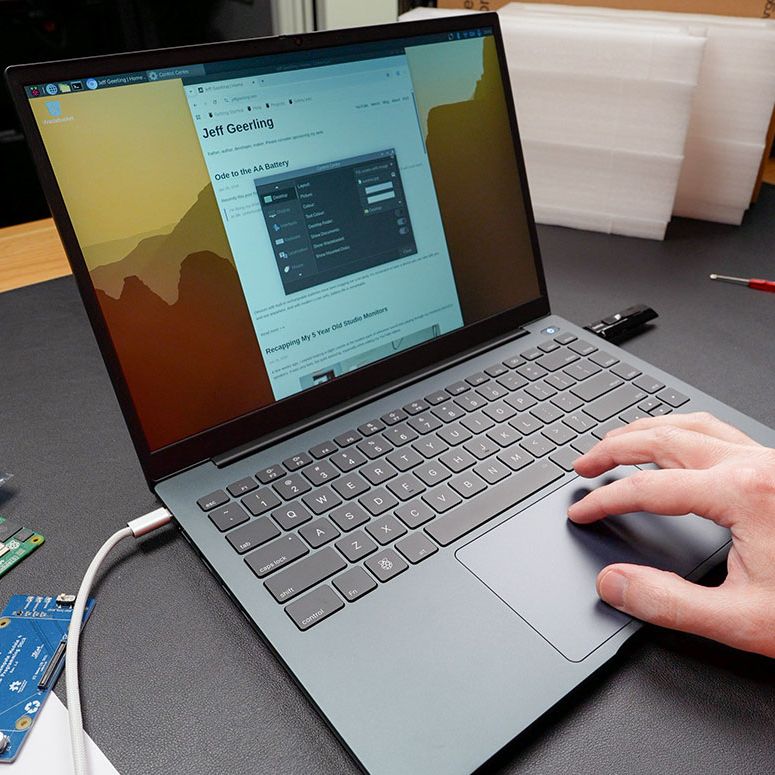
Most practical is probably the DIY option that [Jeff] opted for with the ‘Shell’ version that he bought, as that meant that he could pop in one of the CM5s that he had lying around. The resulting device is totally functional as a laptop, with all the Raspberry Pi 5 levels of performance you’d expect and with the repair-friendliness of a Framework laptop.
If you’re buying the Core version with the 8 GB CM5 module and 256 GB NVMe SSD included, you’re looking at €475 before shipping or the equivalent in your local currency. This puts it unfortunately in the territory of budget x86 laptops and used Apple MacBooks, even before taking into account the current AI-induced RAMpocalypse that’d push [Jeff]’s configuration to $600 if purchased new, with prices likely to only go up.
Even if this price isn’t a concern, and you just want to have a CM5-based laptop, [Jeff]’s experience got soured on poor customer support from [Argon40] and above all the Raspberry Pi’s arch nemesis: the inability to do sleep mode. With the lid closed it runs at 3.3 W idle, but that’ll run down the battery from 100% to flat in about 17 hours. Perhaps if Raspberry Pi added sleep states to their systems would it make for a good laptop core, as well as for a smartphone.
Continue reading “Argon ONE UP: Test-Tasting A Raspberry Pi CM5 Based Laptop”


