Using a 3D printer to make high quality parts is a great way to improve the look and appeal of any project. If you want to replicate something exactly, though, you’ll need either a very good set of calipers and a lot of time or a 3D scanner. Using the 3D scanner and the 3D printer go along very well together, especially if you use your 3D printer to build your 3D scanner too.
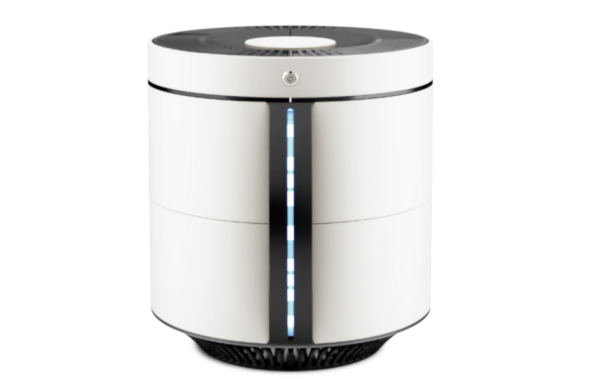
This project comes to us from [Vojislav] who spent the past two years perfecting this 3D scanner. Using a vast array of 3D printed parts, this build looks professional on every level. It also boasts a Raspberry Pi Zero and a fleet of camera modules, not to mention its own LED lighting. [Vojislav] has provided the printer files and the software needed to run it on the project page. It all runs through command line and python code, but that shouldn’t be a big hurdle.
While there is no video of it in action, it seems like all the parts are there for a solid 3D scanner, provided you have access to a 3D printer that can churn out the parts you’ll need. If you need something larger, there are some other options available as well that really take your photogrammetry skills to the next level.

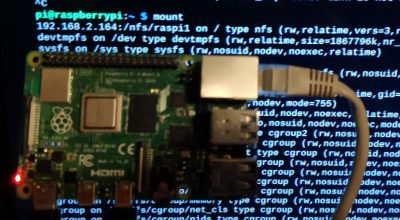 What are the downsides, I hear you ask? You might see slower speeds going across the network compared to a high quality SD card, particularly with the Pi 4 and its improved SD card slot. PXE does require an Ethernet cable; WiFi is not enough, so you have that restriction to contend with. And finally, this isn’t a portable option — you are tethered to that network cable while running, and tethered to your network to boot at all.