The great irony of the social media revolution is that it’s not very social at all. Users browse through people’s pictures in the middle of the night while laying in bed, and tap out their approval with all the emotion of clearing their spam folder. Many boast of hundreds or thousands of “friends”, but if push came to shove, they probably couldn’t remember when they had last seen even a fraction of those people in the real world. Assuming they’ve even met them before in the first place. It’s the dystopian future we were all warned about, albeit a lot more colorful than we expected.
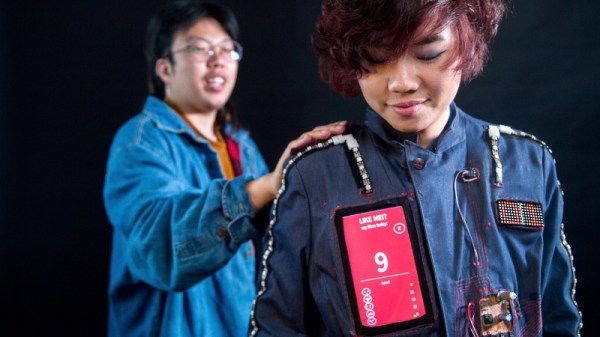
 But what if we took social media tropes like “Likes” and “Follows”, and applied them to the real world? That’s precisely what [Tuang] set out to do with the “Social Touch Suit”, a piece of wearable technology which requires a person actually make physical contact with the wearer to perform social engagements. There’s even a hefty dose of RGB LEDs to recreate the flashy and colorful experience of today’s social media services.
Every social action requires that a specific and deliberate physical interaction be performed, which have largely been designed to mimic normal human contact. A pat on the shoulder signifies you want to follow the wearer, and adding them as a friend is as easy as giving a firm handshake. These interactions bring more weight to the decisions users make. For example, if somebody wants to remove you as a friend, they’ll need to muster up the courage to look you in the eye while they hit the button on your chest.
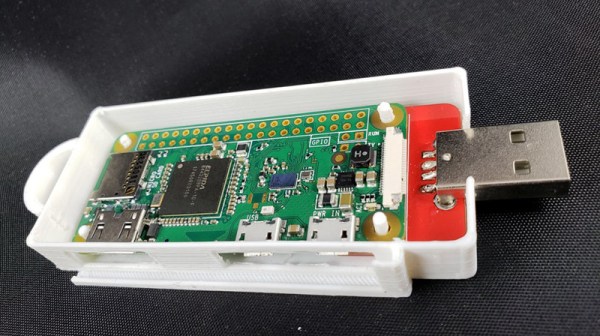
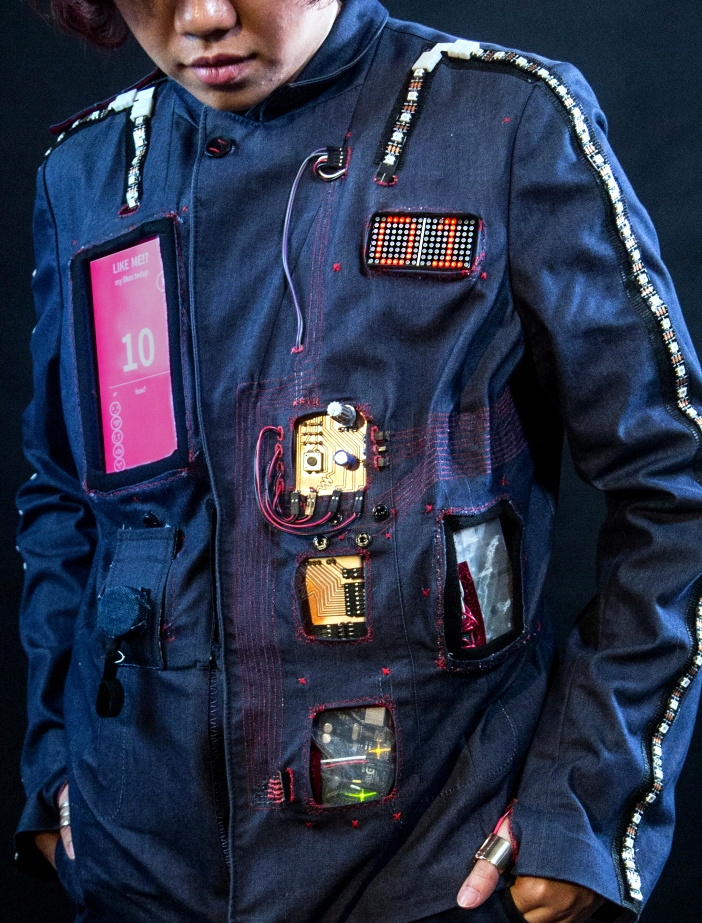
The jacket uses an Arduino to handle the low level functions, and a Raspberry Pi to not only provide the slick visuals of the touch screen display, but record video from the front and rear integrated cameras. That way you’ve even got video of the person who liked or disliked you. As you might expect, there’s a considerable energy requirement for this much hardware, but with a 5200 mAh LiPo battery in the pocket [Tuang] says she’s able to get a run time of 3 to 4 hours.
Considering how much gadgetry is packed into it, the whole thing looks remarkably wearable. We wouldn’t say it’s a practical piece of outerwear when fully decked out, but most of the electronic components can be removed if you feel like going low-key. [Tuang] also points out that for a garment to be functional it really needs to be washable as well, so being able to easily strip off the sensitive components was always an important part of the design in her mind.
The technology to sensors wearable and flexible is still largely in its infancy, but we’ve very excited to see where it goes. If projects like these inspire you, be sure to check out the presentation [Kitty Yeung] gave at the Hackaday Supercon where she talks about her vision for bespoke wearable technology. Continue reading “Social Media Jacket Puts Your Likes On Your Sleeve”