Wednesday was the last day of February, and leap year questions aside that date marks the anniversary of the Raspberry Pi launch. The oldest commercially available Pi is now 6 years old, and to mark the occasion the Raspberry Pi people have put up a retrospective of all their different models.
There is a primordial prototype from [Eben Upton]’s bench that involves an Atmel processor, but the first board dangled in front of the public was a Broadcom one, the BCM2763 ‘micro DB’. This was a form factor like one of those Android TV sticks, and while it was not a Raspberry Pi internal design or indeed sporting the SoC to be used by the Pi itself, it was sufficient to capture the imagination of what would become the Raspberry Pi community.
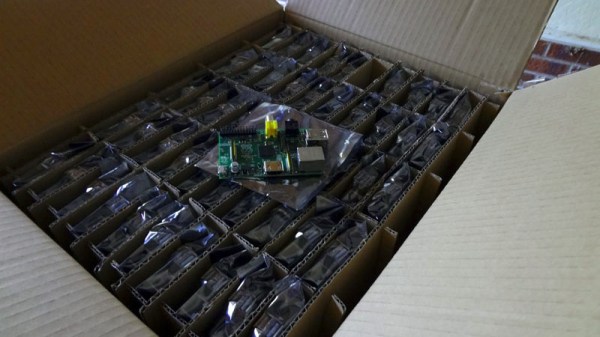
If you got out of bed early (British time) on the 29th of February 2012 and tried to order one of the first commercially available boards, you were most likely to be out of luck. The relatively small first batch from China was oversubscribed massively, both the RS and Farnell websites went down completely for most of the day. We received our model at some point in May. It’s an over-used phrase, “And the rest is history”, but it seems entirely appropriate here. The Pi has passed through several iterations and increased in both computing power and memory, it has spawned a whole industry of peripherals, a huge community, and a host of competitors. We have quite a few of the boards in the blog post, but some of the more exotic ones have evaded us.
It’s not the best or most powerful board out there, many of its competitors can beat it on performance, but it remains the one to beat in small and cheap Linux-capable single board computers. Why is this the case? It has probably the best-supported Linux distro of all of them, and that community has already answered many of the queries you might find with your board.
So there’s the story, a successful product line, community, and foundation. The Pi blog piece is very much their PR, but it doesn’t need to gild the lily. However, that will not stop competitors from taking aim at its crown, and the field remains open for one of them to topple it. Which of course makes for fascinating stories for us here at Hackaday, so we’d encourage anybody with an electronics factory in China, a bright team, and some good ideas to give it a try. Meanwhile, we’ll be looking towards Cambridge for whatever new products will sport the fruity logo.