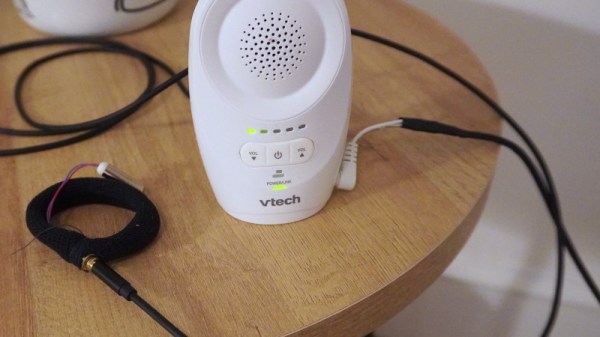
As the name of the channel implies, [BuyItFixIt] likes to pick up cheap gadgets that are listed as broken and try to repair them. It’s a pastime we imagine many Hackaday readers can appreciate, because even if you can’t get a particular device working, you’re sure to at least learn something useful along the way.
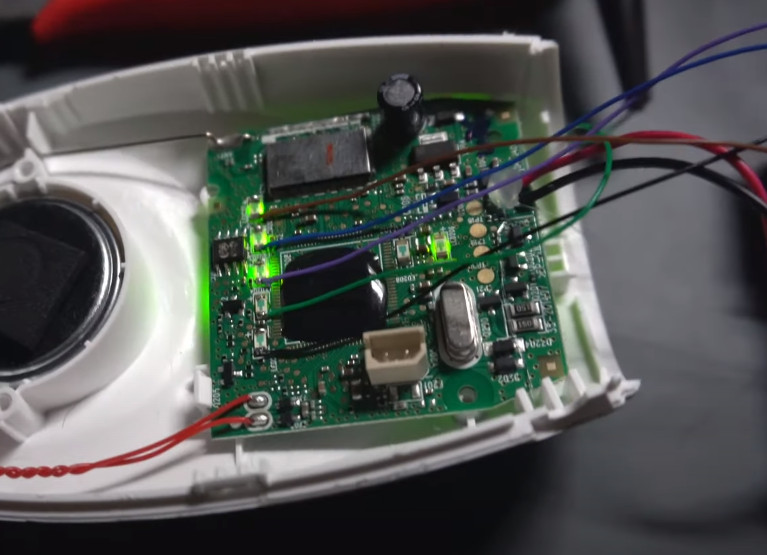
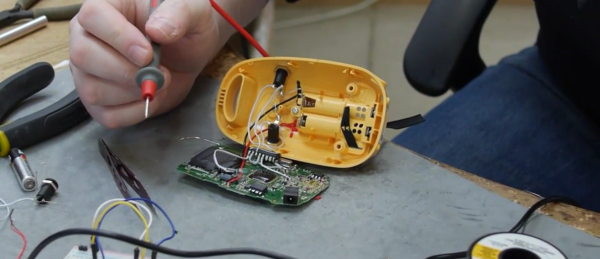
But after recently tackling a VTech video baby monitor from eBay, [BuyItFixIt] manages to do both. He starts by opening up the device and going through some general electronics troubleshooting steps. The basics are very much worth following along with if you’ve ever wondered how to approach a repair when you don’t know what the problem is. He checks voltages, makes sure various components are in spec, determines if the chips are talking to each other with the oscilloscope, and even pulls out the thermal camera to see if anything is heating up. But nothing seems out of the ordinary.
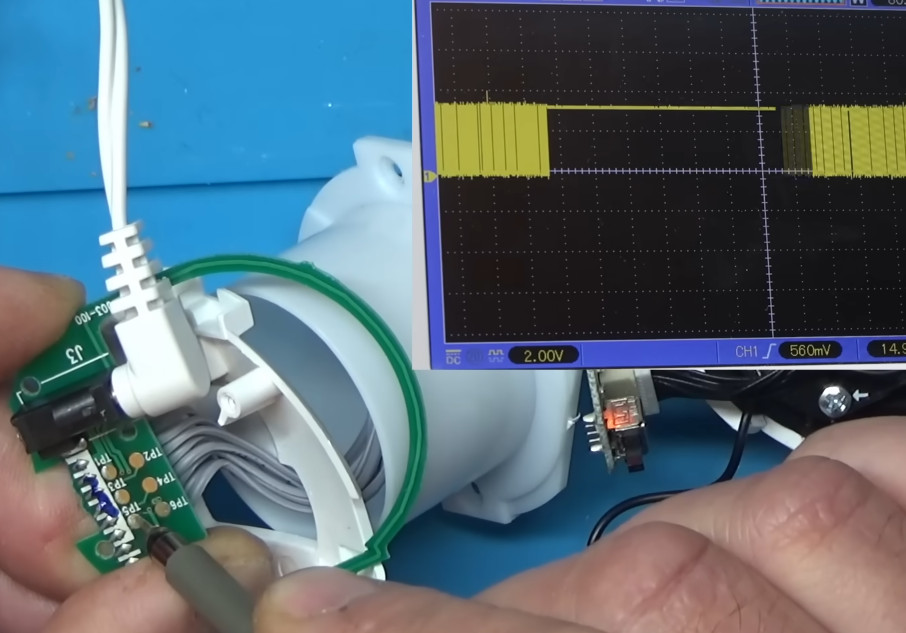
While poking around with the oscilloscope, however, he did notice what looked like the output of a serial debug port. Sure enough, when connected to a USB serial adapter, the camera’s embedded Linux operating system started dumping status messages into the terminal. But before it got too far along in the boot process, it crashed with a file I/O error — which explains why the hardware all seemed to check out fine.
Now that [BuyItFixIt] knew it was a software issue, he started using the tools built into the camera’s bootloader to explore the contents of the device’s flash chip. He uncovered the usual embedded Linux directories, but when he peeked into one of the partitions labeled Vtech_data2, he got a bit of a shock: the device seemed to be holding dozens of videos. This is particularly surprising considering the camera is designed to stream video to the parent unit, and the fact that it could record video internally was never mentioned in the documentation.
Continue reading “Video Baby Monitor Repair Uncovers Private Data”
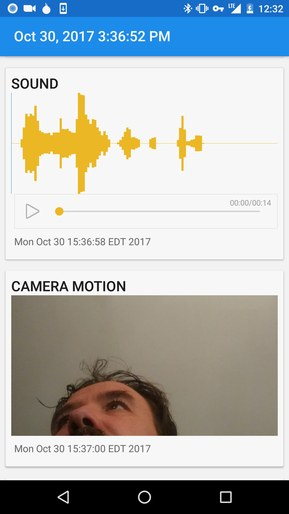

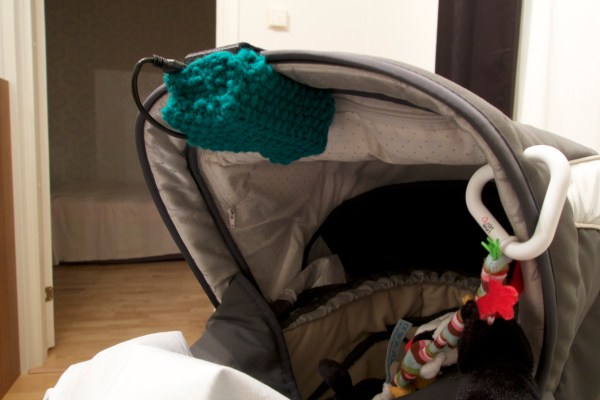
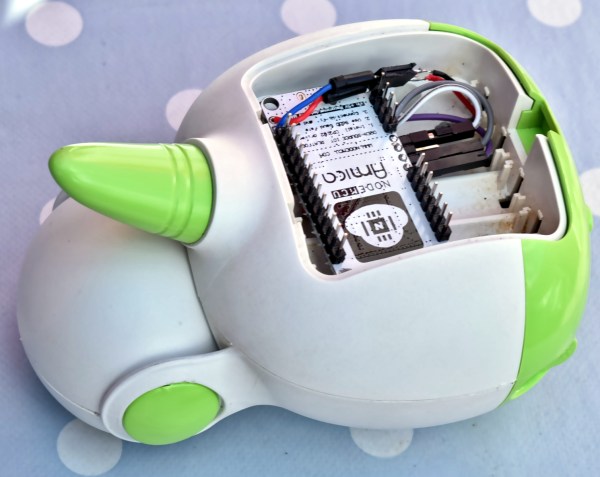
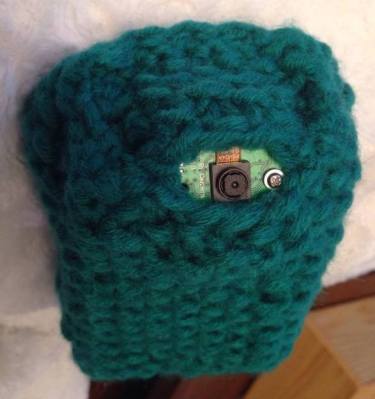 At least that’s how [Antibore] handled the situation, and the results are pretty good. He designed his build around an old Raspberry Pi 2 that was hanging around. That required a WiFi adapter, and since he wanted video and audio he needed a camera and mic. The first USB mic had a nice compact design but didn’t perform well, so a gutted gooseneck mic soldered right to the USB connector joined the design spec. A camera module, cell-phone quick charge battery bank, and a 3D printed case round out the BOM. A knitted cozy to keep it looking warm and fuzzy was provided by the mother-to-be — although we think it