The essence of hacking is modifying something to do a different function. Many of us learned as kids, though, that turning the family TV into an oscilloscope often got you into trouble.
 These days, TVs are flat and don’t have high voltage inside, but there’s always the family robot, often known as a Roomba. Besides providing feline transportation, these little pancake-shaped robots also clean floors.
If you don’t want to evict the cat and still get a robust domestic robot platform for experimentation, about $200 will get you a Roomba made to be hacked — the iRobot Create 2. [Gstatum] has a tutorial for using a Raspberry Pi and MATLAB to get one quickly running and even doing basic object recognition using the Pi’s camera.
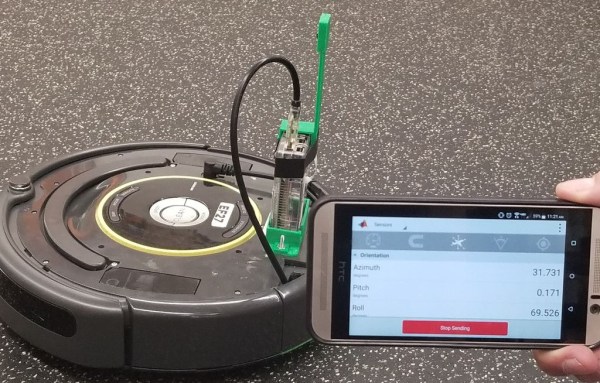
The code even interfaces with Twitter. The impressive part is the code fits on about a page. This isn’t, however, completely autonomous. It uses a connected phone’s sensor’s so that the phone’s orientation controls the robot’s motion, but the robot does use sensors to prevent driving into walls or falling off a cliff. It also can detect being picked up and uses the Pi’s camera to detect a green flag.