For those of us who grew up before the Internet, the center of pretty much every house was the TV. It was the shrine before which we all worshipped, gathering together at the appointed times to receive the shared wisdom of mass entertainment. In retrospect, it really wasn’t that much. But it’s what we had.
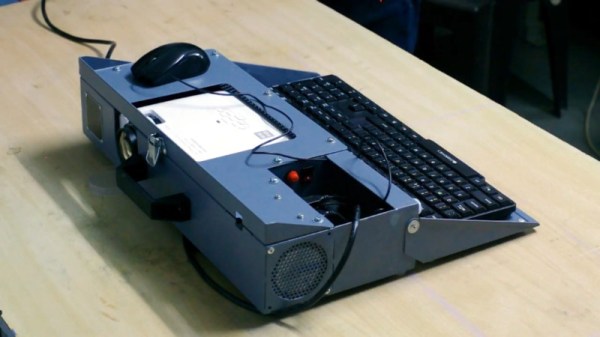
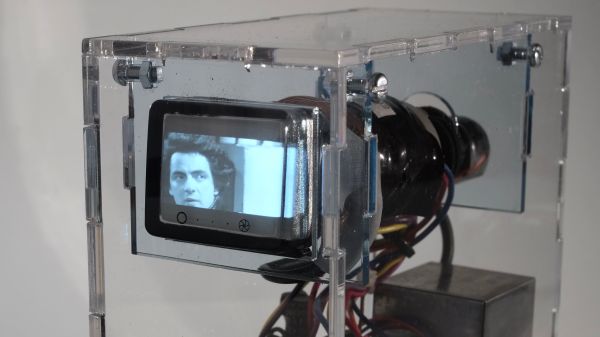
Content aside, one thing all these glowing boxes had in common was that which did the glowing — the cathode ray tube (CRT). Celebrating the marvel of engineering that the CRT represents is the idea behind [Matt Evan]’s tiny desktop TV. The design centers around a 1.5″ CRT that once served as a viewfinder on a 1980s-vintage Sony camcorder. [Matt] salvaged the tube and the two PCB assemblies that drive it, mounting everything in a custom-built acrylic case, the better to show off the bulky but beautiful tube.
The viewfinder originally used a mirror to make the optical path more compact; this forced [Matt] to adapt the circuit to un-reverse the image for direct viewing. Rather than receiving analog signals off the air as we did in the old days — and we liked it that way! — the mini monitor gets its video from a Raspberry Pi, which is set to play clips of TV shows from [Matt]’s youth. Rendered in glorious black and white and nearly needing a magnifying glass to see, it almost recaptures the very earliest days of television broadcasting, when TVs all had screens that looked more like oscilloscope CRTs.
This project is a nice homage to a dying technology, and [Matt] says it has spurred more than one conversation from people you grew up knowing only LCD displays. That’s not to say CRTs are totally dead — if you want to build your own old-school TV, there’s a kit for that.