[CuriousMarc] has a pile of 8-inch drives, all marked bad. You can’t just pop over to the computer store and buy a new one these days, so it was off to the repair bench. Although the target drive would do a quick seek, once it was in use, it just kind of shut down. So [Marc] started sending low-level commands to the device to see if he could isolate the fault. You can watch the whole adventure in the video below.
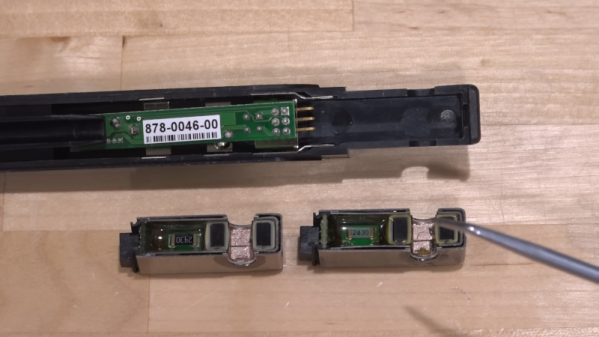
Using a breakout board, he was able to monitor and exercise all the pins going into the floppy. A quick study of the schematics, and connection to the scope were all [Marc] needed to build some theories of what was happening.
One of the theories was that the head amplifier was disabled, but it turned out to be fine. After several other dead ends, he finally found a broken spring and came up with a creative repair for it. But there was still no clear reason why the drive wouldn’t work. By process of elimination, he started to suspect an array of diodes used for switching, but again, it was another dead end.
Luckily, he had one working drive, so he could compare things between them. He found a strange voltage difference. Turns out the old advice of checking power first might have paid off here. One of the voltage regulator ICs was dead. In all fairness, there are two 12V power supplies and he had checked one of them but had missed the second supply. This supply is only used for head bias which switches the diodes he had suspected earlier. There had also been a loose pin that might have been a contributor.
With a new power supply IC, the drive worked but needed an alignment. You may never need to repair an 8-inch floppy drive, but the logic in chasing down a problem like this will serve you well on any diagnostic task.
If you think the big drives won’t work with a modern PC, they will. On the other hand, if you need to read some badly enough, you could just use an oscilloscope.
Continue reading “[CuriousMarc] Repairs A Floppy” →