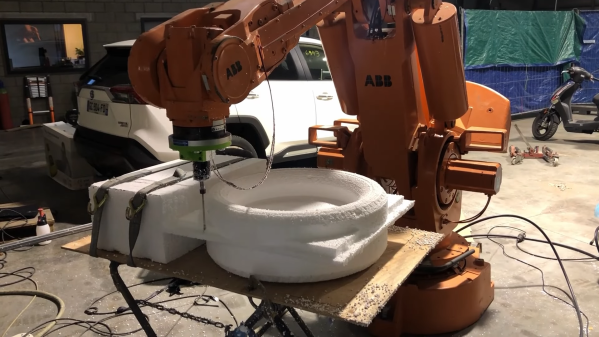
Tape robots are typically used in places that store vast amounts of data – think film studios and government archives. If you’ve seen the 1995 cult movie Hackers, you might remember a scene where the main character hacks into a TV station and reprograms their tape ‘bot to load a series he wanted to watch. It’s this scene that inspired [Nathan] over at [Midwest Cyberpunk] to make his own tape robot that loads VHS tapes.
[Nathan] has thousands of tapes in his collection, but the robot is not built to manage all of them. Instead, it’s meant to help him run his VHS streaming channel, saving him from having to physically go to his VCR every time a tape needs swapping. For that, a ten-tape storage capacity is plenty.
 The main parts of the tape robot are a grabber that holds the tape, an extender that moves it forward and backward, and a linear rail that moves it up and down. The vertical motion is generated by a hybrid stepper motor through a belt drive system, while the grabber and extender are operated pneumatically. Once the grabber reaches the VCR, a pneumatic pusher shoves the tape inside. All of this is nearly identical to the robot seen in the movie, which was most likely not a commercial machine but a custom-made prop.
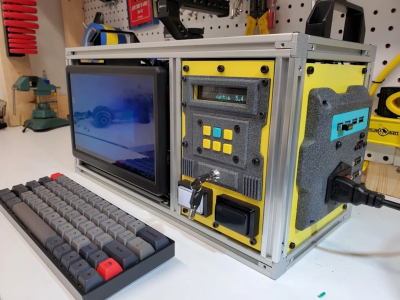
The whole system is controlled by an ESP32 running FluidNC inside the robot as well as a handmade cyberdeck next to it that manages the overall process of loading and storing tapes. Although [Nathan] is currently using the robot for his streaming channel, he’s planning to also use it for digitizing part of his massive tape collection, which contains a few titles that were never released on newer formats.
Working with old tapes can be tricky: some types of tape degrade over time, while others might come with primitive copy protection systems. But moving information over to newer media is a necessity if you don’t want to risk losing it forever.
Continue reading “VHS Robot Swaps Tapes, As Seen In Hackers“ →