Anyone who has ever etched their own PCB knows that the waiting is the hardest part. Dissolving copper in ferric chloride takes time, much like developing a Polaroid picture. And although you really should not shake a fresh Polaroid to speed up development, the PCB etching process thrives on agitation. Why wait an hour when you can 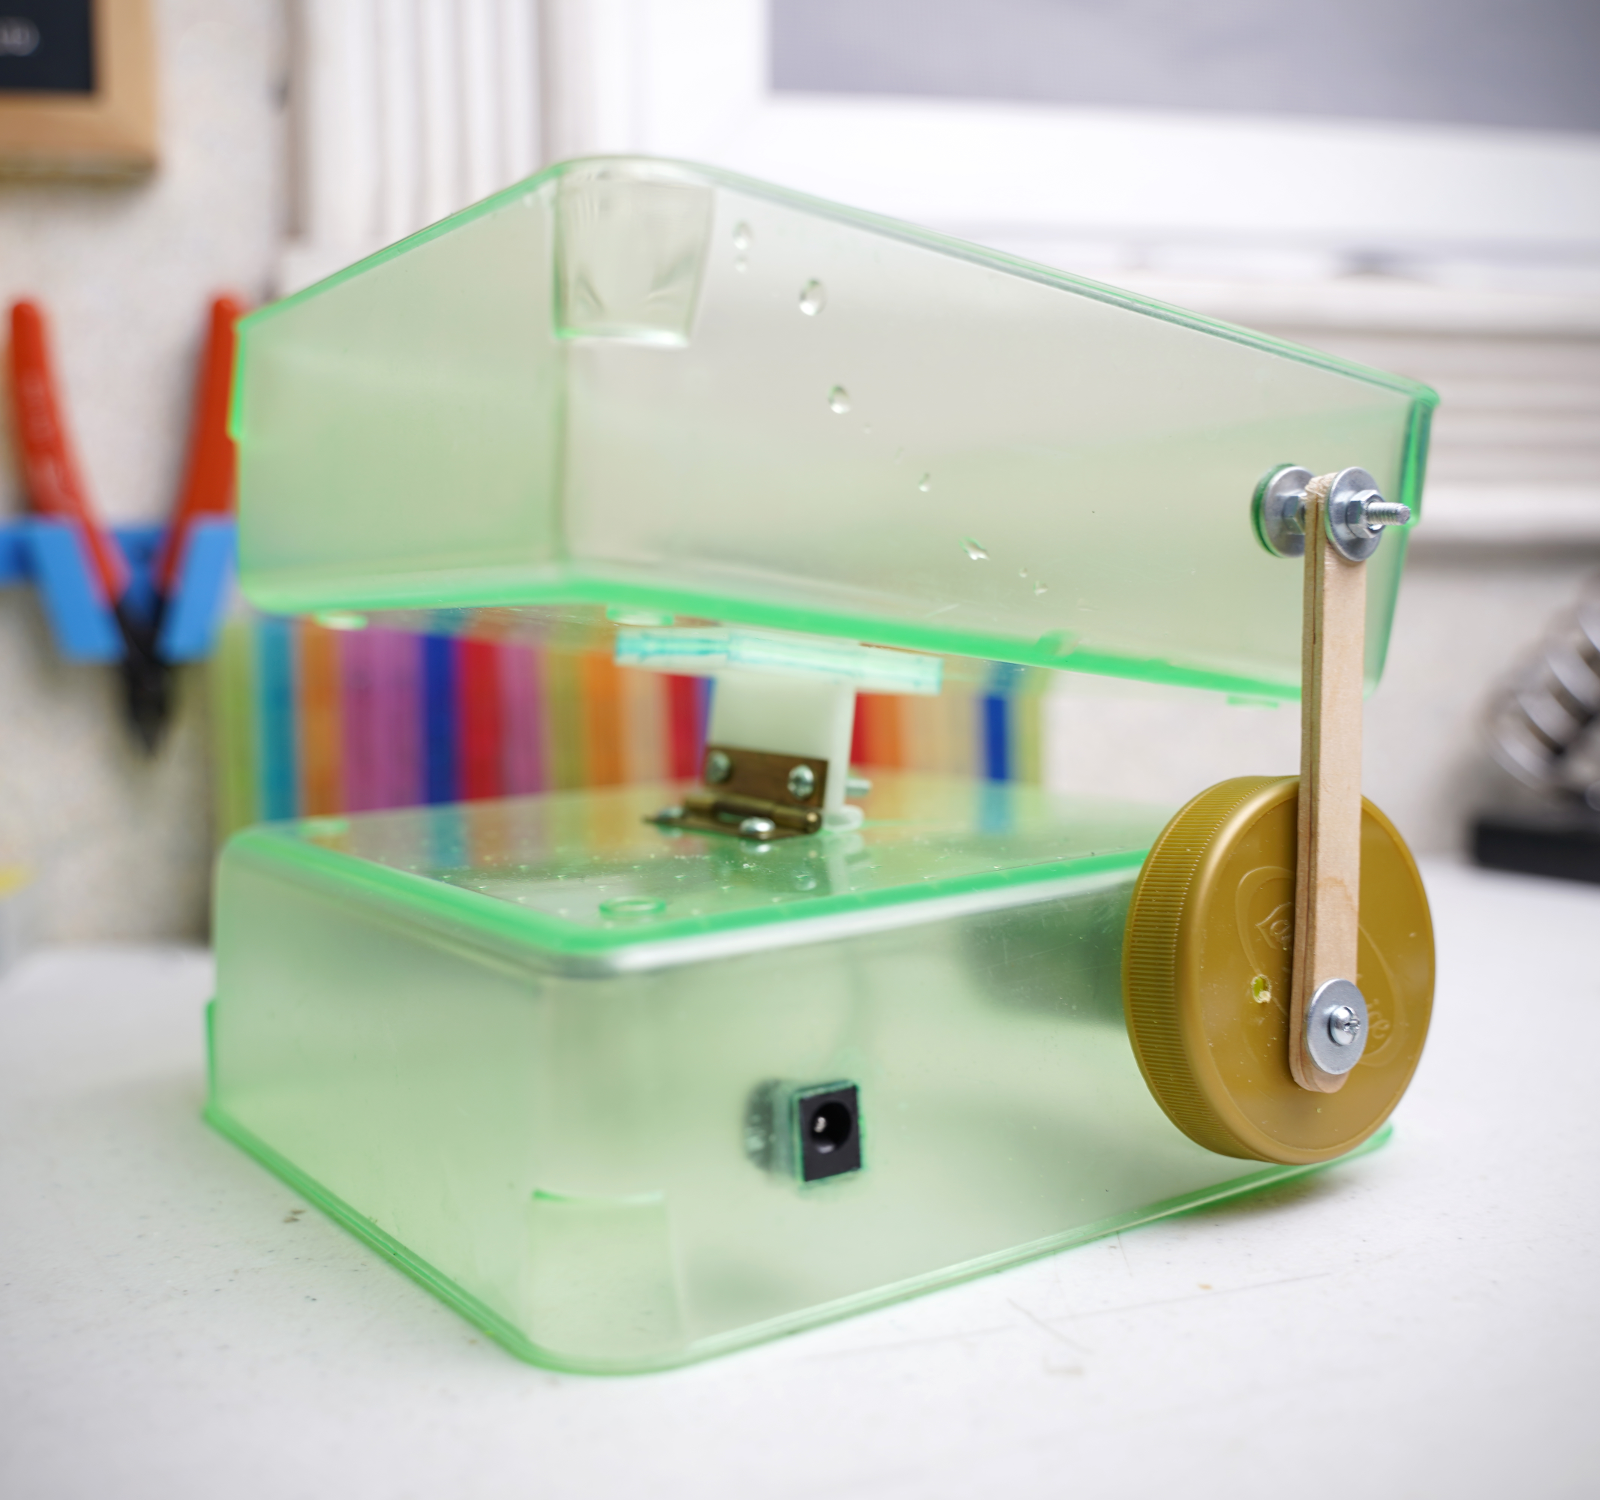 build a simple PCB shaker and move on to drilling and/or filling in 10 minutes?
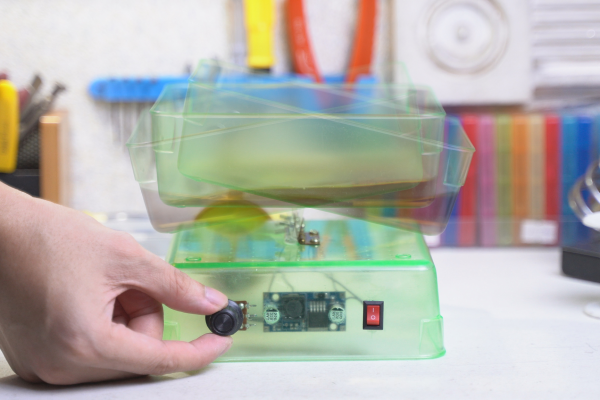
We love that [ASCAS] was probably able to build this without reaching past the the spare parts box and the recycling bin. There’s no Arduino or even a 555 — just a 12 VDC geared motor, a DC-DC buck converter, and an externalized pot to control the speed of the sloshing.
It’s hard to choose a favorite hack here between the hinge used to rock this electric seesaw and the crankshaft/armature [ASCAS] made from a sandwich spread lid and a Popsicle stick. Everything about this build is beautiful, including the build video after the break.
Did you know that unlike ferric chloride, copper chloride can be recharged and reused? Here’s a one-stop etching station that does just that.