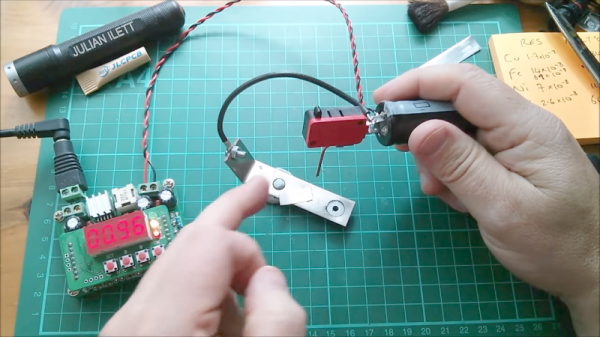
[Julian] needed to weld a bit of nickel to some steel and decided to use a spot welding technique. Of course he didn’t have a spot welder sitting around. Since these are fairly simple machines so [Julian] set out to build a spot welder using a charged supercapacitor. The fundamentals all seem to be there — the supercap is a 100 Farad unit and with a charge of 2.6V, that works out to over 300 joules — yet it simply doesn’t work.
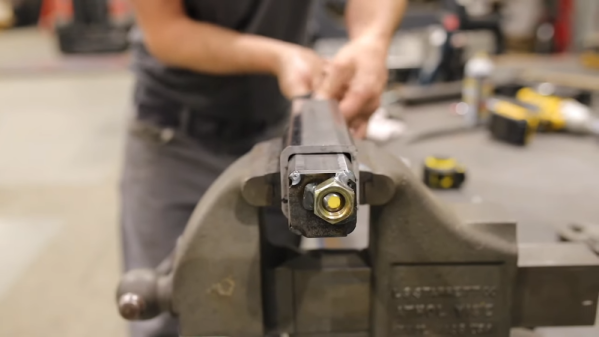
The problem is in how the discharge energy is being directed. Just using the capacitor would cause the charge to flow out as a spark when you got near the point to discharge. To combat this, [Julian] put a microswitch between the capacitor and the copper point he expected to use as the welding tip. The microswitch, of course, is probably not the best for carrying a large surge of current, so we suspect that may be part of why he didn’t get great results.
The other thing we noticed is that he used a single point and used the workpiece as a ground return. Most spot welders use two points near each other or on each side of the workpiece. The current from the capacitor is probably just absorbed by the relatively large piece of metal.
The second video below from [American Tech] shows a 500F capacitor doing spot welding with little more than two wires and it seems to work. Hackaday’s own [Sean Boyce] even made one out of some whopping 3000F caps. It did work, although he’s been pursuing improvements.
Continue reading “Fail Of The Week: Supercapacitor Spot Welder”

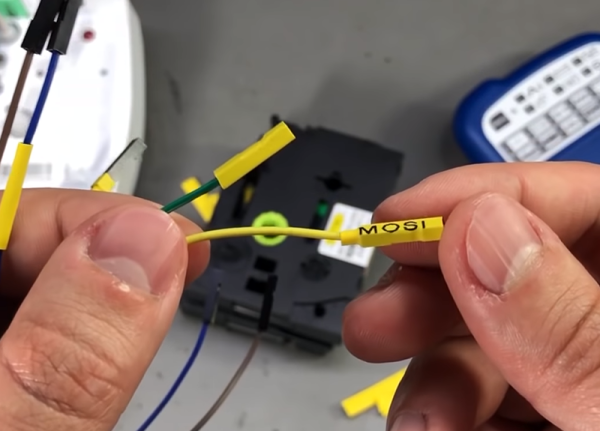
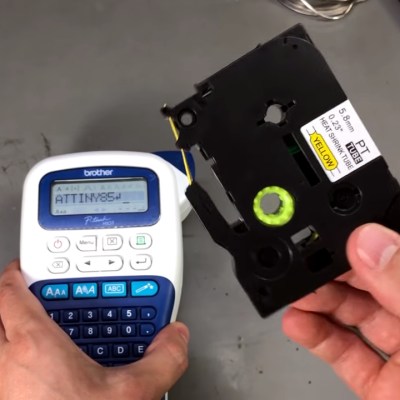 At first, the printer didn’t even want to recognize the cassette. It seems like Brother doesn’t want you using exotic tapes with cheap printers. No worry, this isn’t sophisticated DRM, just a sense hole that you need to cover with tape. This discovery was made using the extremely scientific trick of covering all the holes that were not on a regular cassette.