Failed Tool Turned Exploded Wall Art

Few things hit a hacker or maker harder than when a beloved tool goes to that Big Toolbox In The Sky. It can be hard to trash something that’s been with you through countless repairs and teardowns, made all the worse by the fact most employers don’t recognize “Tool Bereavement” as a valid reason to request time off. Maybe next time one of your trusty pieces of gear gives up the ghost, you can follow the example set by [usuallyplesent] and turn it into a piece of art to hang up on the shop wall.

The shop had gotten years of daily service out of this air powered angle die grinder (not bad for a $14 Harbor Freight tool), and he thought they should immortalize it in their waiting room by turning it into an interesting piece of art. After all, it’s not everyday that some folks see the insides of the sort of tools the more mechanically inclined of us may take for granted.

After taking the grinder apart and cleaning everything up, [usuallyplesent] decided to simplify things a bit by tossing out the assorted tiny components like seals and washers. By just focusing on the larger core components, the exploded view is cleaner and reminds us of a light saber cutaway.

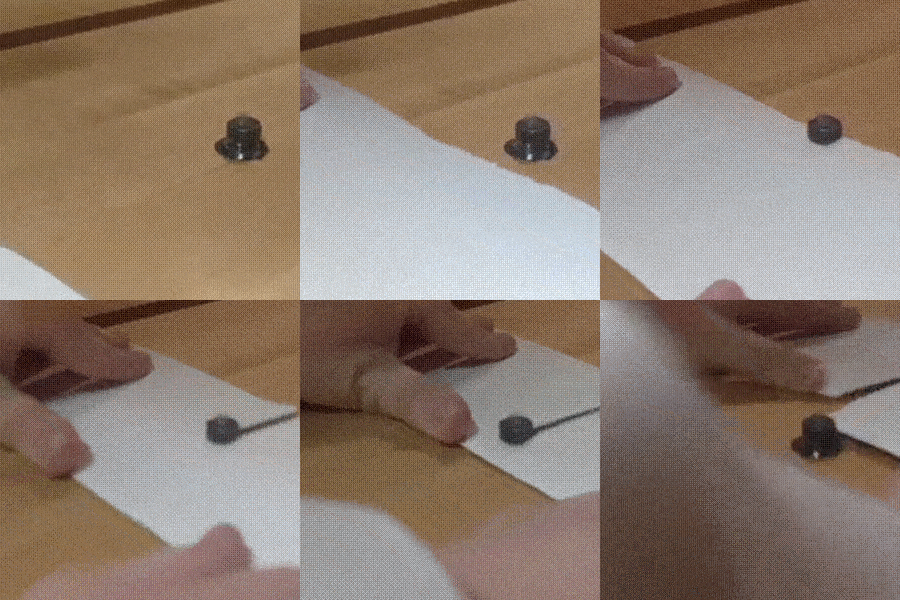
Using a piece of scrap cardboard, [usuallyplesent] made templates for all of the major pieces of the grinder and used that to sketch out the placement and spacing on the white background. He then cut out each shape so the parts would be partially recessed into the board. This gives the effect that each piece was cut down the middle lengthwise but without all the hassle of actually cutting everything down the middle lengthwise.

We’ve previously seen similar displays made out of dissected consumer electronics, but there’s something rather personal about doing the same thing for a well-used tool. If any of our beloved readers feel inspired to enshrine a dead multimeter into a shadow box over the bench, be sure to let us know.

[via /r/justrolledintotheshop]

Hackaday guide to Lathes

Lathe Headstock Alignment: Cutting A Test Bar

Let’s say you’ve recently bought a lathe and set it up in your shop. Maybe you’ve even gone and leveled it like a boss. You’re ready to make chips, right? Well, not so fast. As real machinists will tell you, you can use all the levels and lasers and whatever that you want, but the proof is in the cut. Precision leveling gets your machine in the ballpark (machinists have very small ballparks) but the final step to getting a machine to truly perform well is to cut a test bar. This is a surefire way to eliminate any last traces of twist in the bed.

There are two types of test bars. One is for checking headstock-to-ways alignment, which is what we’re doing here. There’s another type used for checking tailstock alignment, but that’s a subject for another day.

Continue reading “Lathe Headstock Alignment: Cutting A Test Bar”

DSO Nano 3 Review: A 20 MHz Pocket ‘Scope For Not A Lot

The oscilloscope is an essential tool of any electronics bench, and it is also an instrument whose capabilities have expanded exponentially over the decades. Your entirely analogue CRT ‘scope of a few decades ago has now been supplanted by a digital device that takes on many of the functions of both an expensive multimeter a frequency counter, and more. At the top end of the market the sky is the limit when it comes to budget, and the lower end stretches down to low-bandwidth devices based upon commodity microcontrollers for near-pocket-money prices.

These super-cheap ‘scopes are usually sold as kits, and despite their very low bandwidth are surprisingly capable instruments with a useful feature set due to well-written software. I  reviewed a typical model last year, and came away lamenting its lack of an internal battery and a decent quality probe. If only someone would produce an inexpensive miniature ‘scope with a decent bandwidth, decent probe, and an internal battery!

As it happens, I didn’t have long to wait for my wish to be satisfied, with news of the release of the DSO Nano 3. Let’s see what you can do with a portable scope for less than $50.

Continue reading “DSO Nano 3 Review: A 20 MHz Pocket ‘Scope For Not A Lot”

Rolling Out A Slick Rotary Phase Converter

Home machinists can often find great deals on used industrial equipment, and many a South Bend lathe or Bridgeport milling machine has followed someone home. Then comes the moment to plug it in, and the new owner discovers that the three-phase plug needed to power the new beast is nowhere to be found in the shop. Thus commences the weeping and the gnashing of teeth.

Luckily, [Handmade Extreme] is ahead of the curve in terms of shop power, and built a rotary phase converter to power his machines. Industry generally runs on three-phase AC systems, mainly because three-phase electric motors are so much more efficient and compact than the equivalent single-phase motor. But residential electrical service is either split-phase or, in the UK where [Handmade Extreme] is based, single phase. A rotary phase converter is an electromechanical device that can generate the missing phases – in essence a three-phase motor that can run on one winding and generate the missing phases across the other windings. It needs some supporting control circuitry to do so, such as timers and contactors to switch the winding connections once the motor starts, plus capacitors for motor starting and for balancing the voltage across the phases. The control gear is DIN-rail mounted and neatly wired to a smart-looking control panel. Everything is housed in a sturdy enclosure that’s big enough to serve as a mobile tool cart. It’s a really nice job – watch the whole build in the video below.

If you’re interested in power distribution, we’ve got a primer that covers the basics. And if you’re in the market for machine tools, [Quinn]’s machine tool buyer’s guide will let you decide if a three-phase machine is worth the extra effort.

Continue reading “Rolling Out A Slick Rotary Phase Converter”

How Much Current Does That Thing Draw?

If you ask us how to measure the current draw from something, we’ll break a power lead and put a multimeter in series with the power supply. If that’s not handy, we’ve been known to take the fuse out of the power supply and replace it with the meter. Crude, but effective. But if you have about $8,000 sitting around, you could go grab a Keithley 2460 SourceMeter.

What’s a SourceMeter? Well, as far as we can tell it is a power supply with very accurate built-in current monitoring and a microprocessor that can display lots of interesting statistics and graphs. In all fairness, this looks like a souped up model, but they start at about half the price which is still a lot more than most hacker budgets.

Continue reading “How Much Current Does That Thing Draw?”

Measuring Energy Consumption

You would think that measuring a lot of sophisticated AC power parameters such as active and reactive power, RMS voltage and current, and line frequency would be a big job. As it turns out in so many cases, there’s a chip for that. The Microchip MCP39F511 can do all of that, but needs a little help from a few transformers. [Boris Landoni] has a two-part post that not only shows such a meter built with the chip but also has a very detailed description of the operation of the IC and how it works. The set-up takes two transformers. One to step the voltage down and another to measure the current.

Maybe it was just us, but we found the two schematics to be a little confusing. The schematic with two ICs on it is the actual board with the MCP39F511 (the other IC is a voltage regulator). The schematic with the transformer on it appears to have a single IC, U1, but that’s not really the case at all. U1 on that schematic is the entire circuit board from the first schematic. The “IC” pin numbers on the second schematic are the CN2 pins on the first schematic. The CN1 and CN2 on the two schematics are not related at all other than U1 is the actual board from the first schematic.

Continue reading “Measuring Energy Consumption”

Junk Bin Spin Coater Uses Modded Case Fan

We’ve all been there: you need a specific tool or gadget to complete a project, but it’s not the kind of thing you necessarily want to fork over normal retail price for. It could be something you’re only going to use once or twice, or maybe you’re not even sure the idea is going to work and don’t want to invest too much money into it. You cast a skeptical towards the ever-growing pile of salvaged parts and wonder…

Inspiration and a dig through the junk bin is precisely how [Nixie] built this very impressive spin coater for use in his ongoing homemade semiconductor project. If you’ve never had first hand experience with a spin coater, don’t worry, not many people have. Put simply, it’s a machine that allows the user to deposit a thin layer of material on a disc by way of centrifugal force. Just place a few drops in the center of the disc, then spin it up fast enough and let physics do the rest.

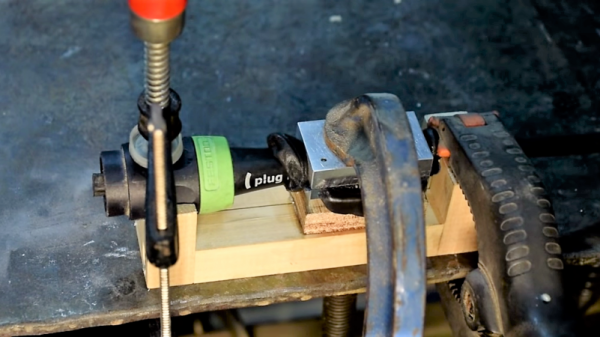
[Nixie] only needs to spin up a fairly tiny disc, and realized the hub of a 40x40mm brushless case fan was just about the perfect size. A quick pass through the lathe stripped the hub of its blades and faced off the front. Once he found a tube that was the exact same diameter of the fan’s axle, he realized he could even use a small vacuum pump to hold his disc in place. A proper seal is provided by 10 and 16 mm OD o-rings, installed into concentric grooves he machined into the face of the hub.

With a way to draw a vacuum through the hub of the spinner he just needed the pump. As luck would have it, he didn’t have to wait for one to make the journey from China, as he had one of those kicking around his junk bin from a previous project. The only thing he ended up having to buy was the cheap PWM fan controller which he mounted along with the modified fan to a piece of black acrylic; producing a fairly professional looking little piece of lab equipment. Check out the video after the break for a brief demonstration of it in action.

This isn’t the first specialized piece of gear [Nixie] has produced in his quest for DIY chips. We’ve previously covered his DIY tube oven as well as his vacuum chamber complete with magnetically controlled manipulator arm.

Continue reading “Junk Bin Spin Coater Uses Modded Case Fan”