If there’s anything people hate more than being locked into a printer manufacturer’s replacement cartridges, it’s proprietary batteries. Cordless power tools are the obvious example in this space, but there are other devices that insist on crappy battery packs that are expensive to replace when they eventually die.
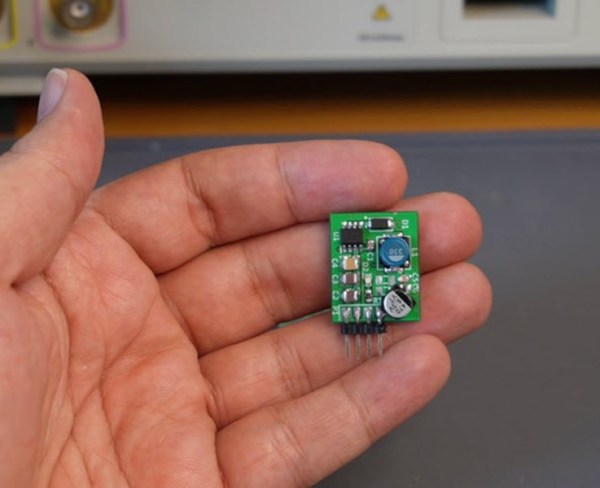
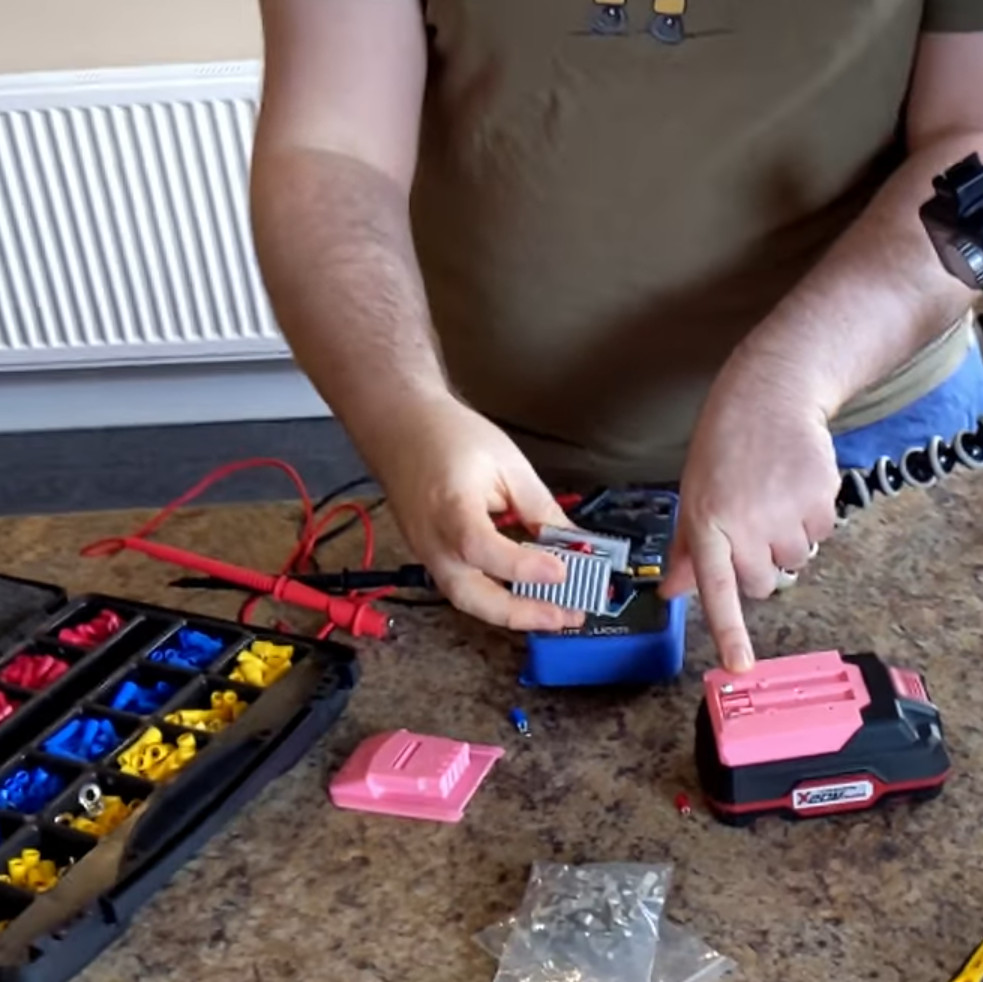
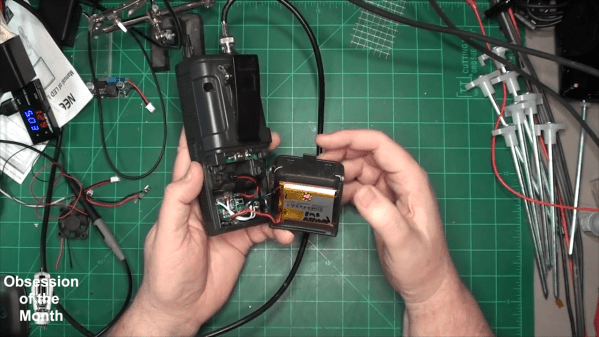
One such device is the Uniden Bearcat BC296D portable scanner that [Robert Guildig] found for a song at a thrift store, which he recently gave a custom LiPo battery upgrade. It came equipped with a nickel-cadmium battery pack, which even under the best of circumstances has a very limited battery life. Using regular AA batteries wasn’t an option, but luckily the space vacated by the OEM battery pack left a lot of room for mods. Those include a small module with BMS functions and a DC-DC converter, a 2,400 mAh 4.2 V LiPo pillow pack, and a new barrel connector for charging. With the BMS set for six volts and connected right to the old battery pack socket, the scanner can now run for seven hours on a one-hour charge. As a bonus, the LiPo pack should last a few times longer than the NiCd packs, and be pretty cheap to replace when it finally goes too. There’s a video after the hop with all the details.
If you’re looking at a similar battery replacement project, you might want to check out [Arya]’s guide to everything you need to know about lithium-ion circuitry.
Continue reading “LiPo Replacement Keeps Portable Scanner In The Action”

 Or do you? It’s not so clear after watching [Denki Otaku]’s video on a bargain bag of buck converters he got from Amazon — ¥1,290 for a lot of ten, or $0.85 a piece. The thing that got [Denki]’s Spidey senses tingling is the chip around which these boards were built: the LM2596. These aren’t especially cheap chips; Mouser lists them for about $5.00 each in a reel of 500.