One trick for getting the bubbles out of freshly mixed 2-part epoxy, aka degassing, is to go over it gently with the flame from a propane torch. But both the mixing and degassing take time. [Gianteye] came up with a 3D printed dual-syringe static mixing system which speeds up the process. He used it with silicone to get the difficult steps out of the way quickly for his hands-on soft robotics class, allowing the students to focus more on the matter at hand. But we figure most readers might use it for epoxy.
If you’ve bought those 2-part epoxy syringes available in stores before then you’ll know that they usually come with two syringes, each filled with one of the two parts to be mixed. Depressing the syringes causes each part to come out of its own tube. It’s then your job to mix them together and degas the result.
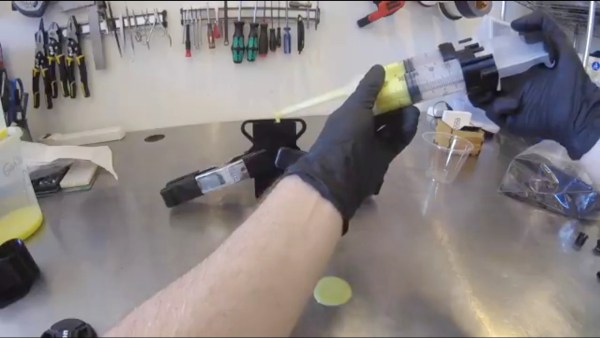
[Gianteye’s] system consists of 3D printed parts and two syringes. Models for the 3D printing are available on his Thingiverse page and the syringes can be found online. Some of the 3D printed parts help you first fill and degas the syringes. You then attach a 3D printed mixing tube to the ends of the syringes. This tube serves two purposes. When the syringe’s plungers are depressed, both parts of the material are forced through the tube and extruded out. But on their way through, both parts pass through eight helices which form 180° turns and mix the parts together. Out comes the portioned, mixed and degassed material which can go straight into a mold or to wherever you need it.
The mixing tube was designed for one-time use but [Gianteye] discovered during an evaluation that it can be reused if you pull out any cured material and purge it. The evaluation involved silicone though. With hardened epoxy, you’ll probably have to use a new tube each time.
Check out the full details of his system in the video below, including both assembly and usage.
If you’re looking for a metallic look for something without wanting to cast metal than have a look at our own [Gerrit Coetzee’s] article about cold casting wherein he makes some very nice looking parts.
Continue reading “This 3D Printed Syringe Static Mixer Does It All”