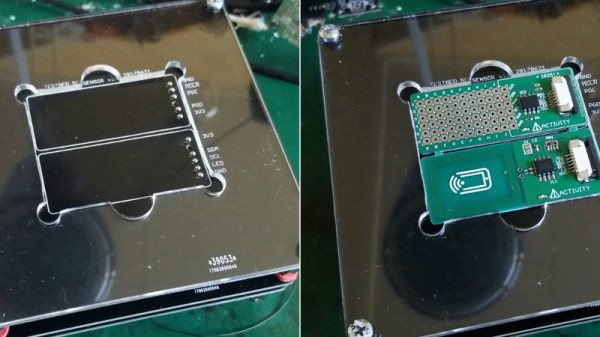
We just love it when someone takes apart a bench instrument. There is something about voiding a warranty and then making modifications that hits the spot and in a series of simple modifications, [Jack Zimmermann] dives into the guts if an Aneng AN8008.
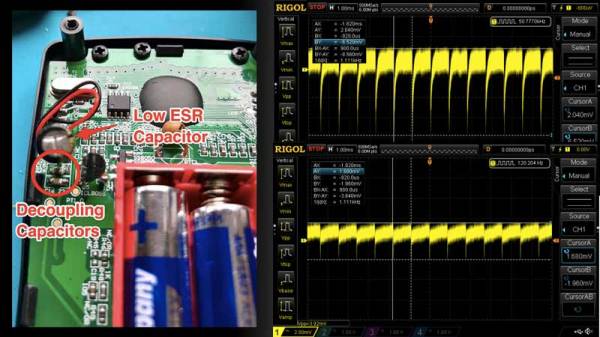
The multimeter in question, the AN8008, is a low-cost true-RMS instrument that takes a bit longer to settle on the correct voltage reading than [Jack] would have liked. While poking around, he found that the DC rail inside the meter was host to noise spikes. He theorized that these were being coupled back from an element and proceeded to verify the decoupling arrangement.
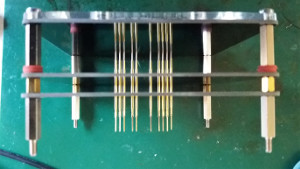
The first step was to replace a Rubycon 100 uF capacitor with a Panasonic FM 100 µF which has an ESR of 0.4 Ohms, an improvement on the 1.4 Ohms of stock capacitor. Next came the addition of 0.1 µF, 1 µF and a 10 µF 0805 capacitors and finally a huge 1000 uF 10 V capacity which helped cut down the noise from 30 mV p-p to 3.6 mV p-p. And finally he added decoupling capacitors to the voltage reference chip in accordance with the manufacturer’s datasheet.
These small modifications improved the settling time as well as the stability of the measurements. [Jack] verifies the accuracy against a voltage reference and a bench meter which is good news considering the calibration certificate went out the door anyway.
This is one of the many DMM hacks we have covered in the past such as the Fluke 12E+ hack that enables hidden features though there may be other models out there with possible upgrades.
 Where this really stands out is that


