If you are in the market for an inexpensive USB logic analyser you have a several choices, but few of them deliver much in the way of performance. There are kits from China for a few dollars using microcontrollers at their heart, but they fail to deliver significant sample rates. If you require more, you will have to pay for it.
It is therefore rather interesting to see [kevinhub88]’s SUMP2 project, an open source logic analyser with a claimed 96 MSPS sample rate using an off-the-shelf Lattice iCEstick FPGA evaluation board that only costs about $20. It talks to a host computer via USB using the established SUMP protocol, so its software front-end comes from the sump.org logic analyser project. Edit: Since this post was published [Kevin] has contacted us to inform us that the project’s capabilities have now moved beyond SUMP’s capabilities and in fact it now uses his own software.
This project has the promise to add a very useful piece of test equipment to the armoury of the engineer on a budget, and to aid the cost-conscious reader he’s provided extensive documentation and installation instructions, as well as the code for the FPGA. Thanks to one of the more awesome hacks of 2015, there is an entirely open toolchain for this Lattice part, and our own [Al Williams] has written up a multi-part getting-started guide if you want to get your feet wet. You probably want one of these anyway, and now it’s a logic analyzer to boot.
We’ve covered quite a few inexpensive home-produced digital instruments here over the years, including this logic analyser with a slightly higher price tag, this inexpensive VNA, and this oscilloscope board. Maybe one day the bench of our dreams will all come on one open-source PCB for $100, who knows!
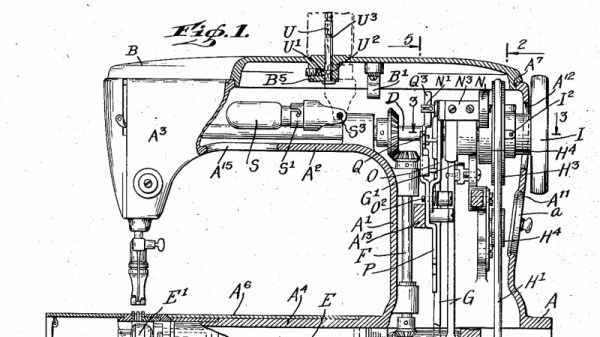
![This could probably be any of our grandmothers at work. George Grantham Bain Collection [PD], via Wikimedia Commons](https://hackaday.com/wp-content/uploads/2016/10/woman-with-sewing-machine.jpg)
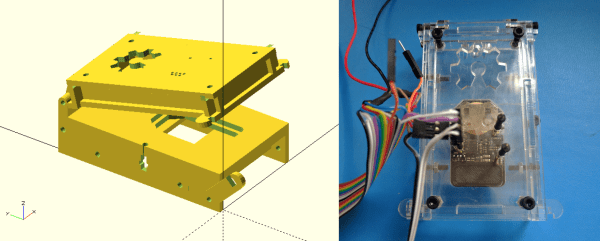
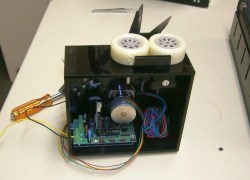 The first thing the team had to do was to mount the scissors so they would cut reliably. One of the stepper motors was attached to a drive wheel that had a bolt mounted on it. This went through one of the scissors’ handles, the other handle was held in place on the machine using screws. The second stepper motor was used to rotate the wheels that drives the cable through to the correct length. [2PrintBeta] used a