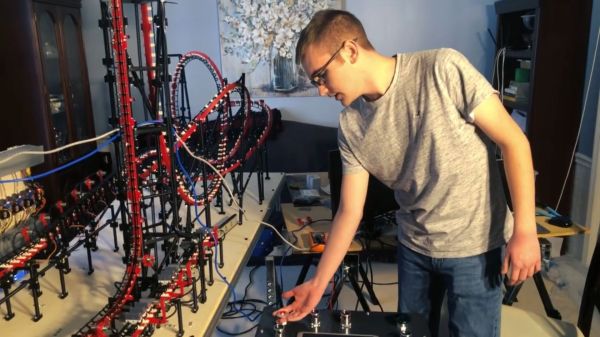
[Jared Holladay] is a computer engineering student at the University of Cincinnati and a life-long roller coaster fanatic. A lot of people look at roller coasters as an exciting example of physics, like potential energy versus kinetic energy or inertia, and rightly so. [Jared] looks at them and wonders about the controls. Video also below and there is a feature-length explanation with more details. Some Hackaday readers and writers can identify the components, so we think his coaster model belongs here.
Like many folks in this field, he’s built K’nex models to get a handle on construction. He’s toured STEM shows with the tracks and undoubtedly wowed kids, adults, and physics teachers, but since he can speak to the programming, he is a triple threat. Now, he’s growing out of the toy construction plastic and moving into 3D printed parts with needle-fine tolerances.
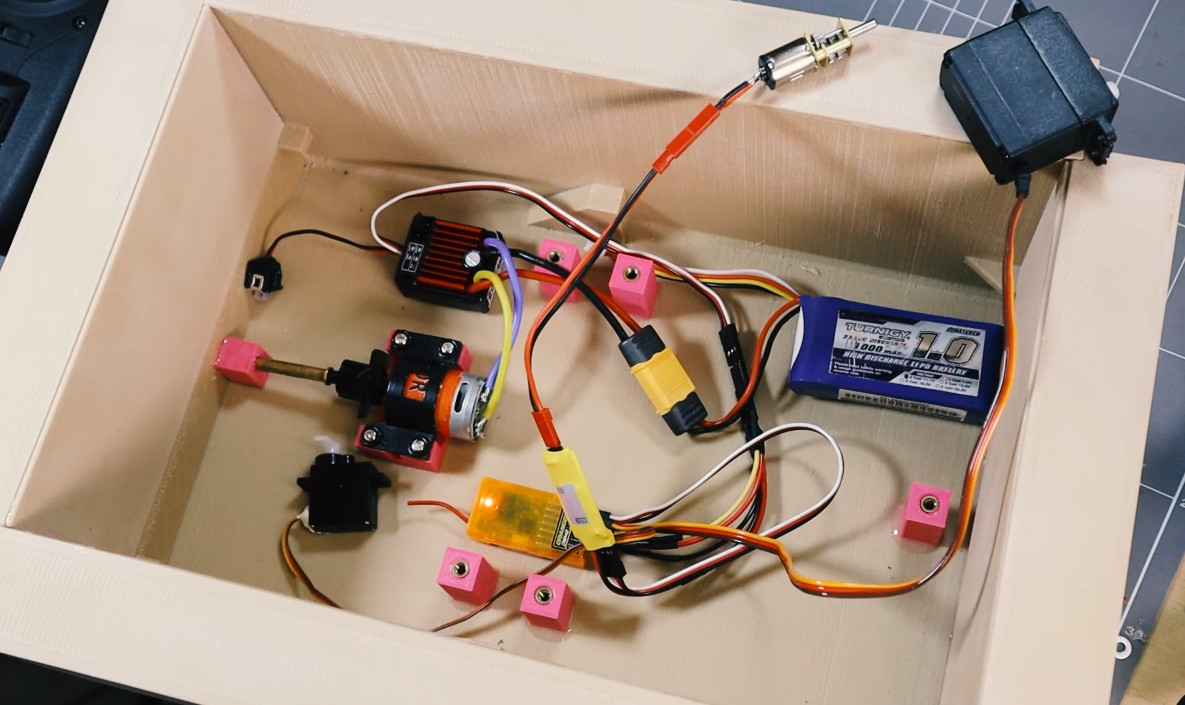
His latest base is extruded aluminum, like what you’d want in a rigid CNC or printer. In addition to the industrial-grade surface, Rockwell Automation sent him a safety programmable logic controller, PLC, and a touchscreen HMI. Our fellows in the industry tell us those are far beyond the price scope of regular hobbyists. But fear not; your Arduino clones will suffice until you get your first grant.
The point of all the ruggedized hardware, aside from authenticity, is to implement safety features the same way you would in the industry. The redundant PLC connects to inductive prox sensors to check train speed and location. Other moving parts, like friction brakes, have sensors to report if there is a jam. After all, it’s no good if you can’t stop a train full of people. There are hundreds of things that can go wrong. Just ask [Jared] because he programmed on-screen indicators for all of them and classified them to let an operator know if they can keep the ride moving or if they need to call maintenance.
Not all homemade coasters are scale models, and some of the traditional ones have more than meets the eye.