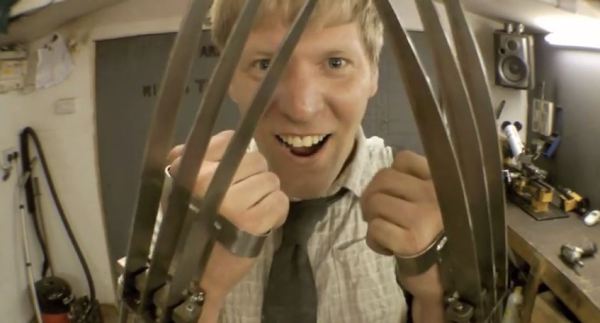
Crazyman [Colin Furze] is back, and this time he’s setting everything on fire with his Pyro gloves. Though Hackaday readers are already a discerning bunch, this is a build we get submissions for all the time and feature fairly often. It would take an exceedingly impressive build to outshine the other fire hazards. But, as with his pneumatic Wolverine claws and his electromagnetic boots, [Furze] knows how to build the insane and then put on a good show.
The Pyro build is part of [Furze’s] 3-part celebratory X-Men extravaganza, a nod to the realm of superheroes coinciding with the release of the new X-Men film. [Furze] began with a custom reservoir cylinder that fitted with two solenoid valves: one for a pilot light and another for the big blasts. He’s also affixed a Piezo element and a AA battery, which sits in a cozy little container. The bulkier bits of the assembly sit in a backpack, hooking up, as expected, to the wrist-mounted devices. This flame cannon, however, is unique among the ones we’ve encountered here.
Continue reading “[Furze] Sets Fire To Everything With Pyro Gloves”

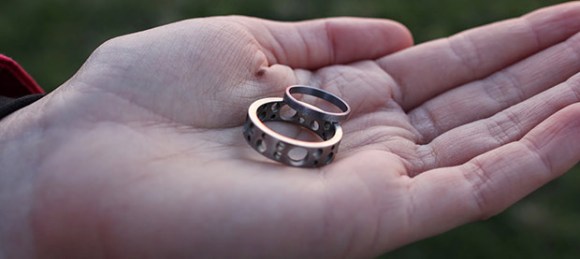
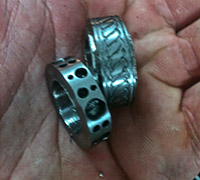 Making a ring on a lathe is a relatively simple ordeal, but the two larger rings [Patrick] made (one was for a friend) featured some interesting patterns that aren’t easy to make without a good CNC setup. Luckily, this friend has
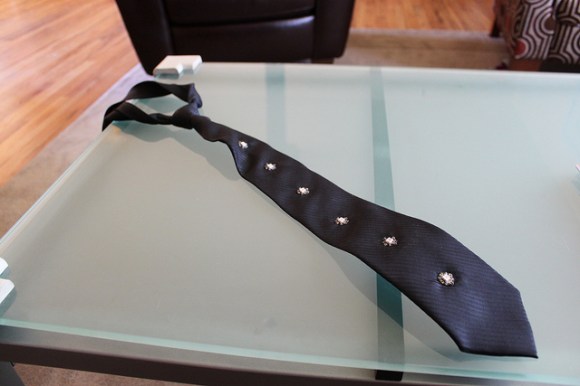
  [Alica] and [Jerika] are seniors in the Digital Culture program at Arizona State University and for their capstone, the wanted to take something that is traditionally male dominated and make it more female friendly. They chose e-textiles, which are most commonly extremely avant garde and nearly unapproachable with a lot of LEDs and zany mechanisms. Their initial designs reflected this, with multiple LED strips and huge shoulder pads. Then they discovered Flexinol shape memory actuator wire,