Transparent Cylinder Shows You What You Otto Know About 4 Cycle Engines

When we think of a typical four stroke internal combustion engine, we think of metal. And for any type of longevity or performance, that’s certainly the right choice. But [Integza] wanted to see what happens inside a 4 stroke engine, and it wasn’t enough to see it from a transparent cylinder head. No, he wanted to see it in the cylinder itself. Thanks to advances in material sciences, he got his wish as seen in the video below the break.

While researching possible transparent materials to use as a cylinder on his model engine, he learned about resin polishing. Combining his newly learned resin polishing knowledge with his knowledge of 3D printing, [Integza] printed a new cylinder and polished the resin until it was transparent. The engine ran, but misfired terribly.

The experiment progressed into trying different fuels and learning the differences between them, as well as uncovering a new-to-him mystery: Why was the engine misfiring, and why did the different fuels act so dramatically different? Indeed, more learning and more experimenting is needed. But if you want to see the great sight of watching combustion take place in slo-mo, you have to check out the video below.

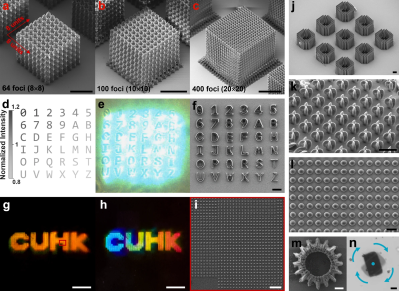
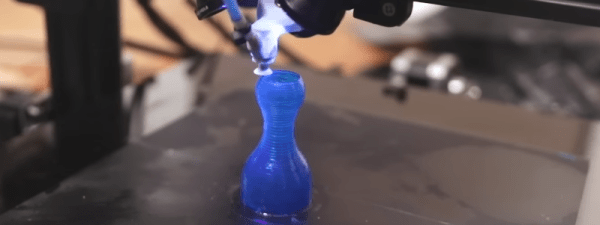
3D printing has come a long way in a short time, and may even hold the key to practical scramjets for hypersonic aircraft.

Continue reading “Transparent Cylinder Shows You What You Otto Know About 4 Cycle Engines”

Ask Hackaday: Resin Printer Build Plates

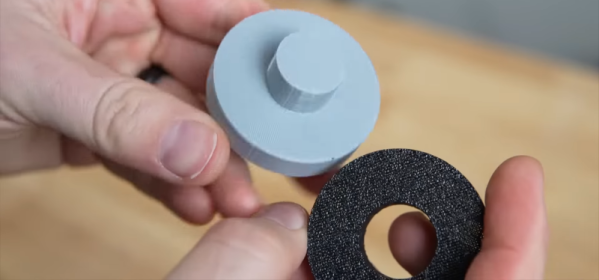
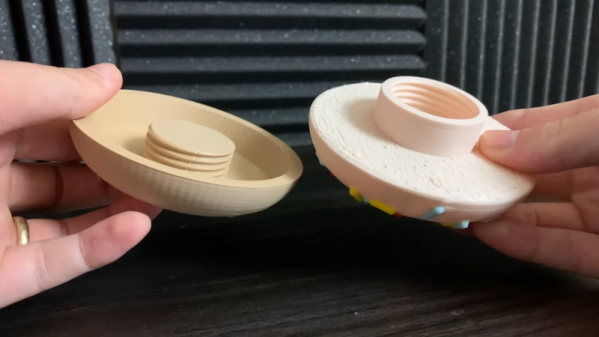
The early days of FDM 3D printing were wild and wooly. Getting plastic to stick to your build plate was a challenge. Blue tape and hairspray-coated glass were kings for a long time. Over time, better coatings have appeared and many people use spring steel covered in some kind of PEI. There seem to be fewer choices when it comes to resin printers, though. We recently had a chance to try three different build surfaces on two different printers: a Nova3D Bene4 and an Anycubic Photon M3. We learned a lot.

Resin Printing Review

If you haven’t figuratively dipped your toe into resin yet — which would literally be quite messy — the printers are simple enough. There is a tank or vat of liquid resin with a clear film on the bottom. The vat rests on an LCD screen and there is a UV source beneath that.

Continue reading “Ask Hackaday: Resin Printer Build Plates”

Liquid Piston Engine Finally Works

The first video from [3DPrintedLife] attempting to make a liquid piston engine was… well… the operative word is attempting. The latest video, though, which you can see below gets it right, at least eventually.. He has a good explanation of the changes that made the design better. Turns out, one change that made a difference was to turn a key part of the engine inside out. You can see the video below.

The first version would quickly break during operation and while the first new version didn’t work very well, it did stay in one piece which is a definite improvement.

Continue reading “Liquid Piston Engine Finally Works”

3D Print Your Own Multi-Color Filament

Interested in experimenting with your own multi-color filament? [Turbo_SunShine] says to just print your own, and experiment away! Now, if you’re thinking that 3D printing some filament sounds inefficient at best (and a gimmick at worst) you’re not alone. But there’s at least one use case that it makes sense for, and maybe others as well.

Printing with bi-color filament results in an object whose color depends on viewing angle, and part geometry.

There is such a thing as bi-color filament (like MatterHackers Quantum PLA) which can be thought of as filament that is split down the center into two different colors. Printing with such filament can result in some trippy visuals, like objects whose color depends in part on the angle from which they are viewed. Of course, for best results it makes sense to purchase a factory-made spool, but for light experimenting, it’s entirely possible to 3D print your own bi-color filament. Back when [Turbo_SunShine] first shared his results, this kind of stuff wasn’t available off the shelf like it is today, but the technique can still make sense in cases where buying a whole spool isn’t called for.

Here is how it works: the 3D model for filament is a spiral that is the right diameter for filament, printed as a solid object. The cross-section of this printed “filament” is a hexagon rather than a circle, which helps get consistent results. To make bi-color filament, one simply prints the first half of the object in one color, then performs a color change, and finishes the print with a second color. End result? A short coil of printed “filament”, in two colors, that is similar enough to the normal thing to be fed right back into the printer that created it. This gallery of photos from [_Icarus] showcases the kind of results that are possible.

What do you think? Is 3D printing filament mainly an exercise in inefficiency, or is it a clever leveraging of a printer’s capabilities? You be the judge, but it’s pretty clear that some interesting results can be had from the process. Take a few minutes to check out the video (embedded below) for some additional background.

Continue reading “3D Print Your Own Multi-Color Filament”

Fighting All That Can Go Wrong With Resin

[Jan Mrázek] is on a quest to make your resin 3D prints more accurate, more functional, and less failure prone. Let’s start off with his recent post on combating resin shrinkage.

When you want a part to have a 35 mm inner diameter, you probably have pretty good reasons, and when you draw a circle in your CAD software, you want a circle to come out in the real world. Resin shrinkage can put a kink in both of these plans. [Jan] identifies three culprits: resin squeezing, resin shrinkage, and exposure bleeding. And these three factors can add up in unexpected ways, so that you’ll get a small reference cube when you print it on its own, but large reference cubes when printed as a group. [Jan]’s article comes with a test piece that’ll help you diagnose what’s going on. Continue reading “Fighting All That Can Go Wrong With Resin”

Full Printing Path Control Without Writing GCode

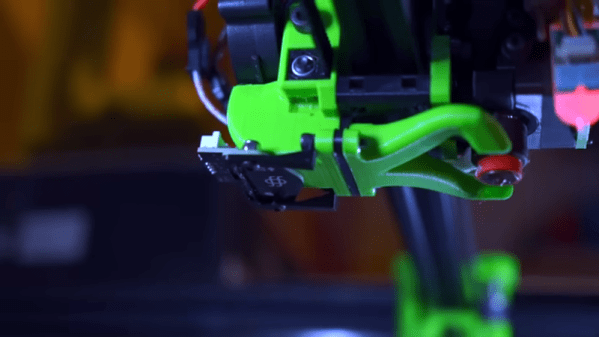
User-friendly slicing software is arguably the key software component that makes 3D printing approachable for most users. Without it going from a CAD design to a printing part would take hours, not seconds. As a trade-off you give up a lot of control over the exact path of the hotend, but most of the time it’s worth it. However, for some niche use-cases, having complete control over the tool path is necessary. Enter FullControl GCode Designer, a tool that gives you all the control without resorting to writing GCode directly.

FullControl takes an approach similar to OpenSCAD, where you define path geometries line by line. Need an array of circles? Choose the circle feature, define its origin, radius, starting position, and extrusion height, and define the spacing and axes (including Z) of the copies. Need a mathematically defined lamp shade? Define the functions, and FullControl generates the GCode. Non-planar printing, where your print head moves along all three axes simultaneously instead of staying at a constant Z-height is also possible. In the video after the break, [Thomas Sanladerer] demonstrates how he used FullControl to reduce the print time of a functionally identical part from two hours to 30 minutes.

FullControl is built on Microsoft Excel using Visual Basic scripting, which comes at the cost of long GCode generation times. It also doesn’t show the defined tool paths graphically, so the generated code needs to be pasted into a viewer like Repetier Host to see what it’s doing. Fortunately, a Python version is coming to should hopefully elevate many of these shortcomings.

We also featured some other GCode hacks in the last few months that bend existing GCode along a spline path, and a Blender plugin allows the surface textures of sliced objects to be modified.

Continue reading “Full Printing Path Control Without Writing GCode”

3D Printed Cartilage Ushers In Ear-a Of Custom Body Parts

When it comes to repairing human bodies, there’s one major difficulty: spare parts are hard to come by. It’s simply not possible to buy a knee joint or a new lung off the shelf.

At best, doctors and surgeons have made do with transplants from donors where possible. However, these are always in short supply, and come with a risk of rejection by the patient’s body.

If we could 3D print new custom body par/ts to suit the individual, it would solve a lot of problems. A new ear implant pioneered by 3DBio Therapeutics has achieved just that.

Continue reading “3D Printed Cartilage Ushers In Ear-a Of Custom Body Parts”