How much would you pay for a 3D printer? Granted, when we started a decent printer might run over $1,000 but the cost has come way down. Unless of course, you go pro. We were disappointed that this [All3DP] post didn’t include prices, but we noticed a trend: if your 3D printer has stairs, it is probably a big purchase. According to the tag line on the post, the printers are all north of $500,000.
Expensive printers usually have unique technology, higher degrees of automation, large capacity or some combination of that, and a few other factors. At least two of the printers mentioned had stairs to reach the top parts of the machine. And the Black Buffalo — a cement printer — uses a gantry that looks like it is part of a light show at a concert. It is scalable, but apparently can go up to three stories tall!
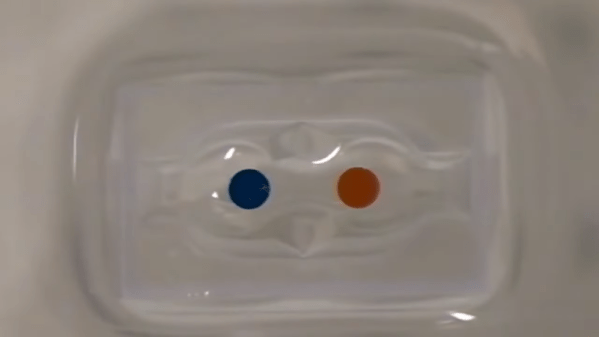
Canadian researchers at Concordia University want to change how you do 3D printing. Instead of using light or thermal mechanisms, they propose using ultrasound-activated sonochemical reactions. Sounds wild? You can see a video about it below, or read the paper in Nature.
The idea is that sound causes bubbles of cavitation. This requires a focused ultrasonic beam which means you can actually print through items that are transparent to ultrasonic energy. Wherever the cavitation bubbles form, liquid polymer turns solid.
Montana, rightfully nicknamed the big sky country, is a beautiful state with abundant wide open landscapes, mountains, and wildlife. It’s a fantastic place to visit or live, but if you happen to reside in the city of Butte, that amazing Montana landscape is marred by the remnants of an enormous open pit mine. Not only is it an eyesore, but the water that has filled the pit is deadly to any bird that lands there. As a result, a group of people have taken to some ingenious methods to deter birds from landing in the man-made toxic lake for too long.
When they first started, the only tool they had available was a rifle. Scaring birds this way is not the most effective way for all species, though, so lately they have been turning to other tools. One of which is a custom boat built on a foam bodyboard which uses a plethora of 3D printed parts and sensors to allow the operator to remotely pilot the boat on the toxic lake. The team also has a drone to scare birds away, plus an array of other tools like high-powered lasers, propane cannons, and various scopes in order to put together the most effective response to help save wildlife.
While this strategy runs the gamut of the tools most commonly featured here, from 3D printers to drones to lasers, the only thing that’s missing is some automation like we have seen with other drone boat builds we’ve featured in the past. It takes quite a bit of time to continually scare birds off this lake, even through the winter, so every bit of help the team can get could go even further.
[Proper Printing] clearly enjoys pushing the boundaries of 3D printed materials, and sometimes this requires building custom 3D printers or at least the business end of them. Flexible filaments can be a bit of a pain to deal with, simply because most extruders are designed to push the filament into the hot end with a simple hobbed bolt (or pinch roller setup) and only work reliably due the rigidity of the plastic itself. Once you go flexible, the rigidity is reduced and the filament often deflects sideways and the extruder jams. The longer the filament path leading to the hotend, the harder it gets. The dual belt drive extruder (they’re calling it ‘proper extruder’) grips the filament on two sides with a pair of supported belts, guiding it into the hotend without allowing it to deflect sideways. The extruder body and gears were resin printed (but, we checked — the design is suitable for FDM printing as well) proving that resin printing on modern printers, does indeed maintain adequate dimensional accuracy allowing the building of mechanisms, despite the naysayers! Continue reading “Tame Your Flexible Filaments With This Belt-Drive Extruder”→
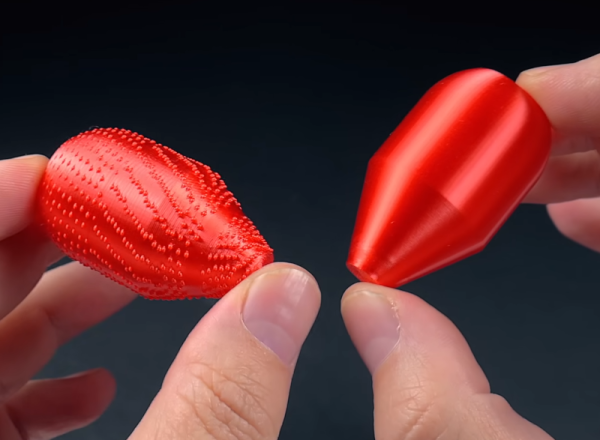
Conventional textiles made of woven threads are highly useful materials. [Sara Alvarez] has had some success creating fabric-like materials through 3D printing, and though they’re not identical, they have some similar properties that make them unique and useful.
Fabrics are made by the weaving or knitting together many threads into a cohesive whole. [Sara]’s 3D-printed fabrics are different, since the printer can’t readily weave individual fibers together. Instead, a variety of methods are used to create similar materials.
The simplest is perhaps the chainmail method, where many small individual links join together to make a relatively rigid material. Alternatively, G-code or careful modelling can be used to create fabric-like patterns, which are printed directly in flexible material to become a fabric-like sheet. Finally, the infill method takes advantage of code inbuilt to a slicer to create a pattern that can be 3D-printed to create a fabric like material by removing the top and bottom layers of the print.
[Sara] demonstrates creating a simple “fabric” swatch using the slicer method, and demonstrates the qualities of the finished product. She also shows off various applications that can take advantage of this technique.
Conceptually, FDM 3D printing is quite a simple process: you define a set of volumes in 3D space, then the slicing software takes a cut through the model at ever-increasing heights, works out where the inner and outer walls are, and then fills in the inside volume sparsely in order to tie the walls together and support the top layers that are added at the end.
But as you will find quite quickly, when models get larger and more complex, printing times can quickly explode. One trick for large models with simple shapes but very low structural needs is to use so-called ‘vase mode’, which traces the outline of the object in a thin, vertical spiral. But this is a weak construction scheme and allows only limited modelling complexity. With that in mind, here’s [Ben Eadie] with a kind-of halfway house technique (video, embedded below) that some might find useful for saving on printing time and material.
The idea is to use vase mode printing, but by manipulating the shell of the model, adding partially cut-through slots around the perimeter, and critically, adding one slot that goes all the way.
First you need a model that has an inner shell that follows the approximate shape of the outer, which you could produce by hollowing out a solid, leaving a little thickness. By making the slot width equal to half the thickness of the nozzle size and stopping the slots the same distance from the outer shell, vase mode can be used to trace the outline of shape, complete with supporting ribs in between the inner and outer walls of the shell.
Because the slot is narrower than the extrudate, the slot walls will merge together into one solid rib, tying the objects’ walls to each other, but critically, still allowing it to be printed in a continuous spiral without any traditional infill. It’s an interesting idea, that could have some merit.
3D printing is much like CNC milling or welding or just about any physical manufacturing process, in that good results fundamentally come down to having the right settings. In an effort to aid those working in the resin printing space, [Adam Bute] has put together a community database of resin printing settings.
The site has sections relevant to a variety of resin 3D printers, sorted by manufacturer. Those eager to find the right settings for their given resin and printer merely need to click through and look up the appropriate data. The settings are crowdsourced, provided by manufacturers, community members, and users of [Adam]’s Maker Trainer website.
While it’s still important to run validation tests on a resin printer to get the best results, having a community-sourced list of settings can help users get up and running much more quickly than they otherwise might. It appears that community contributions can’t directly be made yet, but we suspect such a feature is in the works.
We’ve seen similar material databases before for melty-plastic printers, and those have proven to be valuable to the community. We’re sure this resin database will be received in much the same way. If you know about other great resources for printing tips and tricks, do drop us a line!