Knobs and switches can make or break the aesthetic and tactile appeal of a project. Fine hi-fi hardware goes hard on these details, while cheap knock-off guitar pedals often go the other way. If you’re looking for a unique, cheap, and compelling solution for potentiometer knobs, you might like to consider using converted brass hardware for the job.
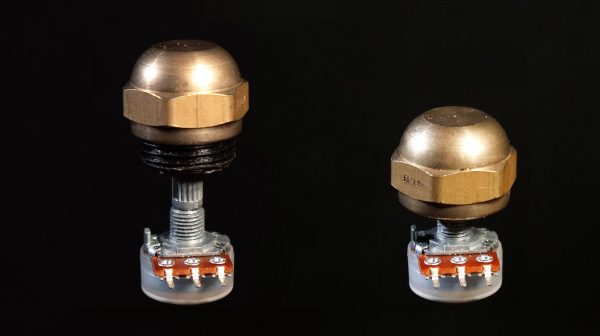
The idea comes from [Kevin Jordan], who realized that some simple 3D printed parts would enable him to repurpose brass hardware for use with common split-shaft potentiometers. He grabbed a bunch of brass flare caps intended for use with gas piping, and got to work.
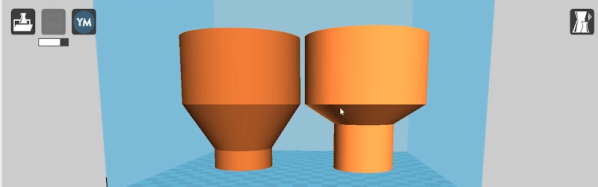
The result is the simple 3D printed cap converter. It has a threaded outer portion, which screws neatly inside a brass flare cap. Inside, it features a hole to mate to the potentiometer shaft. While this could be done with a spline, it also works with a simple hole since the plastic is soft enough to simply push the potentiometer shaft into.
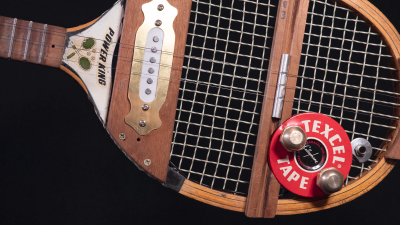
The flare caps look great when pressed into service as knobs. [Kevin] uses them on a tennis racket guitar he built, and the brass knobs beautifully set off against the natural wood finishes of the build. If you’re looking for some unique adornments for your own projects, you might like to experiment with this concept yourself! Alternatively, you can try making your own knobs from scratch.
Continue reading “Brass Hardware Makes For Pretty Potentiometer Knobs”