The venerable Commodore 64 got a lot of people started in computers, and a hard core of aficionados keeps the platform very much alive to this day. But a C64 just doesn’t have the horsepower to do anything more than some retro 8-bit graphics games, right?
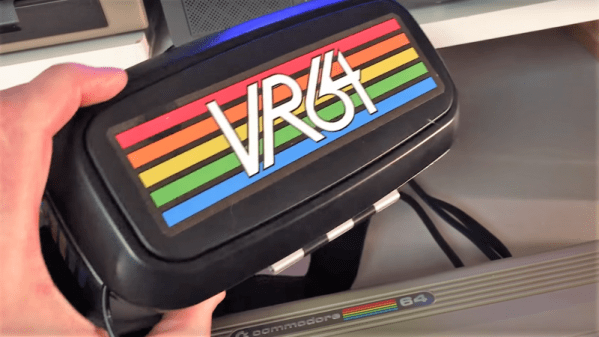
Not if [jim_64] has anything to say about it. He’s created a pair of virtual-reality goggles for the C64, and the results are pretty neat. Calling them VR is a bit of a stretch, since that would imply the headset is capable of sensing the wearer’s movements, which it’s not. With just a small LCD screen tucked into the slot normally occupied by a smartphone in the cheap VR goggles [jim64] used as a foundation for his build, this is really more of a 3D wearable display — so far. The display brings 3D-graphics to the C64, at least for the “Street Defender” game that [jim64] authored, a demo of which can be seen below. We’ll bet position sensing could be built into the goggles to control the game too. Even then it won’t be quite the immersive (and oft-times nauseating) experience that VR has become, but for a 35-year old platform, it’s not too shabby.
Looking for more C64 love? We’ve got a million of ’em — case mods, C64 laptops, tablets, even CPU upgrades.
Continue reading “Hacked Headset Brings VR To The Commodore 64”