As hackers and makers we are surrounded by accessible computing in an astonishing diversity. From tiny microcontrollers to multi-processor powerhouses, they have become the universal tool of our art. If you consider their architecture though you come to a surprising realisation. It is rare these days to interface directly to a microprocessor bus. Microcontrollers and systems-on-chip have all the functions that were once separate peripherals integrated into their packages, and though larger machines such as your laptop or server have their processor bus exposed you will never touch them as they head into your motherboard’s chipset.
A few decades ago this was definitely not the case. A typical 8-bit microprocessor of the 1970s had an 8-bit data bus, a 16-bit address bus, and a couple of request lines to indicate whether it wanted to talk to memory or an I/O port. Every peripheral you connected to it had to have some logic to decode its address and select it when you wanted to use it, and all shared the processor’s bus. This was how those of us whose first computers were the 8-bit machines of the late 1970s and early 1980s learned the craft of computer hardware, and in a world of Arduino and Raspberry Pi this now seems a lost art.
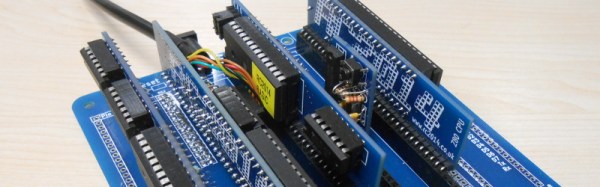
The subject of today’s review then provides a rare opportunity for the curious hardware hacker to get to grips with a traditional microprocessor bus. The RC2014 is a modular 8-bit computer in which daughter cards containing RAM, ROM, serial interface, clock, and Z80 processor are ranged on a backplane board, allowing complete understanding of and access to the workings of each part of the system. It comes with a ROM BASIC, and interfaces to a host computer through a serial port. There is also an ever-expanding range of further peripheral cards, including ones for digital I/O, LED matrixes, blinkenlights, a Raspberry Pi Zero for use as a VDU, and a small keyboard.