3D printed parts are generally no way near the strength of an equivalent injection moulded part and techniques such as a sustained heat treatment, though effective usually distort the part beyond use.
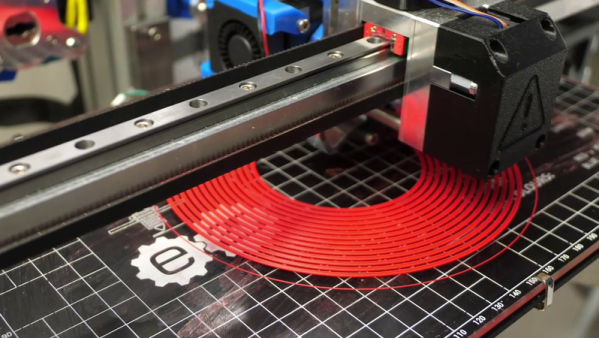
[CNC Kitchen] was investigating the results (video, embedded below) of a recent paper, that described a novel ABS filament reinforced by a “star” shaped Polycarbonate core, an arrangement the authors claim is resilient to deformation during the annealing process often necessary to increase part strength. While the researchers had access to specialised equipment needed to manufacture such a composite material, [CNC Kitchen’s] solution of simply using his dual extruder setup to directly print the required hybrid filament is something we feel, strongly resonates with the now old school, RepRap “print your printer” sentiment.
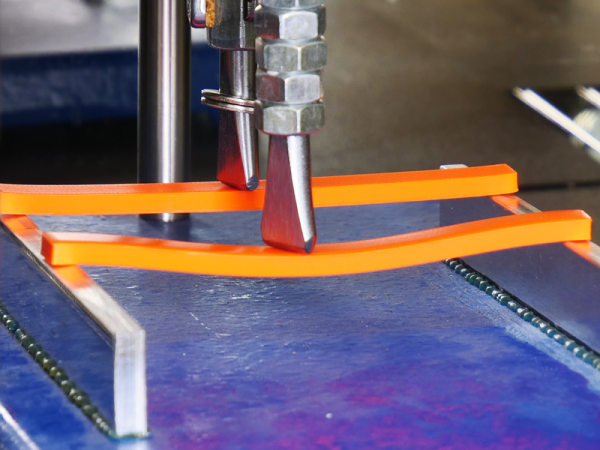
The printed filament seems to have reasonable dimensional accuracy and passing the printed spool through a heater block without the nozzle attached, ensured there would be no obvious clogs. The rest of the video focuses on a very thorough comparison of strength and deformation between the garden variety Polycarbonate, ABS and this new hybrid filament after the annealing process. Although he concludes with mixed results, just being able to combine and print your own hybrid filament is super cool and a success in its own right!
Interested in multi-material filaments? Check out our article on a more conventional approach which does not involve printing it yourself!
Continue reading “Can A 3D Printer Print Better Filament For Itself?”