Normally, internet-controlled household devices are a cobbled together mashup of parts. This is great for a prototype, but if you’re looking for something that will last a decade in your garage, you’ll need something a little cleaner and more robust. [Phil]’s Internet-enabled garage door opener is just that, replete with a custom-made enclosure for his Arduino powered system.
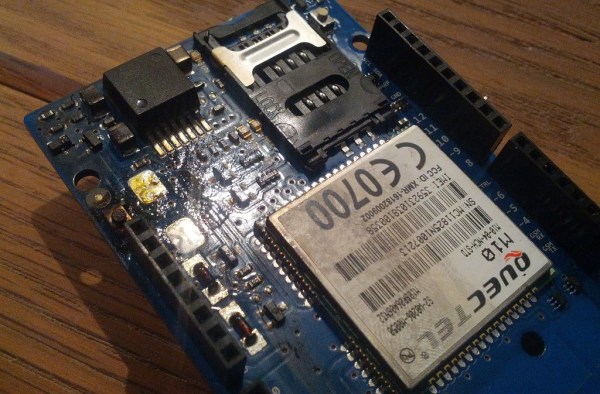
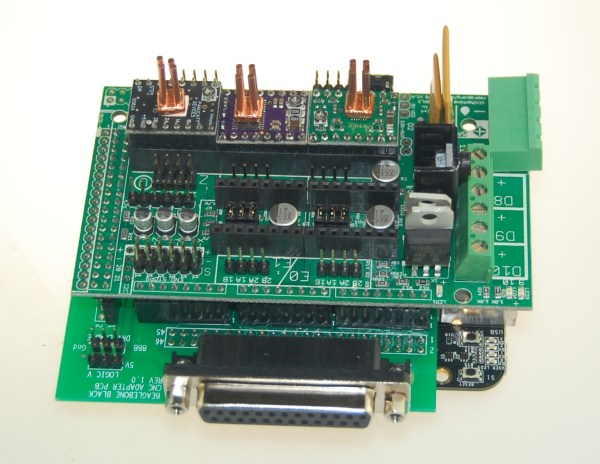
The main hardware for [Phil]’s build is a Freetronix EtherTen, an Arduino clone with a built-in Ethernet interface. Aside from that, the electronics are simple: a relay, transistor, and diode provide the connection from the EtherTen to the garage door opener.
The software for this setup consists of a main file that sets up the web page, the serial monitor, and loops through the main program. There are a bunch of classes for initializing the web page, writing passwords to the EEPROM, activating the door, and setting the MAC and IP addresses.
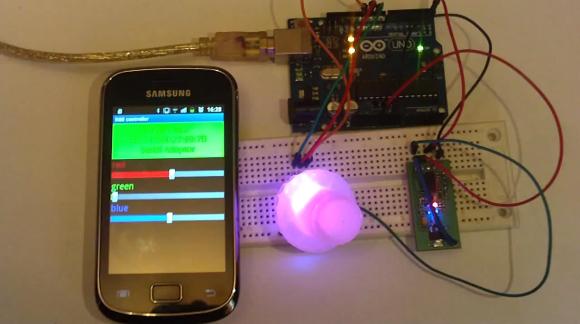
Opening the door with this remote is a snap: with any WiFi enabled smartphone or tablet, [Phil] only needs to log onto his network, surf on over to the page hosted on the Arduino, and enter a password. From there, opening the door is just a press of a button. Passwords and other configuration settings cane be entered with MegunoLink. This software also includes a serial monitor to log who opened the door and when.
It’s an interesting and compact system, and handy to boot. You might sometimes forget your garage door opener, but we’re thinking if you ever find yourself without your phone, a closed garage door is the least of your problems.