CGA monitors may not be an amazing technological advance these days, but they can generally be found very cheaply. Additionally, they have a DB-9 connector and work off of TTL ranges (0-5VDC) making them ripe for experimentation. This hack takes advantage of all of these aspects to bring you an Arduino controlled CGA monitor.
One problem with experimenting with one of these monitors is that they are not that well documented. Fortunately, the detailed write up for this hack goes over some of the timing and frequency issues that one may encounter with this particular monitor. The article gives an Arduino pinout and the program used to drive the monitor with very detailed comments.
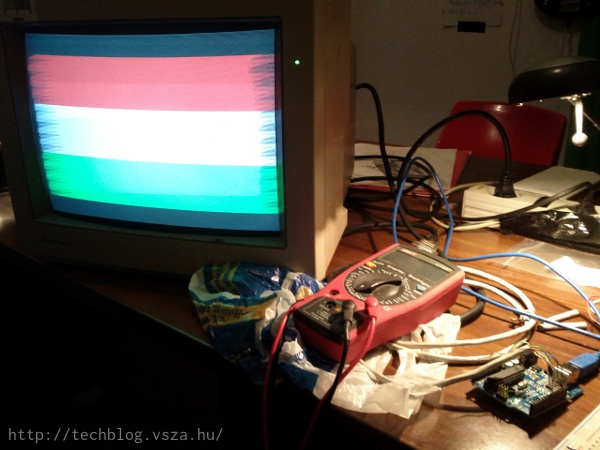
Although this hack is by no means a finished product, the now blurry test pattern seen above gives a pretty good proof of concept. It will be exciting to see if this hack inspires any other microcontroller-based projects. For some further information about CGA monitors, Wikipedia also has a fairly in-depth write-up about the technology.


