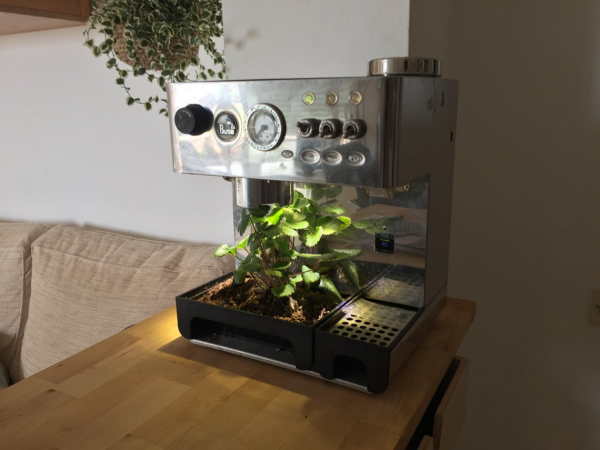
This thing has what plants crave! No, not electrolytes exactly — just water, light, and moisture polling every 30 minutes. We think it’s fitting to take something that once manufactured liquid liveliness for humans and turn it into a smart garden that does the same thing for plants.
So let’s just get this out of the way: the espresso machine was abandoned because it was leaking water from a gasket. [The Plant Bot] cleaned it up, replaced the gasket, and got it brewing, and then it started leaking hot water again from the same gasket. We might have gone Office Space on this beautiful machine at that point, but not [The Plant Bot].
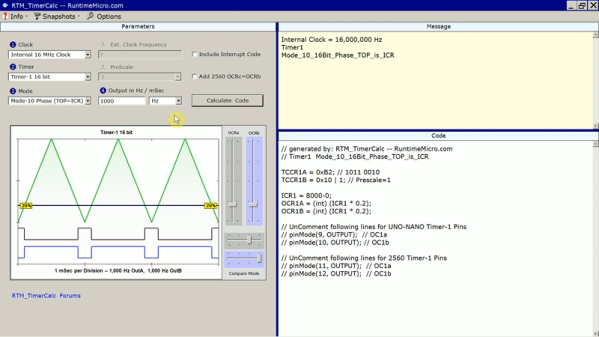
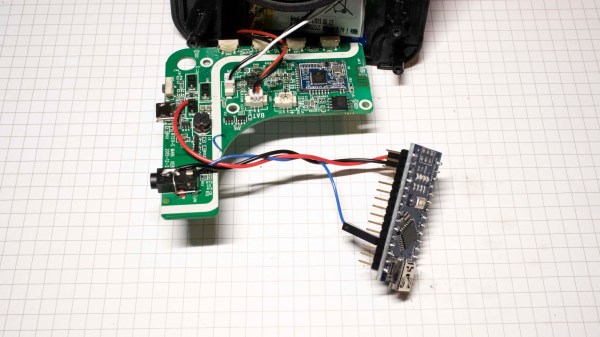
Down in the dirt, there’s a soil moisture sensor that’s polling every 30 minutes. If the moisture level falls below the threshold set appropriately at a life-sustaining 42%, the Arduino is triggered to water the plant through a relay board using the espresso machine’s original pump. If the plant is dry, the machine will pump water for two seconds every minute until the threshold is met. [The Plant Bot] tied it all together with a nice web interface that shows plant data and allows for changes over Bluetooth.
[The Plant Bot] started by disconnecting the heating element, because plants don’t tend to like hot steam. But if the cup warming tray along the top has a separate heating element, it might be neat to reuse it for something like growing mushrooms, or maintaining a sourdough starter if the temperature is right.
Via r/duino