If you’re building a moving thing with a microcontroller, you’ll probably want to throw a servo controller in the mix. Driving a servo or two with a microcontroller takes away valuable cycles that just babysit the servo, making sure all the PWM signals are in sync. The thing is, most servo controllers are a massive overkill, and you don’t need that much to control a few servos over a UART. The proof of this is an attiny13 servo controller over on hackaday.io.
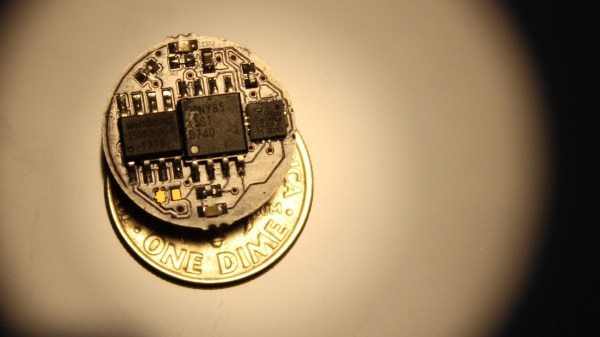
[arief] developed his tiny servo controller around one of the tiniest microcontrollers – the ATtiny13. This chip has just 1kB of Flash and 64 Bytes of RAM, but that’s enough to keep a few servos going and listen in to a UART for commands to drive the servo.
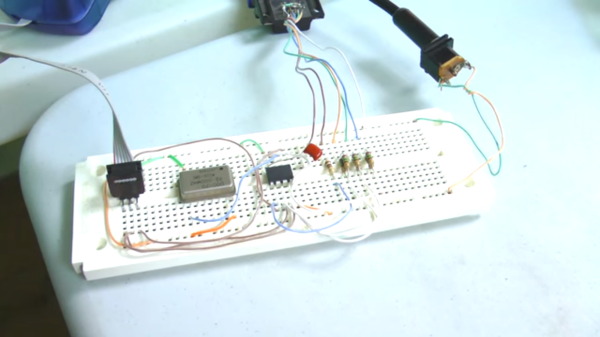
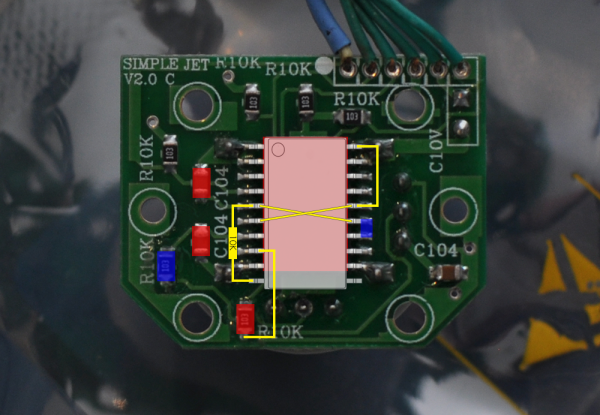
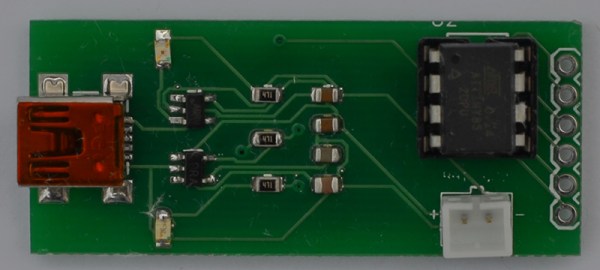
The construction of this servo controller board is simple enough – just a single sided board, microcontroller, and a few headers, caps, and resistors. Commands are sent to the ATtiny through a half duplex UART we covered before, with servos responding to simple serial commands.
If you’re building a robot army, this is the board to make. You’re going to need a high-powered controller to take over the world, but there’s no need to bog down that controller by babysitting a few servos.