I’ve always considered barcodes to be one of those invisible innovations that profoundly changed the world. What we might recognize as modern barcodes were originally designed as a labor-saving device in the rail and retail industries, but were quickly adopted by factories for automation, hospitals to help prevent medication errors, and a wide variety of other industries to track the movements of goods.
The technology is accessible, since all you really need is a printer to make barcodes. If you’re already printing packaging for a product, it only costs you ink, or perhaps a small sticker. Barcodes are so ubiquitous that we’ve ceased noticing them; as an experiment I took a moment to count all of them on my (cluttered) desk – I found 43 and probably didn’t find them all.
Despite that, I’ve only used them in exactly one project: a consultant and friend of mine asked me to build a reference database out of his fairly extensive library. I had a tablet with a camera in 2011, and used it to scan the ISBN barcodes to a list. That list was used to get the information needed to automatically enter the reference to a simple database, all I had to do was quickly verify that it was correct.
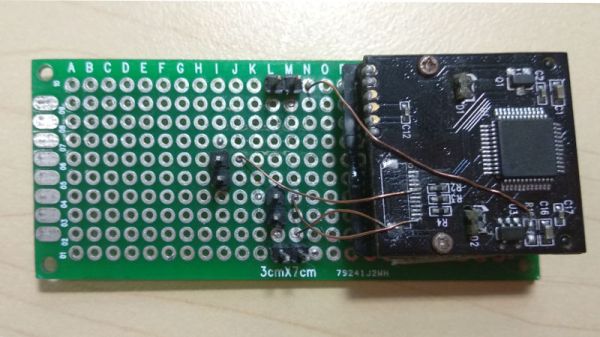
While this saved me a lot of time, I learned that using tablet or smartphone cameras to scan barcodes was actually very cumbersome when you have a lot of them to process. And so I looked into what it takes to hack together a robust barcode system without breaking the bank.
Continue reading “Track Everything, Everywhere With An IoT Barcode Scanner”

