White Oak Illuminated Bluetooth Speaker

Besides being common tools available to most hackers and makers out there, 3D printing, CNC machines, and cheap Chinese electronics have one more things in common: they were all used by [Nick] to build a bluetooth speaker system that has some interesting LED effects built into the case.

This is fresh on the heels of another hack that used similar construction methods to build a “magic” wood lamp. [Nick] takes it a step further, though. His case is precisely machined in white oak and stuffed with the latest China has to offer: a bank of lithium-ion batteries, a DC-DC converter to power the amplifier, and a Bluetooth module. After some sanding, the speakers look professional alongside the blue light features hiding behind the polycarbonate rings.

Of course you’ll want to visit the project site for all the details of how [Nick] built his speaker case. He does admit, however, that the electronics are fairly inefficient and need a little work. All in all though, it’s a very refined set of speakers that’ll look great on a bookshelf or on a beach, workshop bench, or anyplace else that you could take them.

Continue reading “White Oak Illuminated Bluetooth Speaker”

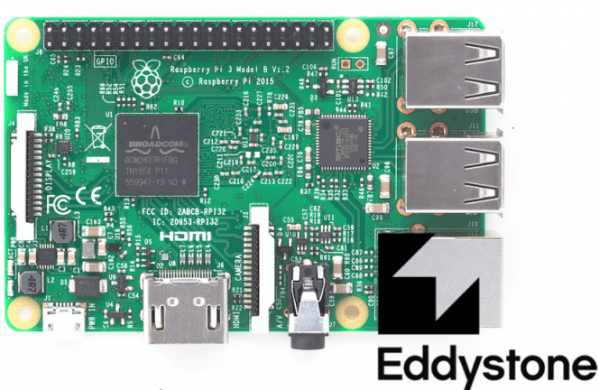
The Raspberry Pi 3 does Eddystone!

Turn Your RPi 3 Into A BLE Beacon

With the launch of the Raspberry Pi 3, Bluetooth Low Energy (BLE) is now at our disposal. With BLE, there are a few technologies for implementing one-way beacons that broadcast data. Apple has been pushing iBeacon since 2013, and Google just launched their Eddystone solution last year.

If you’re looking to target Google’s Eddystone on your RPi 3, [Yamir] has you covered. He’s put together a guide on setting up an Eddystone-URL beacon within Raspbian. This type of beacon just broadcasts a URL. Users within range will get a notification that the URL is available, and can navigate through to it. Eddystone-URL works on both iOS and Android.

The process for setting this up is pretty simple. The hciconfig and hcitool commands do all the work. [Yamir] was even nice enough to make a calculator tool that generates the hcitool command for your own URL. While is hack is a simple one, it’s a nice five-minute project. It’s also handy for broadcasting the URL of your Raspberry Pi if it’s running a web server as part of a more intricate hack.

Michael Ossmann Makes You An RF Design Hero

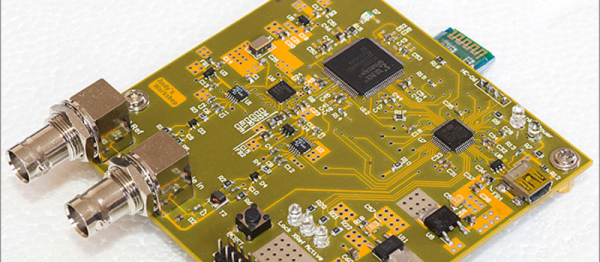
To a lot of people, radio-frequency (RF) design is black magic. Even if you’ve built a number of RF projects, and worked your way through the low-lying gotchas, you’ve probably still got a healthy respect for the gremlins lying in wait around every dimly-lit corner. Well, [Michael Ossmann] gave a super workshop at the Hackaday Superconference to give you a guided tour of the better-illuminated spaces in RF design.

five_rules[Michael] is a hacker-designer, and his insights into RF circuit design are hard-won, by making stuff. The HackRF One is probably his most famous (and complex) project, but he’s also designed and built a number of simpler RF devices. And the main point of his talk is that there’s a large range of interesting projects that are possible without getting yourself into the fringes of RF design (which require expensive test equipment, serious modelling, or a Ph.D. in electro-wavey-things).

You should watch [Mike]’s workshop which is embedded below. That said, here’s the spoilers. [Mike] suggests five rules that’ll keep your RF design on the green, rather than off in the rough.

Continue reading “Michael Ossmann Makes You An RF Design Hero”

Presenting The Internet Of Trash Cans !

This was gonna happen – sooner or later. [matthewhallberg] built a “Smart” trash can that is connected to the Internet and can be controlled by its own Android App. We’re not sure if the world needs it, but he wanted one and so built it. He started it out on a serious note, but quickly realized the fun part of this build – check out his funny Infomercial style video after the break.

trash_can_02The build itself is uncomplicated and can be replicated with ease. A servo motor helps flip the lid open and close. This is triggered by an ultrasonic ping sensor, which responds when someone waves a hand in front of the trash can. A second ping sensor helps inform the user when it is full and needs to be emptied. A Leonardo with the Idunio Yun shield helps connect the trash can to the internet. An mp3 shield connected to a set of powered computer speakers adds voice capability to the trash can, allowing it to play back pre-recorded sound clips. Finally, a Bluetooth module lets him connect it to an Android phone and the companion app controls the trash can remotely.

For the IoT side of things, [matthewhallberg] uses a Temboo account to send an email to the user when the trash can is full. The Arduino sketch, a header file to configure the Temboo account, and the Android application can all be downloaded from his blog. If this project inspires you, try building this awesome Robotic trash can which catches anything that you throw near it  or read the barcodes off the trash being thrown out and update the grocery list.

Continue reading “Presenting The Internet Of Trash Cans !”

Hacking Hearing With A Bone Conduction Bluetooth Speaker

When a hacker finds himself with a metal disc and magnet surgically implanted in his skull, chances are pretty good that something interesting will come from it. [Eric Cherry]’s implant, designed to anchor a bone-conduction hear aid, turned out to be a great place to mount a low-cost Bluetooth speaker for his phone – at least when he’s not storing paperclips behind his ear.

With single-sided deafness, [Eric]’s implant allows him to attach his bone-anchored hearing aid (BAHA), which actually uses the skull itself as a resonator to bypass the outer ear canal and the bones of the middle ear and send vibrations directly to the cochlea. As you can imagine, a BAHA device is a pretty pricey bit of gear, and being held on by just a magnet can be tense in some situations. [Eric] decided to hack a tiny Bluetooth speaker to attach to his implant and see if it would work with his phone. A quick teardown and replacement of the stock speaker with a bone-conduction transducer from Adafruit took care of the electronics, which were installed in a 3D printed enclosure compatible with the implant. After pairing with his phone he found that sound quality was more than good enough to enjoy music without risking his implant. And all for only $22 out-of-pocket. While only a Bluetooth speaker in its current form, we can see how the microphone in the speakerphone might be used to build a complete hearing aid on the cheap.

We think this is a great hack that really opens up some possibilities for the hearing impaired. Of course it’s not suitable for all types of hearing loss; for more traditional hearing aid users, this Bluetooth-enabled adapter might be a better choice for listening to music.

This Car Lets You Fistbump To Unlock

In the dark ages, you had to use a key to lock and unlock your car doors. Just about every car now has a remote control on the key that lets you unlock or lock with the push of a button. But many modern cars don’t even need that. They sense the key on your person and usually use a button to do the lock or unlock function. That button does nothing if the key isn’t nearby.

[Pierre Charlier] wanted that easy locking and unlocking, so he refitted his car with a Keyduino to allow entry with an NFC ring. What results is a very cool fistbump which convinces your car to unlock the door.

Keyduinio is [Pierre’s] NFC-enabled project, but you can also use a more conventional Arduino with an NFC and relay shield. The demo also works with a smartphone if you’re not one for wearing an NFC ring. Going this round, he even shows how to make it work with Bluetooth Low Energy (BLE).

Continue reading “This Car Lets You Fistbump To Unlock”

Learn Bluetooth Or Die Tryin

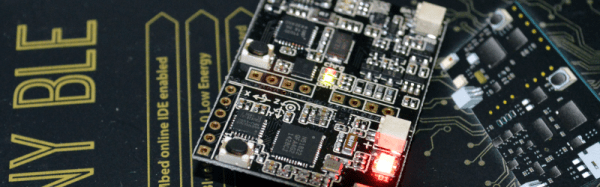
Implementing a Bluetooth Low Energy (BLE) device from scratch can be a daunting task. If you’re looking for an incredibly detailed walkthrough of developing a BLE project from essentially the ground up, you’ve now got a lot of reading to do: [Jocelyn Masserot] takes you through all the steps using the ARM-Cortex-M0-plus-BLE nRF51822 chip.

The blog does what blogs do: stacks up in reverse-chronological order. So it’s best that you roll on down to the first post at the bottom and start there. [Jocelyn] walks you through everything from setting up the ARM compiler toolchain through building up a linker script, blinking an LED, flashing the chip, and finally to advertising your device to your cell phone. It’s a lot of detail, but if you’re doing something like this yourself, you’re sure to appreciate it.

Of course, all the code is available for you to crib peruse on [Jocelyn]’s GitHub. And for yet more background reading on BLE, check out the Hackaday Dictionary.