As the cost of almost every technology comes falling down, from electronics to batteries to even tools like 3D printers, the cost to build things formerly out of reach of most of us becomes suddenly very affordable. At least, that’s what [John Choi] has found by building a completely DIY general purpose robot for around $2000.
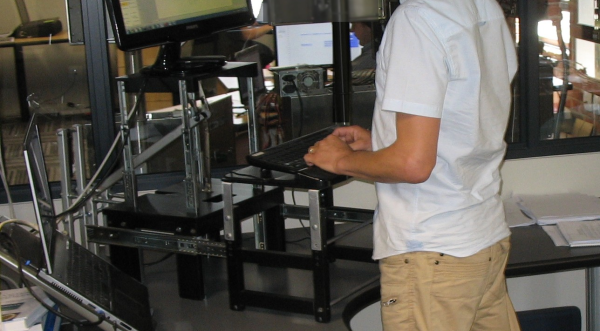
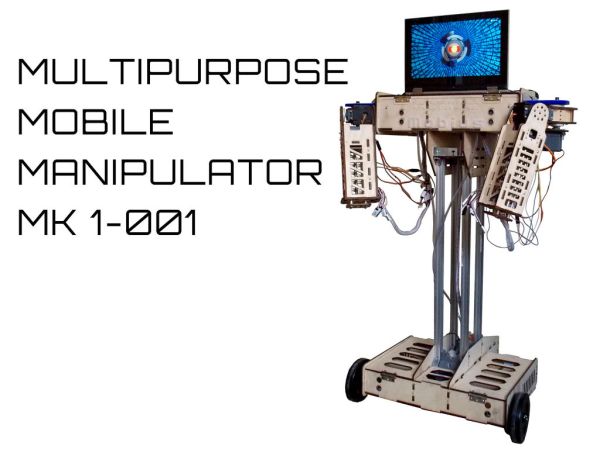
OK, so $2000 isn’t exactly “cheap” but considering that something comparable (like Baxter) costs north of what a new car would cost means that [John] has dropped the price for a general-purpose robot by an order of magnitude. And this robot doesn’t skimp on features, either. It has a platform that allows it to navigate rooms, two manipulating limbs with plenty of servos, a laptop “head” that allows for easy interface, testing, and programming, and an Arduino Mega that allows it to interface with any sensors or other hardware with ease. It’s also modular so it can be repaired and transported easily, and it uses open source software and open hardware so it’s easy to build on.
This robot is an impressive piece of work that should help bring this technology to more than just high-end factories and research labs. They’ve already demonstrated the robot watering plants, playing the piano, picking things up, and many other tasks. We’d say that they’re well on their way to their goal of increasing the number of students and hobbyists who have access to this technology. If the $2k price tag is still too steep, though, there are other ways of getting into robotics without diving headfirst into a Baxter-like robot.