Have you made an infinity mirror yet? They’re pretty much a rite of passage project at this point. But unlike that DIY power supply, most of them serve no function beyond looking cool (not that there’s anything wrong with that). Might as well make it do something, right?
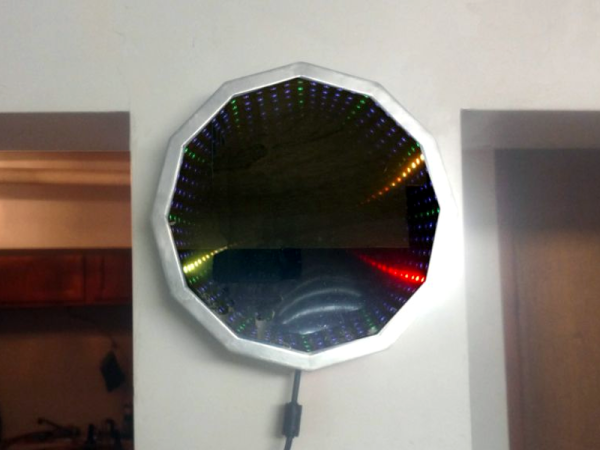
[How Do You – DIY] has a built a few mirrors because he likes experimenting with the effects of different reflective surfaces in various positions. This time, he’s built a clock from the ground up. Basic infinity mirror rules apply here, though he used semi-transparent reflective film on both sides for greater effect and put an adjustable warping bar in the back so the trail curves toward the center. The actual timekeeping is done by an Arduino Nano.
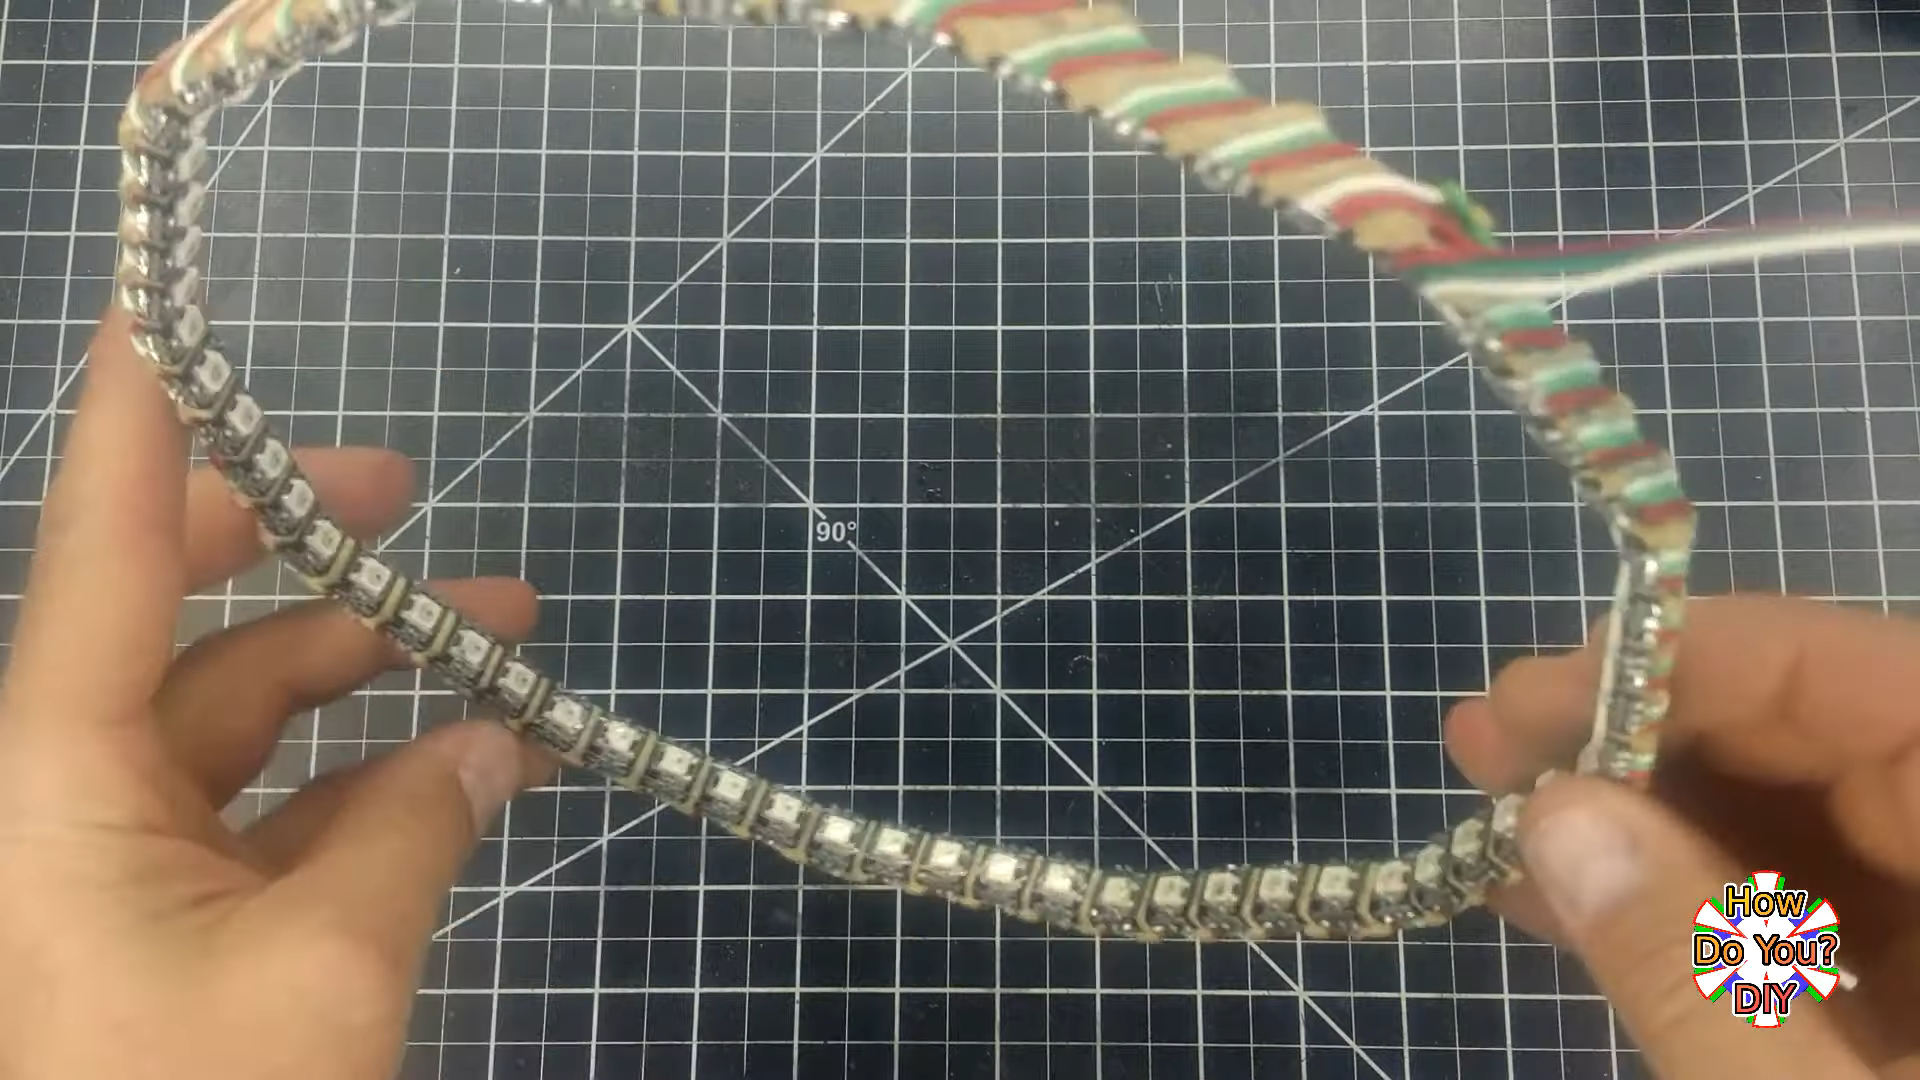 The RGB LEDs on his strip were a few millimeters too far apart for his liking, so he added a few dozen hours to the build by cutting it apart and painstakingly placing them all around the wood frame. Then he Dremeled a groove for each set of three wires that link the LEDs so that they sit flush. The final product is beautiful, and it’s a shame that this LED-holding frame is hidden away inside the equally well-crafted aluminium frame.
Don’t waste another minute — sweep past the break to check out the build video. If it’s a portable and functional conversation piece you want, make a set of infinity mirror coasters.
Oh, and did we mention that we’re running a clock contest? Hint, hint.
Continue reading “It’s About Time We Saw Another Infinity Mirror Clock”