[WhiskeyTangoHotel] wanted to build an LED clock after seeing some great designs online. They elected to go after a ring clock design, based around the ever-popular WS2812B addressable LEDs.
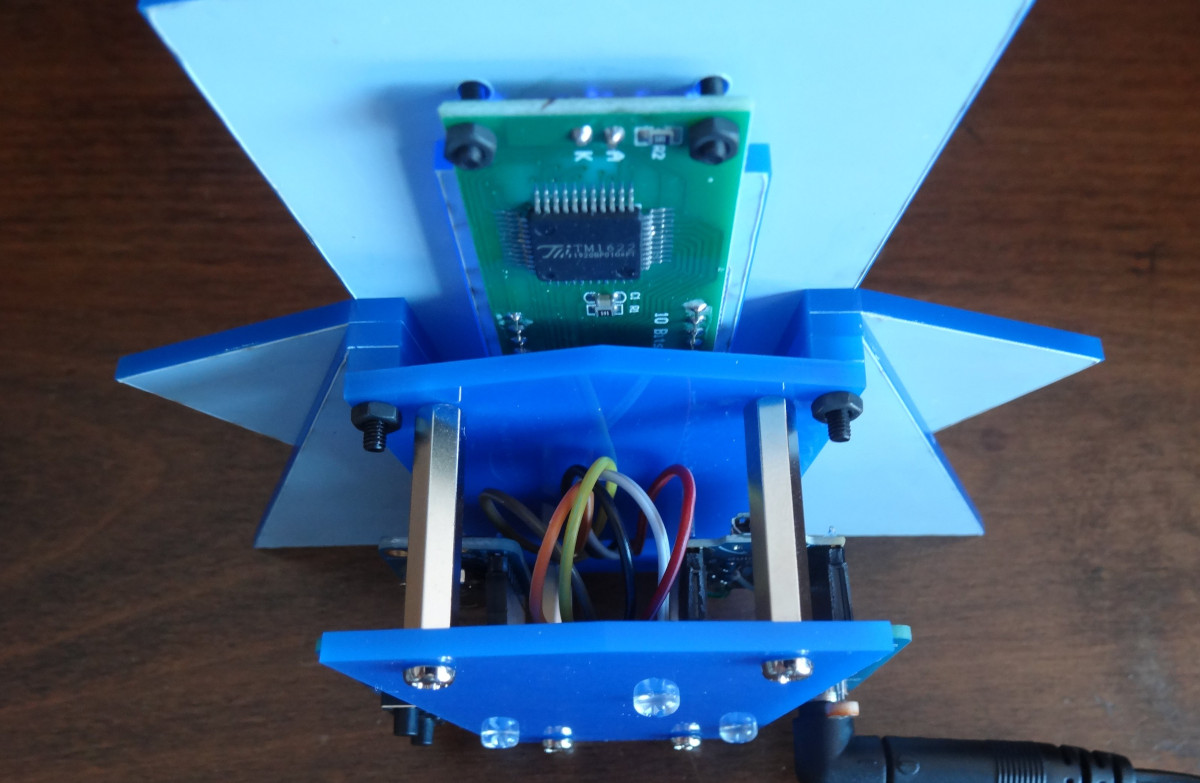
The core of the build is the HELTEC WiFi 32 development board. It’s not one we’re intimately familiar with, but it’s based around the popular Expressif ESP32. Since it’s got WiFi, it’s able to simply dial up a network time server to always keep accurate time. It then drives a set of WS2812B LEDs set up in six rings. They display the current time with a layout akin to that of a typical analog clock.
What makes this build just a little more fun is the inclusion of Disco Mode. At the press of a button, the full set of LEDs flashes out some fun dancing patterns. The clock is also programmed to trigger the same display for sixty seconds at the top of each hour.
It’s a straightforward build—what might have been highly complicated to build two decades ago has been simplified with the magic of addressable LEDs. What’s also cool is that this clock was apparently inspired by another project shared on these very pages. If you’ve been spurred to build something cool yourself, don’t hesitate to notify the tipsline!