There are certain kinds of programs that fascinate certain kinds of software hackers. Maybe you are into number crunching, chess programs, operating systems, or artificial intelligence. However, on any significant machine, most of the time those activities will require some sort of language. Sure, we all have some processor we can write hex code for in our head, but you really want at least an assembler if not something sturdier. Writing languages can be addictive, but jumping right into a big system like gcc and trying to make changes is daunting for anyone. If you want a gentle introduction, check out [mgechev’s] language that resides in 25 lines of Javascript.
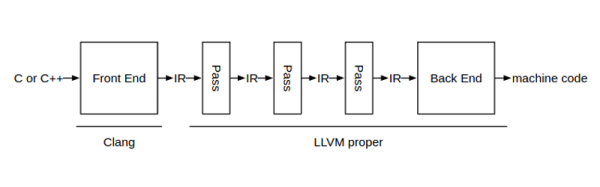
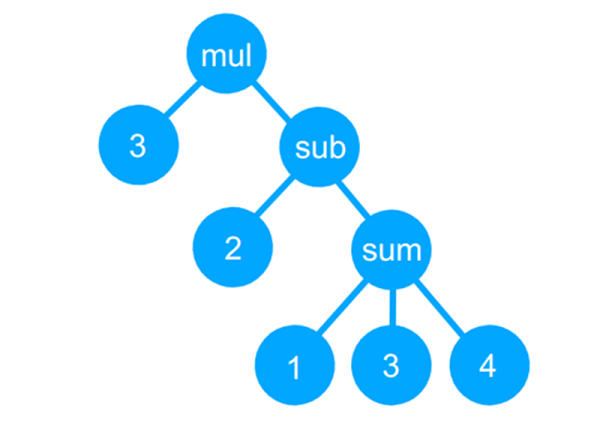
The GitHub page bills it as a tiny compiler, although that is a bit misleading and even the README says it is a transpiler. Actually, the code reads a simple language, uses recursive descent parsing to build a tree, and then uses a “compiler” to convert the tree to JavaScript (which can then be executed, of course). It can also just interpret the tree and produce a numerical answer.
Continue reading “Tiny Programming Language In 25 Lines Of Code”


 As Director of Apollo Flight Computer Programming,
  Physicist