It’s an unfortunate reality these days that if you see a cheap piece of consumer electronics, there’s a good chance its only cheap because it’s designed to lock you into some ecosystem where you’ll either end up paying a subscription, or worse, have your personal information sold behind your back. One of the best tools we have against these sort of anti-consumer practices is the development of open source firmware replacements that put control of the device into the hands of the community, rather than a corporation.
In their monthly announcement, among all the cool things Pine64, they talked about the open firmware for PinePhone’s LTE modem. The firmware isn’t fully open – a few parts remain closed. And Pine emphasizes that they neither pre-install nor officially endorse this firmware, and PinePhones will keep shipping with the vendor-supplied modem firmware image instead.
That said, the new firmware is way more featureful – it has less bugs, more features, decreased power consumption, and its proprietary parts are few and far between. I’d like to note that, with a special build of this firmware, the PinePhone’s modem can run Doom – because, well, of course.
And with all that, it’s become way easier to install this firmware – there’s fwupd hooks now! You can think of fwupd as the equivalent of Windows Update for firmware, except not abusive, and aimed at Linux. A perfect fit for keeping your open-source devices as functional as they can be, in other words.
There’s no question that Sony’s PlayStation Portable (PSP) was an impressive piece of hardware when it was released in 2004, but for all its technical wizardry, it wasn’t able to shake Nintendo’s vice-like grip on the handheld market. Perhaps that explains why we still see so many nostalgia-fueled hacks for Nintendo’s Game Boy and Dual Screen (DS) systems, while PSP hacks tend to be few and far between.
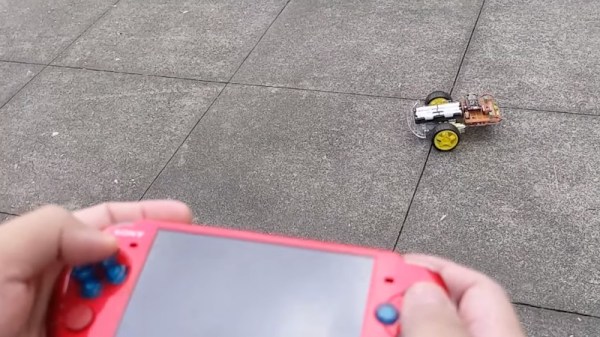
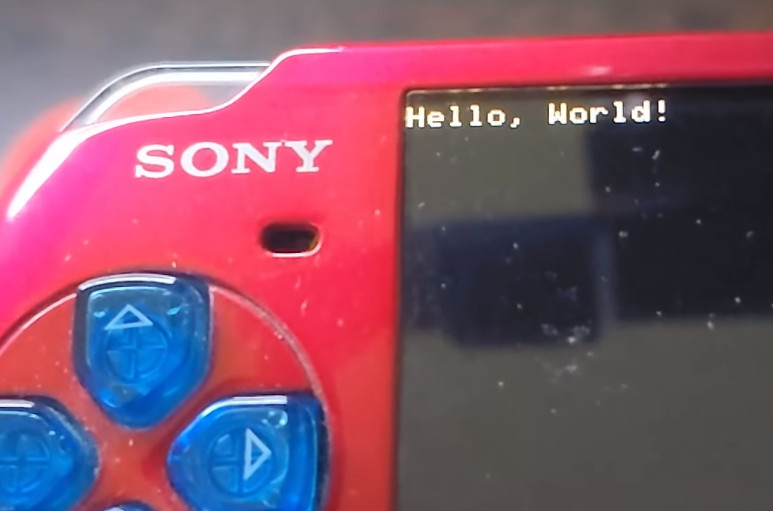
But looking at projects like this one that turn the PSP into a capable robot controller (video, embedded below) we can’t help but wonder if the community has been missing out. Thanks to an open source software development kit for the system, [iketsj] was able to write a WiFi controller program that can be run on any PSP with a homebrew-compatible firmware.
The other side of the equation is a simple robot powered by an ESP8266. To take control of the bot, the user connects their handheld to the WiFi network being offered by the MCU and fires up the controller application from the main menu. It’s all very slick, and the fact that you don’t need to make any modifications to the PSP’s hardware is a huge plus. From the video after the break we get the impression that the remote software is pretty simplistic in its current form, but we imagine the only really limitations are how good you are at writing C code for what by today’s standards would be considered a fairly resource constrained system. We’d love to see that widescreen display lit up and showing live first-person video from the bot’s perspective.
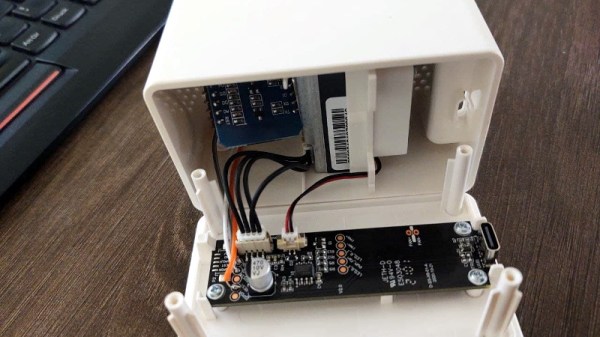
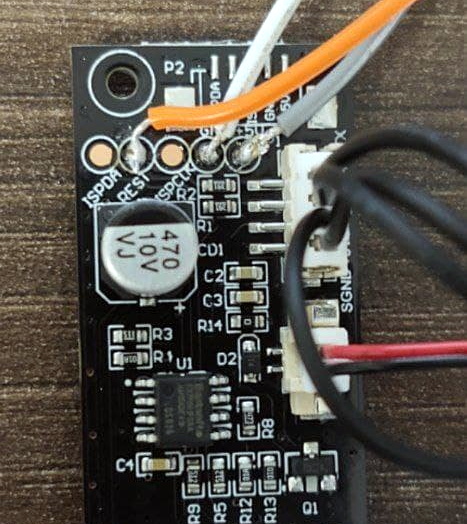
While some of us would have been tempted to gut the VINDRIKTNING and attach its particle sensor directly to the ESP8266, the approach [Sören] has used is actually quite elegant. Rather than replacing IKEA’s electronics, the microcontroller is simply listening in on the UART communications between the sensor and the original controller. This not only preserves the stock functionality of the VINDRIKTNING, but simplifies the code as the ESP doesn’t need to do nearly as much.
All you need to do if you want to perform this modification is solder a couple wires to convenient test pads on the VINDRIKTNING board, then flash the firmware (or write your own version), and you’re good to go. There’s plenty of room inside the case for the ESP8266, though you may want to tape it down so it doesn’t impact air flow.
While not required, [Sören] also recommends making a small modification to the VINDRIKTNING which makes it a bit quieter. Apparently the 5 V fan inside the sensor is occasionally revved up by the original controller, rather than kept at a continuous level that you can mentally tune out. But by attaching the sensor’s fan to the ESP8266’s 3.3 V pin, it will run continuously at a lower speed.
We’ve seen custom firmware for IKEA products before, but this approach, which keeps the device’s functionality intact regardless of what’s been flashed to the secondary microcontroller, is particularly appealing for those of us who can’t seem to keep the gremlins out of our code.
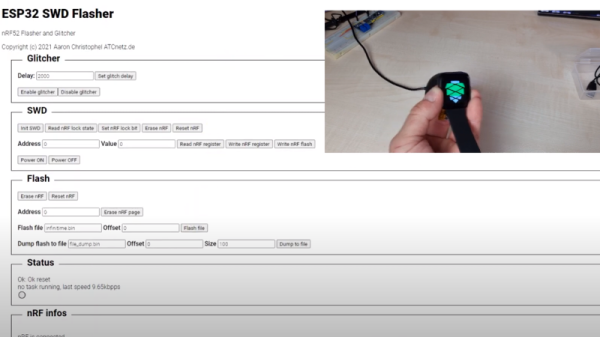
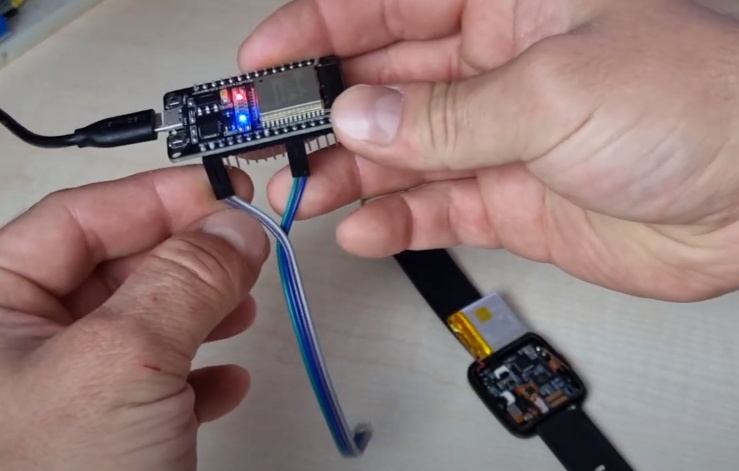
Got an nRF52 or nRF51 device you need to flash? Got an ESP32 laying around collecting dust? If so, then firmware hacking extraordinaire [Aaron Christophel] has the open source code you need. His new project allows the affordable WiFi-enabled microcontroller to read and write to the internal flash of Nordic nRF52 series chips via their SWD interface. As long as you’ve got some jumper wires and a web browser, you’re good to go.
In the first video below [Aaron] demonstrates the technique with the PineTime smartwatch, but the process will be more or less the same regardless of what your target device is. Just connect the CLK and DIO lines to pins GPIO 21 and GPIO 19 of the ESP32, point your web browser to its address on the local network, and you’ll be presented with a straightforward user interface for reading and writing the chip’s flash.
As demonstrated in the second video, with a few more wires and a MOSFET, the ESP32 firmware is also able to perform a power glitch exploit on the chip that will allow you to read the contents of its flash even if the APPROTECT feature has been enabled. [Aaron] isn’t taking any credit for this technique though, pointing instead to the research performed by [LimitedResults] to explain the nuts and bolts of the attack.
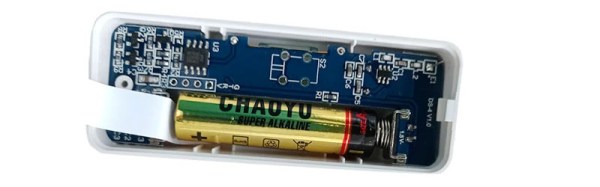
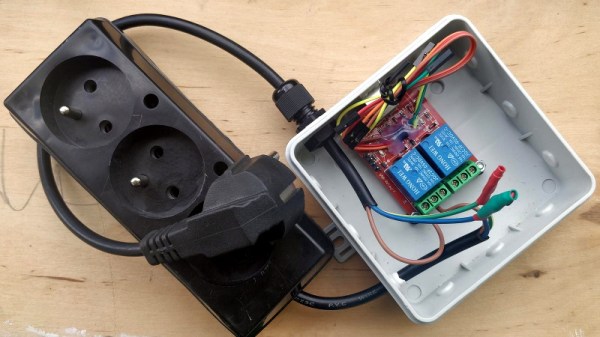
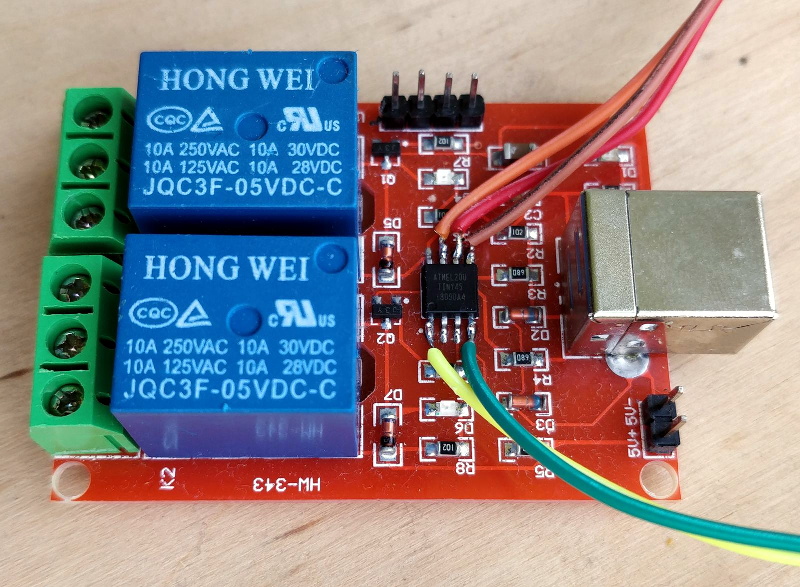
If you’re looking for a quick and easy way to control a few devices from your computer, a cheap USB relay board might be the ideal solution. These are fairly simple gadgets, consisting of little more than a microcontroller and a handful of relays. But that doesn’t mean there isn’t room for improvement, and as [Michał Słomkowski] recently demonstrated, flashing these boards with a custom firmware allows the user to modify their default functionality.
In his case, [Michał] wanted to build a power strip that would cut the power to any devices plugged into it once his computer went to sleep. Unfortunately, he couldn’t just check to see if there was 5 V on the line as his motherboard kept the USB ports powered up all the time. But with some modifications to the relay board’s firmware, he reasoned he should be able to detect if there was any USB activity by watching for the start-of-frame packet that goes out every millisecond when the bus is active.
Wiring up the ATtiny45 for flashing.
Now [Michał] isn’t claiming to be the first person to come up with a custom firmware for one of these boards, in fact, he credits an existing open source firmware project as an inspiration for his work. But he did create an entirely new GPLv3 firmware for these ATtiny45 powered devices, which includes among other improvements the latest version of V-USB. As it so happens, V-USB includes start-of-frame packet detection out of the box, which made it much easier to implement his activity detection code.
With the new firmware flashed to the relay board’s chip, [Michał] put it in an enclosure and wired up the outlets. But there was still one missing piece of the puzzle. It seems that Linux won’t actually send out the start-of-frame packets unless its actively communicating with a USB device, as part of the so-called “selective suspend” power saving feature. Luckily there is support for disabling this feature for specific devices based on their Vendor/Product ID pair, so after a little udev fiddling, everything was working as expected.
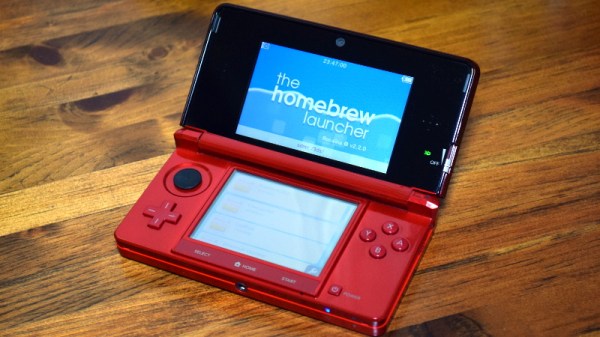
When Nintendo officially ended production of the 3DS in September 2020, it wasn’t exactly a surprise. For one thing, some variation of the handheld system had been on the market since 2011. Which is not to say the product line had become stagnant: the system received a considerable mid-generation refresh, and there was even a more affordable variant introduced that dropped the eponymous stereoscopic 3D effect, but nearly a decade is still a fairly long life in the gaming industry. Of course Nintendo’s focus on the Switch, a hybrid device that blurs the line between console and handheld games, undoubtedly played a part in the decision to retire what could effectively be seen as a competing product.
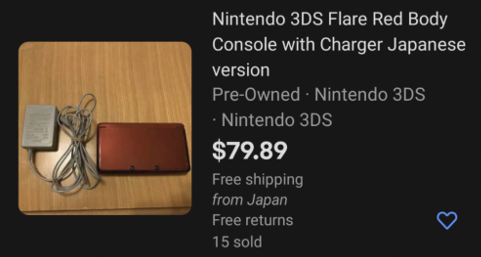
While putting the 3DS out to pasture might have been the logical business move, a quick check on eBay seems to tell a different story. Whether it’s COVID keeping people indoors and increasing the demand for at-home entertainment, or the incredible library of classic and modern games the system has access to, the fact is that a used 3DS in good condition is worth more today than it was when it was brand new on the shelf this time last year.
I’ve certainly made more expensive mistakes.
In short, this was the worst possible time for me to decide that I finally wanted to buy a 3DS. Then one day I noticed the average price for a Japanese model was far lower than that of its American counterpart. I knew the hardware was identical, but could the firmware be changed?
An evening’s worth of research told me the swap was indeed possible, but inadvisable due to the difficulty and potential for unexpected behavior. Of course, that’s never stopped me before.
So after waiting the better part of a month for my mint condition 3DS to arrive from the land of the rising sun, I set out to explore the wide and wonderful world of Nintendo 3DS hacking.