TL;DR: Enter the 2022 Cyberdeck Contest, starting right now!
When William Gibson first described the “cyberspace deck” used by the protagonists in Burning Chrome and Neuromancer, he offered only a few concrete details: they allow the user to explore cyberspace, are generally portable, and more adept owners often modify them to fit their particular needs. Anything else was left to the individual’s imagination, due in no small part to the fact that he author himself didn’t exactly know what the things would look like at the time. Still, not bad for a guy who was hammering it all out on a typewriter at the time.
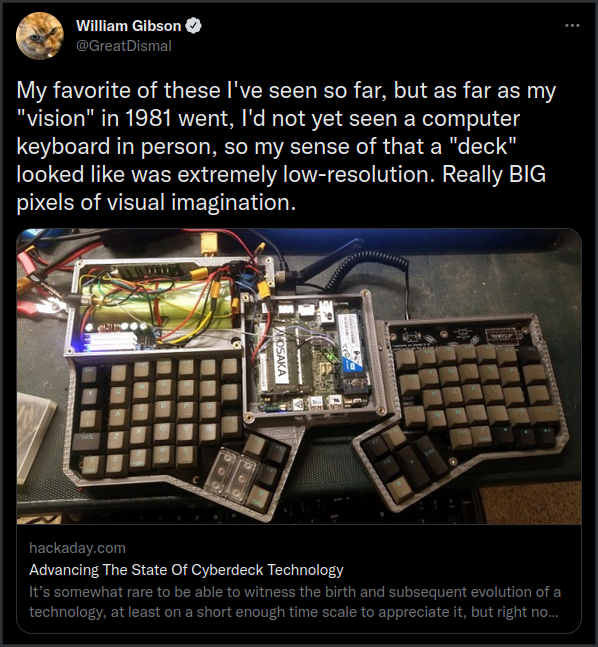
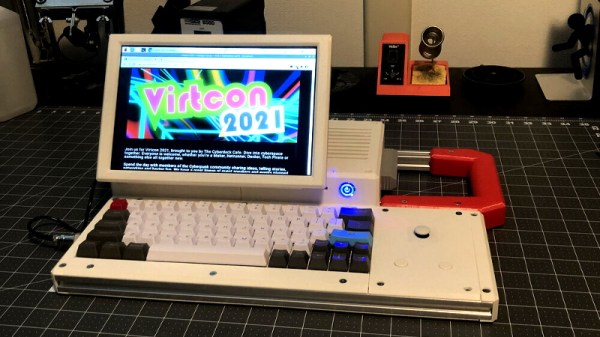
Now 40 years later, fact has caught up with fiction. The hacker and maker community have embraced the cyberdeck idea in a big way, and we’ve been blown away by the incredible creativity that goes into these bespoke computing devices.
Which is why we’re happy to announce the first, but very likely not the last, 2022 Cyberdeck Contest. Impress the judges with your Sprawl-ready rig, and you could claim one of three $150 USD Digi-Key shopping sprees to help fund your next cyberpunk masterpiece. You’ve got until Sept. 30, 2022.
So what is a cyberdeck, exactly? That’s a surprisingly difficult question to answer, but since we’re running a contest here, we’ll have to give it a shot…
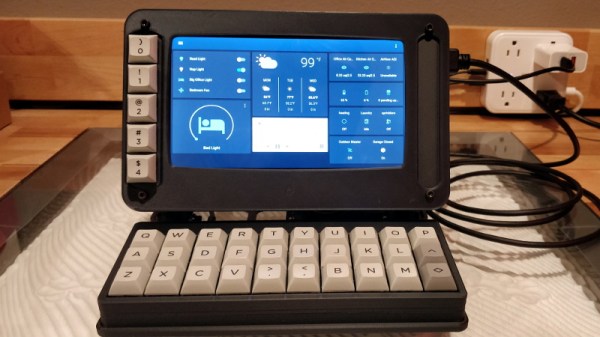
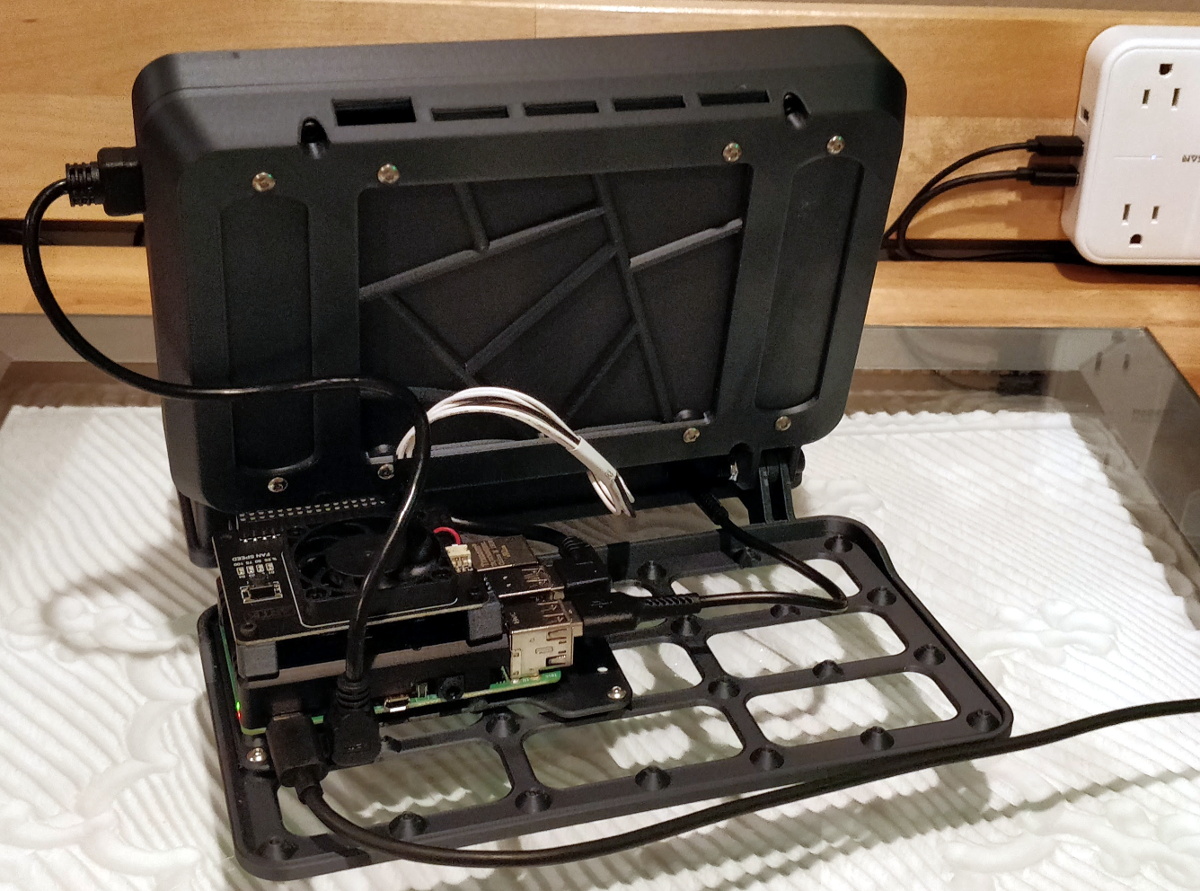
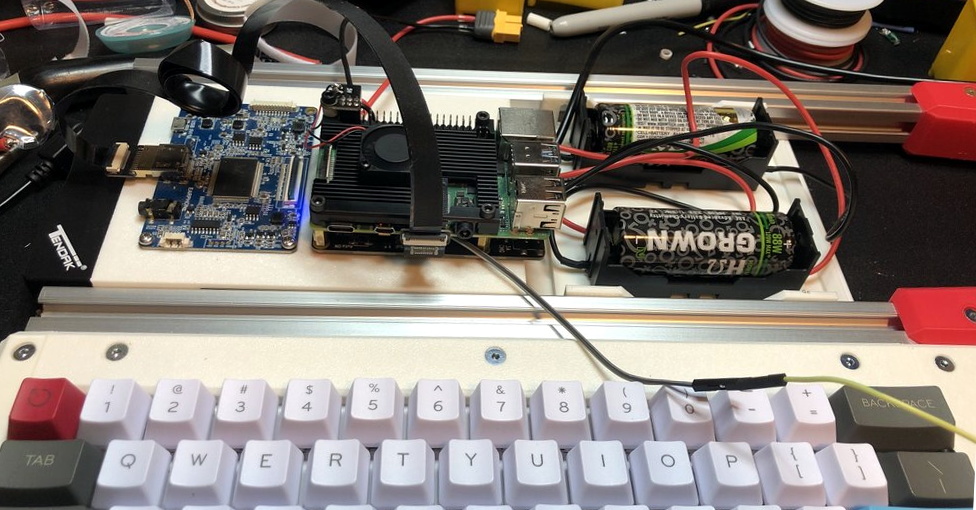
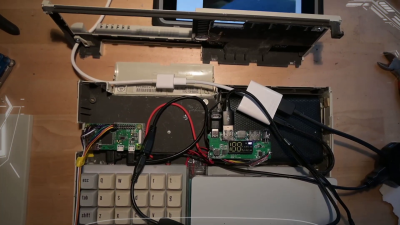
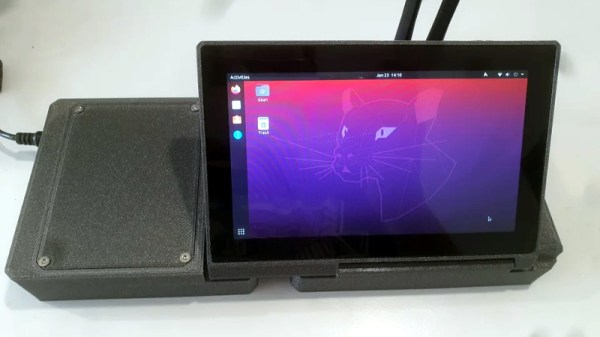
It needs to be a computer of some sort, certainly. It should also serve a practical purpose; as impressive as your cosplay prop might be, we’re really looking for functional devices here. Nominally that means it will have a keyboard and some kind of display, but figuring out how it all connects and what form the components will take is where things get interesting.
Above all, it needs to be personal. What would your dream computer look like? What features would it have? There’s no right or wrong answer here — a good cyberdeck should be a reflection of the person who built it, and no two should ever be quite the same.
Need some inspiration? Not to worry, you’ve come to the right place. We’ve seen dozens of these custom machines over the last couple of years if you need some help to get moving in the right direction.
Continue reading “Load Your Icebreakers, The 2022 Cyberdeck Contest Starts Now”