Join The Movement With This Mini Cyberdeck

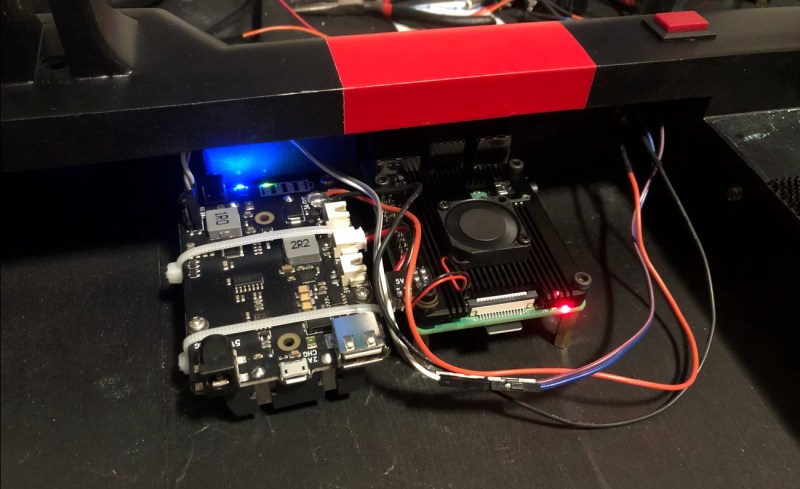
The global pandemic has given many people a lot more time at home, which has undoubtedly pushed an untold number of projects over the finish line. Unfortunately, it’s also disrupted global commerce and shipping to the point that getting parts can be a lot harder than we’d like. Which is why [facelesstech] decided to put together this exceptionally mobile cyberdeck out of things he already had laying around.

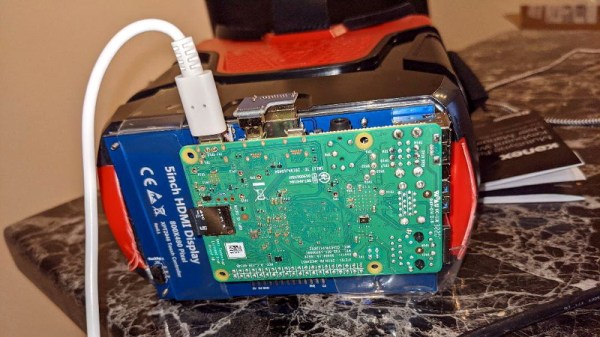
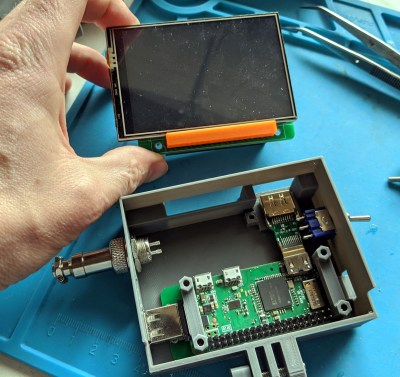
Now to be fair, his parts bin is perhaps a bit better stocked for this kind of thing than most. He’s built a couple of Raspberry Pi portables already, so the Pi Zero W, display, and battery management board were already kicking around. He just had to come up with a new 3D printed enclosure that holds it all together with a little bit of cyberpunk flair.

To that end, he’s done an excellent job of documenting the build and has released the STL files for the 3D printed components. All things considered, we’d say this is probably the most approachable cyberdeck design currently available; if you’ve been wondering what all the fuss is about with these bespoke little computers, this is an ideal project to get started with.

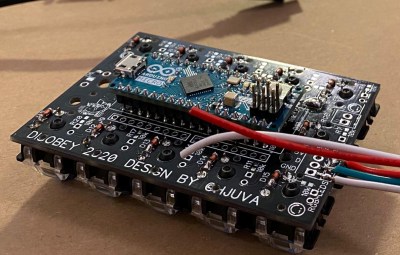
Keep in mind that the idea of a cyberdeck is to build something custom for yourself, so there’s no need to copy this build exactly. If you’re short on parts, you could forgo the battery powered aspect and just keep it tethered. The superfluous (but very cool) GX12 connectors could certainly be deleted as well, although at serious stylistic cost. You’ll probably need to order the specific keyboard that [facelesstech] designed the lower half of the device around, but it’s common enough that it shouldn’t be hard to track down. No matter which way you take it, this design is a great base to start from.

If you’re looking for something a bit more substantial and have the filament to burn, you might take a look at the VirtuScope to fulfill your offset screen needs.

Continue reading “Join The Movement With This Mini Cyberdeck”

Heavyweight Cyberdeck Is In A Class Of Its Own

Inspired by other builds he’d seen online, [BlastoSupreme] decided to build his very own cyberdeck. There was only one problem: he’d never designed and assembled anything like this before. Wanting to avoid any problems down the line, he reasoned that the safest approach would be to make it so big that he wouldn’t struggle to fit everything inside. Some may say the resulting NX-Yamato, named for the most massive battleship ever constructed, ended up being too large. But that’s only because they are afraid.

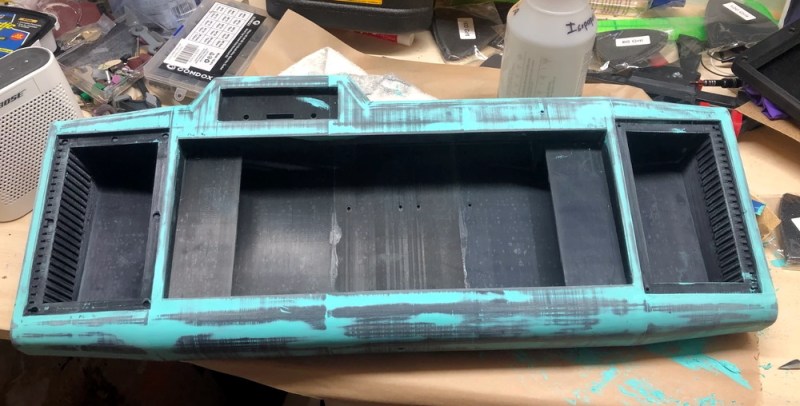
A finish like the Yamato’s doesn’t come easy.

In his write-up on The Cyberdeck Cafe, a site dedicated to the community sprouting up around these futuristic personal computers, [BlastoSupreme] describes building this cyberdeck as something of a transformative experience. Looking at the incredible effort that went into this project, we can believe it. From the intricate CAD work to the absolutely phenomenal finish on the Yamato’s 3D printed frame, there’s not a cut corner in sight.

That’s right, nearly every component of this cyberdeck was conjured into existence by squirting out hot plastic. About two kilograms of it, to be precise. It was printed in vertical chunks which were then assembled with adhesive and screws. This modular construction technique allowed [BlastoSupreme] to build what he believes to be the largest cyberdeck ever made. Sounds a lot like a challenge to us.

Admittedly, the massive internal volume of the Yamato is largely unused; all that’s inside it right now is a Raspberry Pi 4 and a X705 power management board that allows the deck to run off of 18650 cells. Of course, all that space could easily be put to use with additional gear or even a larger and more powerful Single Board Computer (SBC) such as the Atomic Pi. There’s even a dedicated compartment in the side for snacks, so no worries there. As [BlastoSupreme] puts it, all that empty space inside is a feature, not a bug.

Plenty of room inside for whatever hardware you want to take with you into the Sprawl.

In the nearly two years that have passed since we first came across one of these Neuromancer inspired builds, we’ve been absolutely blown away by the increasing scale and complexity of these extremely personal computers. Since it seems there’s only a fairly loose idea of what a “proper” cyberdeck should look like in the canonical sense, these builds have been free to fill in the blanks with some pretty outlandish designs. Some of which have earned William Gibson’s personal seal of approval.

Arduino Handheld Game System Gets A Grip

With little more than an Arduino, an OLED display, and some buttons, it’s easy to build your own faux-retro game system. There’s even a growing library of titles out there that target this specific combination of hardware, thanks in no small part to the Arduboy project. But unless you’re content to play Circuit Dude on a breadboard, at some point you’ll probably want to wrap the build up in a more convenient form.

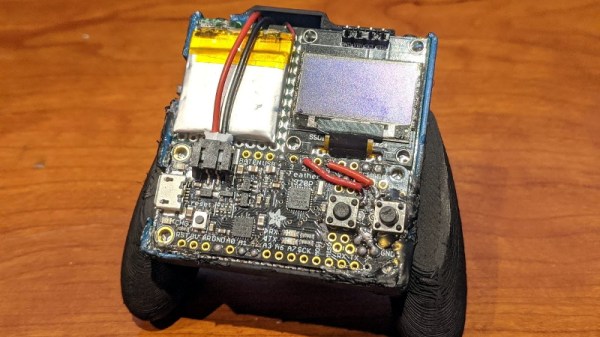
Like many that came before it, the OLED handheld created by [Alex Zidros] takes inspiration from a Nintendo product; but it’s not the Game Boy. Instead, his design is based on a 3D printed grip for the Switch Joy-Cons that he found on Thingiverse. After tacking on a holder for the PCB, he had the makings of a rather unique system.

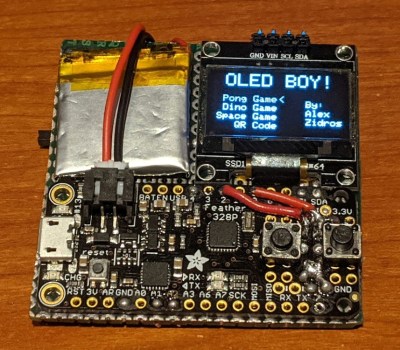
We especially like the offset SSD1306 OLED display. Not because we think a game system with an asymmetrical layout is a particularly sound design decision, but because it gives the whole build a rather cyberpunk feel. When combined with the exposed electronics, the whole system looks like it could have been cobbled together from a futuristic dumpster. Which is high praise, as far as we’re concerned.

Opposite the display is a LiPo pouch battery that [Alex] says was liberated from a portable speaker, and down below is an Adafruit Feather 328P. There are two tactile switches mounted to the front of the Feather, and in something of a departure from these sort of builds, there are two more on the shoulders of the 3D printed case. Everything is held together with nothing more exotic than a scrap of perfboard, making it easy for anyone who might want to build their own version.

If you prefer your Arduino and OLED gaming to come in a slightly more familiar form factor, the build that was done inside of a Dreamcast Visual Memory Unit (VMU) has always been a favorite around these parts.

A Raspberry Pi Terminal That’s Always Within Reach

Inspired by films such as The Matrix, where hackers are surrounded by displays and keyboards on articulated arms, [Jay Doscher] created this cyberpunk “floating” terminal so your favorite Linux single board computer is always close at hand. Do you actually need such a thing mounted to the wall next to the workbench? Probably not. But when has that ever stopped a Hackaday reader?

[Jay] has come up with a modular design for the “A.R.M. Terminal” that allows the user to easily augment it with additional hardware. The 3D printed frame of the terminal has hardpoints to bolt on new modules, which thanks to threaded metal inserts, will have no problem surviving multiple configurations.

This initial version features a panel on the left side that holds various buttons and switches attached to the Pi’s GPIO pins. With a bit of code, it’s easy to pick up the status of these controls and use them to fire off whatever tasks your imagination can come up with. On the bottom [Jay] has mounted a stand-alone VFD audio spectrum display that’s hooked up to the Pi’s 3.5 mm jack. It’s totally unnecessary and costs as much as the Raspberry Pi itself, but it sure is pretty.

If there’s a downside to the design, it’s that the only display currently supported is the official Raspberry Pi touchscreen which is only 800×480 and a bit pricey compared to more modern panels. On the other hand, there’s something to be said for the standardized bolt pattern on the back of the official screen; so if you want to use a higher resolution display, be prepared to design your own mounting bracket. Extra points if you share your changes with the rest of the class.

For anyone who likes the look of the A.R.M. Terminal but isn’t too keen on being tethered to the wall, you’re in luck. [Jay] previously created the Raspberry Pi Recovery Kit which shares many of the same design principles but puts them into a ruggedized case that’s ready for life in the field.

Patrol The Sprawl With This Battle Ready Cyberdeck

The recent crop of cyberdeck builds are inspired, at least tangentially, by William Gibson’s novel Neuromancer and its subsequent sequels. In the novels, the decks are used as mobile terminals to access the virtual reality of cyberspace. In our world, they’re usually just quasi-retro boxes with Raspberry Pis in them. Artistic license and all that. But the “XMT-19 Cutlass”, a deck built by [CaptNumbNutz], attempts to hew more closely to the source material than most builds we’ve seen.

Of course it won’t be transporting you into the matrix, and ultimately it’s still just a casemod for the Raspberry Pi. But at least it does a fantastic job of fitting the Neuromancer motif. The design is supposed to look like the XMT-19 was a piece of high-tech military hardware that was later co-opted by a cyberspace cowboy operating in the urban megatropolis that Gibson called the Sprawl, with exposed wiring and a visual mish-mash of components.

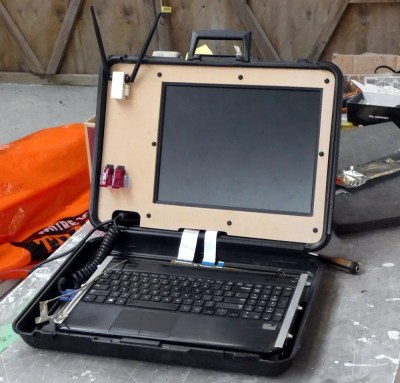
If you can believe it, the build started out as a locking clipboard of all things. From there, [CaptNumbNutz] started layering on the hand-cut foam greebles and spraying on the WWII inspired color scheme. We especially like the yellow tips on the antennas that invoke the propellers of vintage airplanes, and the serial number stenciled onto the bottom. In a departure from basically every other cyberdeck we’ve seen to date, there appear to be no 3D printed elements on the XMT-19; all the parts are hand made with nothing more than an a sharp knife and a heap of patience.

In terms of the electronics, the whole build has been greatly simplified by the use of a SmartiPi Touch case, which integrates the Pi and touch screen into a single hinged unit that just needed to get bolted to the top of the deck. Plus it gave him an excuse to put a big rainbow ribbon cable on the back of it to reach the Pi’s GPIO ports, which as you know, instantly makes everything look more retro-futuristic.

It might not be packing the raw power of the Intel NUC cyberdeck we covered last year, or have the convincingly vintage look of the VirtuScope, but we’d take the XMT-19 Cutlass into the matrix any day.

3D Printed VirtuScope Is A Raspberry Pi 4 Cyberdeck With A Purpose

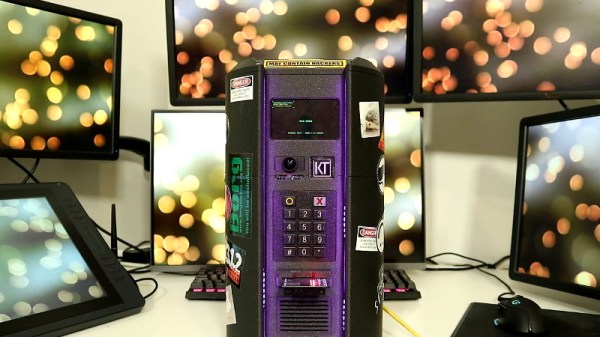
William Gibson might have come up with the idea for the cyberdeck in 1984, but it’s only recently that technology like desktop 3D printing and powerful single board computers have enabled hackers and makers to assemble their own functional versions of these classic cyberpunk devices. Often the final product is little more than a cosplay prop, but when [Joe D] (better known on the tubes as [bootdsc]) started designing his VirtuScope, he wanted to create something that was actually practical enough to use. So far, it looks like he’s managed to pull it off.

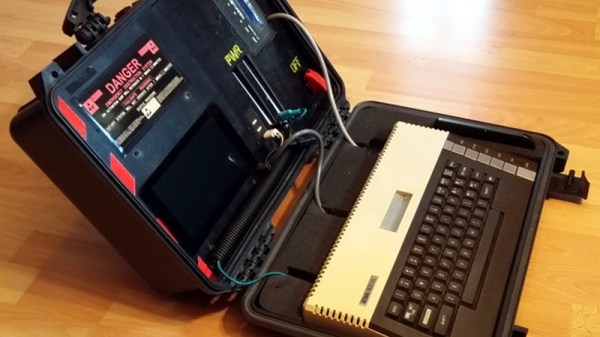
Many of the cyberdeck builds we see are based around the carcass of a era-appropriate vintage computer, which looks great and really helps sell the whole retro-future vibe. Unfortunately, this can make the projects difficult and expensive to replicate. Plus there’s plenty of people who take offense to gutting a 30+ year old piece of hardware just so you can wear it around your neck at DEF CON.

[bootdsc] deftly avoided this common pitfall by 3D printing the entire enclosure for the VirtuScope, and since he’s shared all of the STLs, he’s even made it so anyone can run off their own copy. The majority of the parts can be done on any FDM printer with a 20 x 20 x 10cm build area, though there are a few detail pieces that need the resolution of an SLA machine.

Under the hood the VirtuScope is using the Raspberry Pi 4, which [bootdsc] says is key to the build’s usability as the latest version of the diminutive Linux SBC finally has enough computational muscle to make it a viable for daily computing. Granted the seven inch LCD might be a tad small for marathon hacking sessions, but you could always plug in an external display when you don’t need to be mobile. For your wireless hacking needs, the VirtuScope features an internal NooElec SDR (with HF upconverter) and a AWUS036AC long-range WiFi adapter; though there’s plenty of room to outfit it with whatever kind of payload you’d find useful while on the go.

Documentation for this project is still in the early stages, but [bootdsc] has already provided more than enough to get you started. He tells us that there are at least two more posts coming that will not only flesh out how he built the VirtuScope, but explain why it’s now become his portable SDR rig of choice. We’re excited to see more details about this build, and hope somebody out there is willing to take on the challenge of building their own variant.

In the past we’ve seen partially 3D printed cyberdecks, and at least one that also went the fully-printed route, but none of them have been quite as accessible as the VirtuScope. By keeping the geometry of the printed parts simple and utilizing commonly available components, [bootdsc] may well have laid the groundwork for hackerdom’s first “mass produced” cyberdeck.

Continue reading “3D Printed VirtuScope Is A Raspberry Pi 4 Cyberdeck With A Purpose”

We Were Really Overdue For Laser Jackets

Depending on who you talk to, everything is either fine, or we’re living in an oppressive cyberpunk dystopia in which we forgot to drench everything in colored neon lighting. There’s little to be done about the digital surveillance panopticon that stalks our every move, but as far as the aesthetic goes, [abetusk] is bringing the goods. The latest is a laser jacket, to give you that 2087 look in 2019.

The build starts with a leather jacket, which is festooned with 128 individual red laser diodes. These are ganged up in groups of 4, and controlled with 32 individual PWM channels using two PCA9685 controllers. An Arduino Nano acts as the brains of the operation, receiving input from a joystick and a microphone. This allows the user to control lighting effects and set the jacket to respond to sounds and music.

[abetusk] does a great job of conveying the tricks needed to successfully pull this off. The instructions should allow any curious maker to replicate the build at home, and code is available on Github to help run the show. There’s lots of detail on proper enclosures, connectors, and cabling techniques to avoid the wearer inadvertently pulling everything to bits when wearing the garment to the club. Remember, there’s nothing more punk than educating your friends.

It’s an eye-catching build that would be an excellent addition to any Neo-Chicago street gang wardrobe. It’s not the first time [abetusk] has graced these pages, either – there are electroluminescent looks, too. Video after the break.

Continue reading “We Were Really Overdue For Laser Jackets”