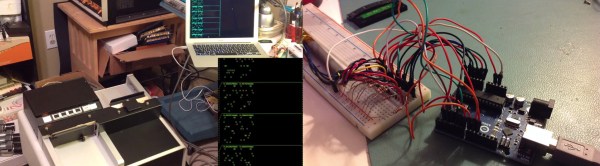
What do you get when mindless automatons with no capacity for reason or logic converse? While you discuss that in the comments, here are two chatbots on Twitch. The highlights? A few hours ago they were doing the cutesy couple, “‘I love you more!’, ‘No, I love you more!'” thing. This was ended by, “Error, cannot connect to server.” Even robot love is not eternal.
3D printer nozzles wear out. Put a few hundred hours on a brass nozzle, and you’re not going to get the same print quality as when you started. This has led to stainless and silly-con carbide nozzles. Now there’s a ruby nozzle. It’s designed by [Anders Olsson], the same guy who’s using an Ultimaker to print neutron shielding. This guy is a nuclear engineer, and he knows his stuff. This is a nozzle designed to not grind contaminants into extruded plastic, and it looks cool, too.
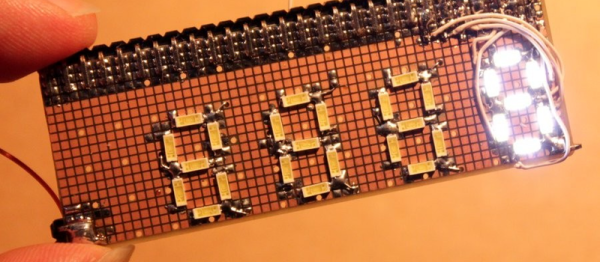
This is the eighth day of the year, but the guild of independent badge makers of DEF CON are already hard at work. AND!XOR is working on the DC25 badge, that promises to be bigger, badder, and more Bender. I’m loving the Hunter S. Bender theme.
Anyone can design a PCB, but how do you panelize multiple PCBs? There’s a lot to consider – routing, mouse bites, and traces for programming the board while still panelized. This is the best solution we’ve seen. It’s a GUI that allows you to organize Gerbers on a panel, rotate them, add routes and cutouts, and generally do everything a board house does. It’s all Open Source and everything is available on GitHub.
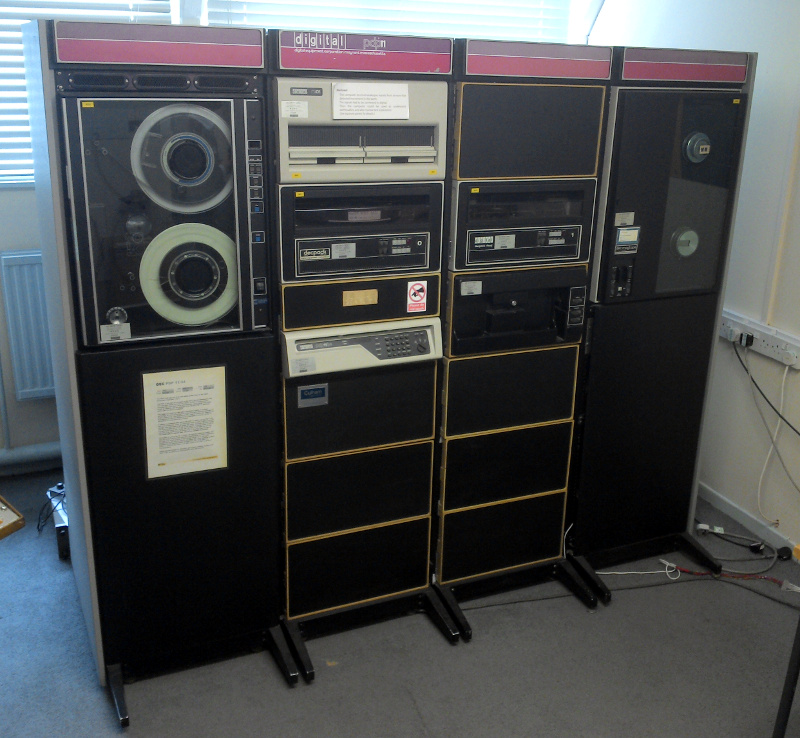
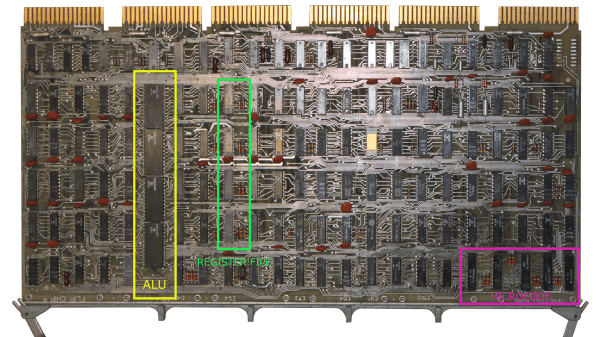
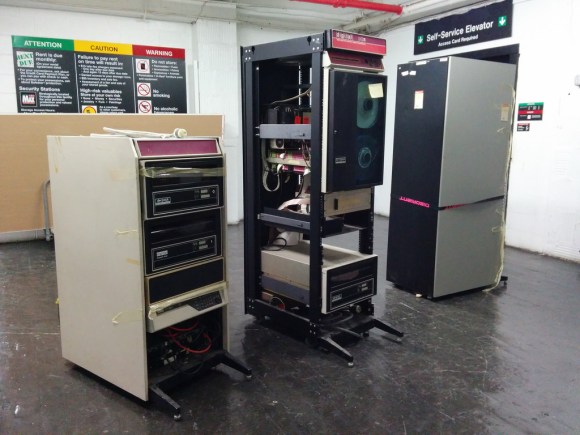
[ducksauz] found a very old ‘computer trainer’ on eBay. It’s a DEC H-500, built to explain the basics of digital electronics and semiconductors to a room full of engineering students. It is an exceptionally beautiful piece of equipment with lovely hand-drawn traces and ‘surface mounted’ 7400 chips mounted on the back side.