EPROM Timer

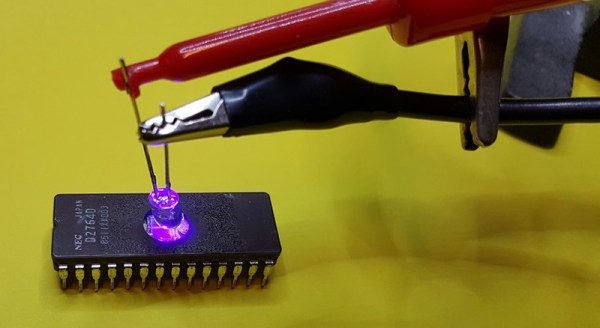
[glitch] had a cheap EPROM eraser with very few features. Actually, that might be giving it too much credit: it’s barely more than a UV light that turns on when it’s plugged in and turns off when it’s plugged out unplugged. Of course it would be nice to implement some safety features, so he decided he’d hook it up to a software-controlled power outlet.

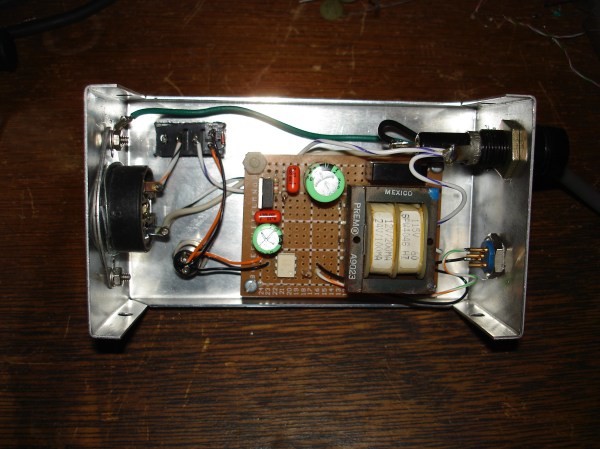
Of course, controlling a relay that’s wired to mains is old hat around here, and in fact, we’ve covered [glitch]’s optoisolated mains switch already. He’s gone a little beyond the normal mains relay project with this one, though. Rather than use a microcontroller to run the relay, [glitch] wrote a simple Ruby script on his computer to turn the EPROM eraser on for the precise amount of time that is required to erase the memory.The Ruby script drives the relay control directly over a USB to serial adapter’s RTS handshake pin.

[glitch]’s hack reminds us that if you just need a quick couple bits of slow output, a USB-serial converter might be just the ticket. You could imagine driving everything from standard lamps to your 3D printer’s bed heater (provided you use similar hardware), but it’s especially helpful for [glitch] who claims to forget to turn off the eraser when it’s done its job, which leaves a potentially dangerous UV source just lying about. It’s always a good idea to add safety features to a dangerous piece of equipment!

Mostly Non-Volatile Memory With Supercapacitors

Back in the days of old, computers used EPROMs to store their most vital data – usually character maps and a BASIC interpreter. The nature of these EPROMs meant you could write to them easily enough, but erasing them meant putting them under an ultraviolet light. Times have changed and now we have EEPROMs, which can be erased electronically, and Flash, the latest and greatest technology that would by any other name be called an EEPROM. [Nicholas] wanted an alternative to these 27xx-series EPROMs, and found his answer in supercapacitors.

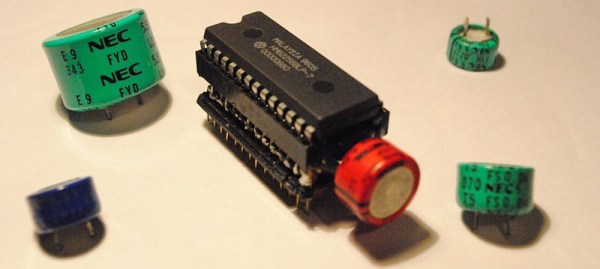
[Nick]’s creation is a mostly non-volatile memory built around an old 62256 32k SRAM. SRAM is completely unlike EPROMs or Flash, in that it requires power to keep all its bits in memory. Capacitor technology has improved dramatically since the 1980s, and by using a supercap and one of these RAM chips, [Nick] has created a substitute for a 27-series EPROM that keeps all its memory alive for days at a time.

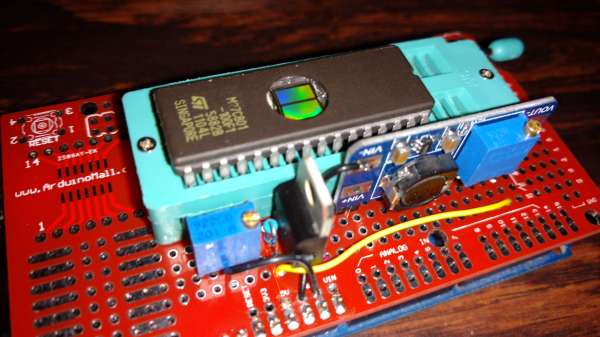
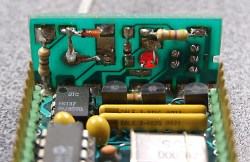
The circuit requires a small bit of electronics tucked between the EPROM socket and the SRAM chip; just enough to turn the 12 Volts coming from the EPROM programming pin to the 5 Volts expected from the SRAM’s Write Enable pin. This is accomplished by a few LEDs in series, and a 0.1F 5.5V supercap which keeps the SRAM alive when the power is off.

As for why anyone would want to do this when modern technologies like Flash can be found, we can think of two reasons. For strange EPROM sizes, old SRAMs abound, but a suitable Flash chip in the right package (and the right voltage) might be very hard to find. Also, EEPROMs have a write lifetime; SRAMs can be written to an infinite number of times. It’s not the best solution in every case, but it is certainly interesting, and could be useful for more than a few vintage computing enthusiasts.

This project makes us think of another where an LED may have been supplying keep-alive power to some volatile memory.

Dumping Old PROMs With New Hardware

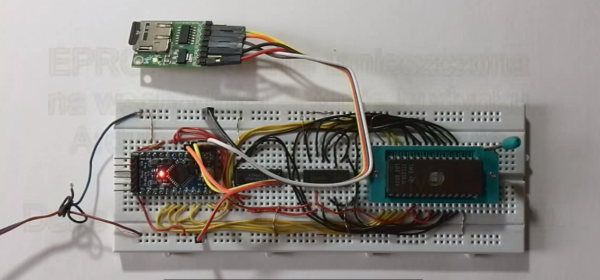
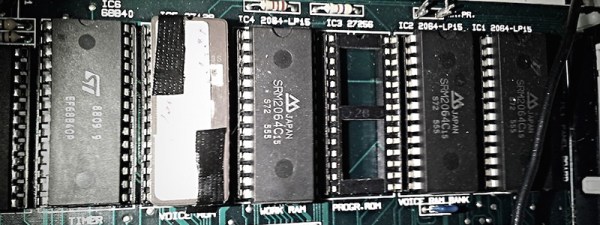
[ijsf] recently came across a very old synthesizer from a defunct West German company. This was one of the first wavetable synths available, and it’s exceptionally rare. Being so rare, there isn’t much documentation on the machine. In an attempt at reverse engineering, [ijsf] decided to dump the EPROMs and take a peek at what made this synth work. There wasn’t an EPROM programmer around to dump the data, but [ijsf] did have a few ARM boards around. It turns out building a 27-series PROM dumper is pretty easy, giving [ijsf] an easy way to dig into the code on this machine.

The old EPROMs in this machine have 5v logic, so [ijsf] needed to find a board that had a ton of IOs and 5v tolerant inputs. He found the LPC2148, which has a nice USB system that can be programmed to dump the contents of a PROM over serial. Interfacing the PROM is as simple as connecting the power and ground, the address lines, data, and the signal lines. After that, it’s just a matter of stepping through every address according to the timing requirements of the PROM. All the data was dumped over a serial interface, and in just a few seconds, [ijsf] had 32768 bytes of ancient data that made this old synth tick.

EPROM Coffee Table

Either in need of a coffee table or suffering a severe lack of upscaled electronics, [Darren] just finished up a great build for his living room. It’s a huge, scaled up version of a UV erasable EPROM with an infinity mirror in place of the fused quartz window.

[Darren]’s coffee table was inspired by an earlier build by the geniuses at Evil Mad Scientist. A few years ago, they built a 555 footstool that was scaled up about 30 times its normal size. Even at footstool scale, the 555 is still relatively tiny.

[Darren] is using a similar construction technique by forming the legs of the EPROM out of laminated plywood. Since this build is significantly larger, building the entire device out of solid, laminated plywood would result in an unwieldy and expensive piece of furniture. Instead, [Darren] constructed the legs and sides out of plywood laminations, covering the ends, top, and bottom with plywood panels. The result is a hollow EPROM/coffee table that’s still structurally sound.

If you’re a bit confused after counting the number of pins on the coffee table, you’re in good company. This is technically a scaled-up version of a 16-pin 0.600″ PDIP, something that a quick googling suggest isn’t historically accurate. Maybe there was an EPROM with a 4-bit wide data bus somewhere in the annals of electronics history, but we’re happy with saying that a completely accurate scaled-up ROM would be far too big for [Darren]’s living room.

Continue reading “EPROM Coffee Table”

DIY UV Lamp Is The Cure For Nails And More

We must admit to wondering how Adafruit’s [Becky Stern] gets anything done with those fingernails of hers. They’re always long and beautifully painted without any chips, dings, or dents. As it turns out, she uses UV gel nail polish. It’s much more durable than standard air-dry polishes, but it requires UV light to cure. [Becky] bought a lamp to use at home, but it’s very bulky and must be plugged into the wall. She knew there was a better way and devised her DIY UV mini manicure lamp.

She really thought of everything. The open source 3D-printed enclosure includes a small compartment in the top for cuticle sticks, emery boards, and tweezers. The Li-poly battery is rechargeable over USB in conjunction with Adafruit’s PowerBoost 500c. The lamp itself is made from 30 UV LEDs and 100Ω resistors. [Becky] lined the inside of hers with silver sticky paper to help distribute the UV light evenly.

You know, this can also be used to erase EPROMs or to cure small DLP 3D prints. Do you have another use for it? Tell us in the comments. Introductory and partially hyperlapsed video after the break.

Continue reading “DIY UV Lamp Is The Cure For Nails And More”

Overhauling An IC Programmer

Willem IC Programmer

[NeXT] needed an EPROM programmer to work with chips from vintage computers. Starting with a low cost programmer, he built this custom IC programmer to handle all of his programming needs.

The device is based on the Willem 5.0e programmer. [NeXT] was not satisfied with the device, noting that it had to be carefully isolated from metal surfaces during use and required setting many annoying jumpers.

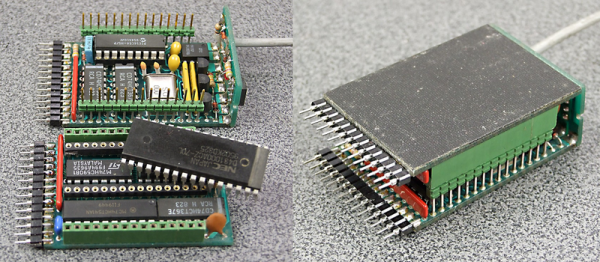
To solve these problems, he started off by dismantling the programmer. The IC sockets were moved to a daughter board, which could be mounted cleanly into the metal enclosure. Replacing the jumpers was a bit more complicated, a combination of toggle and rotary switches were chosen to make changing settings easier.

Soldering the boards together looks like it was not an easy task, with 200 solder joints needed to connect the sockets and switches. After debugging some shorts and dead connections, [NeXT] managed to finish the 1.5 year project right before his Christmas deadline.

Fail Of The Week: EPROM Reading And Erasing

It may be a failure but it sure does look cool. [Scott Lawrence] had a fair number of EPROM chips on hand and decided to get rid of the traditional eraser and programmer in order to play around with the concepts using his own hardware. He was met with disappointment at several steps in the process. No worries though, each of these upsets sent him back to the drawing board and he learned way more than he ever would have if it had actually worked. It’s fair to say this failure was highly successful.

Continue reading “Fail Of The Week: EPROM Reading And Erasing”