
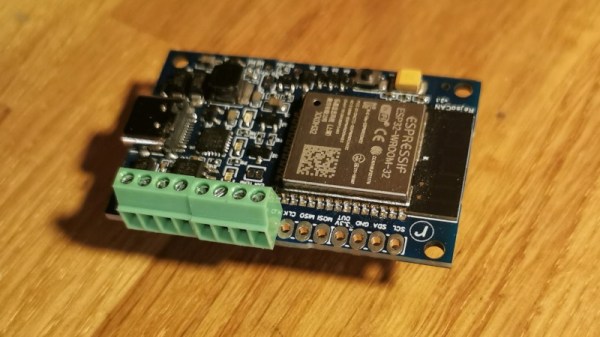
We were impressed with [moononournation’s] tiny thin client project. It claims to use an Arduino, but as you might guess it is using the Arduino software along with a network-enabled microcontroller like an ESP32. The impressive part is that it is standards-compliant and implements VNC’s RFB protocol.
The original coding for RFB on Arduino is from [Links2004] and armed with that, the thin client is probably easier to create than you would guess. However, this project wanted to use a larger screen and found that it led to certain problems. In particular, the original code had a 320×240 display. This project was to use an 800×480 display, but with the limits on the ESP32, the frame rate possible would be under 7 frames per second. The answer was to combine a 16-bit parallel interface with better compression back to the VNC server.
The little keyboard is probably not very practical, but it is compact. That would be another easy thing to modify. Currently, the keyboard uses I2C, but it would be straightforward to change things up. This would be a worthy base to build a bigger project on top. A 3D printed enclosure would be nice, too.
We’ve seen a number of projects built around commercial thin clients. Some from defunct businesses are good sources for obscure parts, too.
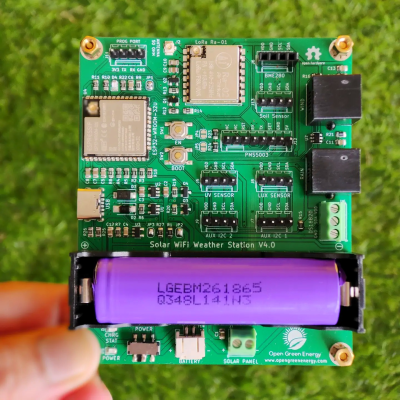 with simple 4-way I2C connectors. Temperature, humidity, and pressure are handled by a BME280 module, UV Index (SI1145), visible light (BH1750) even soil humidity and temperature with a cable-mounted SHT10 module.
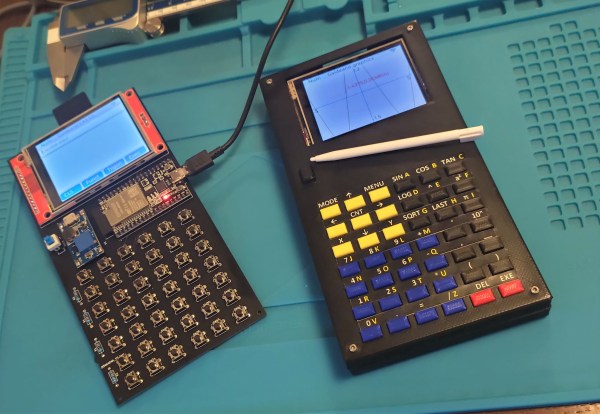
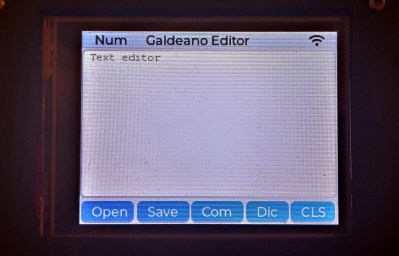 The ESP32 runs MicroPython along with a symbolic math engine called Eigenmath. This enables the Galdeano to manipulate expressions, perform integration and differentiation, and plot functions. Porting Eigenmath to a memory-constrained platform like the ESP32 was quite a challenge and required a few workarounds, including a memory partition scheme and even a custom compact font with mathematical symbols.


