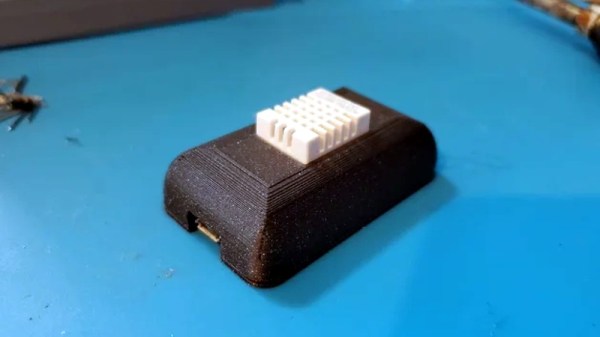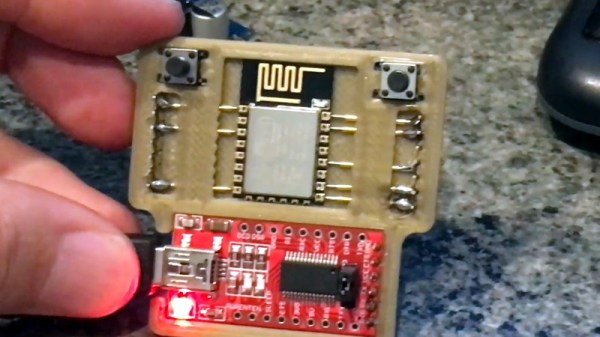
ESP8266 development boards like the Wemos D1 Mini and NodeMCU are an excellent way to get a one-off project up and rolling quickly, but their size and relative complexity mean they aren’t necessarily a good choice for even short-run production hardware. On the other hand, programming the bare ESP modules can be something of a pain. But thanks to [Greg Frost], flashing those tiny little boards just got a lot easier.
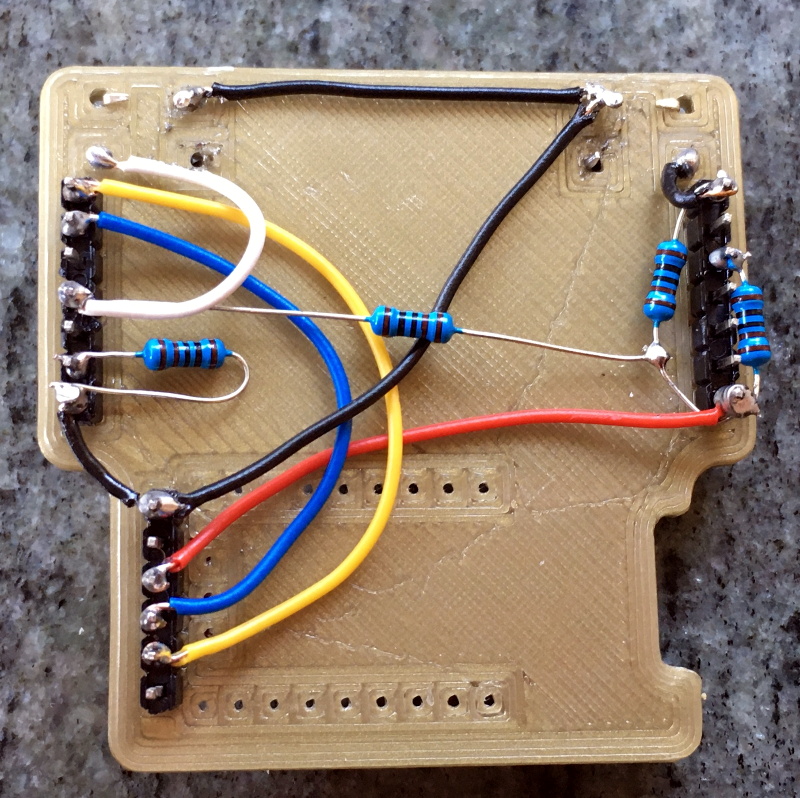 His 3D printed design uses pogo pins to securely connect to the board’s castellated edges, which also holds it in place during the programming process. On the back side there’s just a few jumper wires and a couple of resistors, which ultimately lead to the FT232R FTDI board that actually connects the chip to the computer so you can program it.
We’d like to see a back panel that encloses the wiring, and perhaps an alternate version that deletes the space for the FTDI board in favor of a row of header pins. Both easy enough modifications to the basic design should [Greg] or anyone else feel so inclined. But even as it is, this is a great little programmer that can be sourced and assembled easily and cheaply.
This isn’t the first 3D printed ESP8266 programmer we’ve seen, and there are some improvised versions which are even cheaper to put together, but this design has a certain professional look that we think will be right at home on your bench.