For people under a certain age, the 8 inch floppy disk is a historical curiosity. They might just have owned a PC that had a 5.25 inch disk drive, but the image conjured by the phrase “floppy disk” will be the hard blue plastic of the once ubiquitous 3.5 inch disk. Even today, years after floppies shuffled off this mortal coil, we still see the 3.5 inch disk as the save icon in so many of our software packages.
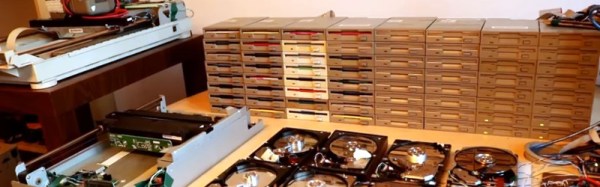
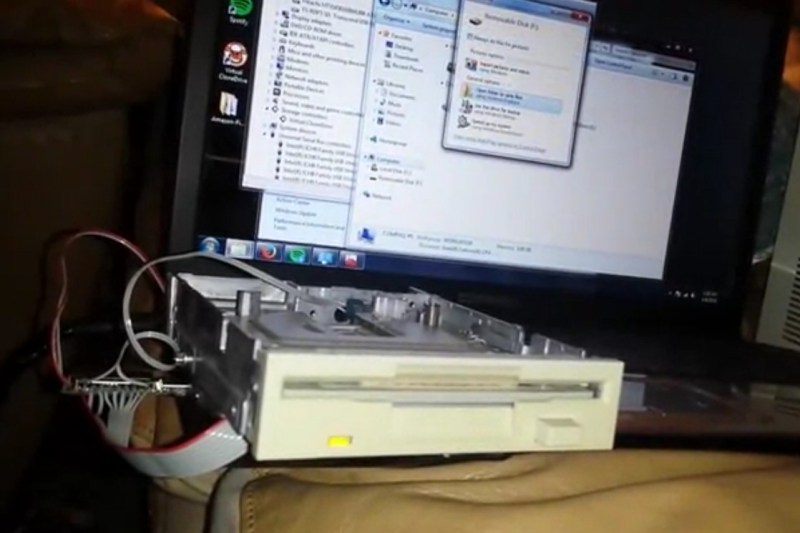
For retro computing enthusiasts though, there is an attraction to the original floppy from the 1970s. Mass storage for microcomputers can hardly come in a more retro format. [Scott M. Baker] evidently thinks so, for he has bought a pair of Qume 8 inch floppy drives, and interfaced them to his CPM-running RC2014 Z80-based retrocomputer.
He goes into detail on the process of selecting a drive as there are several variants of the format, and interfacing the 50 pin Shuggart connector on these drives with the more recent 34 pin connector. To aid in this last endeavour he’s created an interface PCB which he promises to share on OSH Park.
The article provides an interesting insight into the control signals used by floppy drives, as well as the unexpected power requirements of an 8 inch drive. They need mains AC, 24VDC, and 5VDC, so for the last two he had to produce his own power supply.
He’s presented the system in a video which we’ve put below the break. Very much worth watching if you’ve never seen one of these monsters before, it finishes with a two-drive RC2014 copying files between drives.
Continue reading “An Eight Inch Floppy For Your Retrocomputer”